Continuing with the Step 1 — and Step 2 — of this Publication we will end with this Part 3 where we will learn some basic aspects of creating and configuring virtual machines (VM) in VirtualBox. Remember that these steps (recommendations) are taking into account that you are working from a low-resource team using the Operating system DEBIAN Testing (9 / Stretch) and Virtualization Platform VirtualBox 5.0.14.
CREATION OF VIRTUAL MACHINES
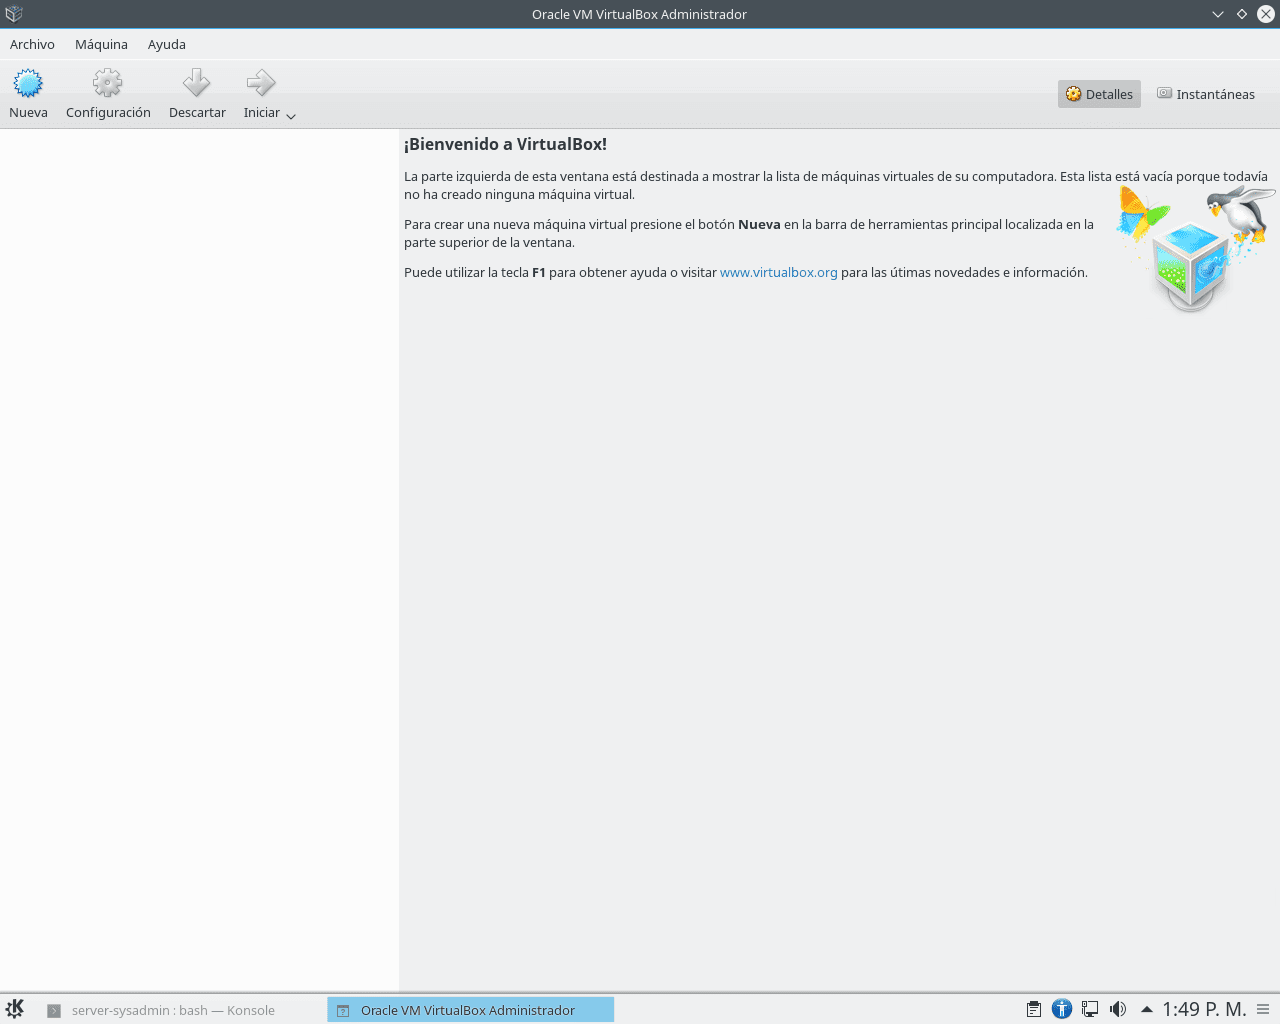
Firstly having VirtualBox open we click the Button « NEW " from your Toolbar. Or in the Menu Bar / Machine / New (Ctrl + N). 
In case of creating a Machine with MS Windows we write the Name of the VM, the Type of Operating System to install and the Version (Architecture), we select the RAM memory size, we created a Virtual Disk of the VDI type with the Astorage dynamically reserved and the size in GB wanted. By pressing the CREATE button on the final screen, the VM is created automatically. As shown below:


Let's remember that as it is a Low resource server that has 2 GB of RAM, we can only allocate a little less than 1GB (992 MB) to each VM created (and that it should work only one at a time) and preferably 32 Bit Architecture, Ya que VirtualBox does not recommend allocating more than 45% of physical memory in a VM and 32 Bit architectures they consume (require) less MB of RAM than a 64 Bit Architecture. To enable the options of Operating Systems in 64 Bits your Motherboard and Processor should support them, so look on the Internet if your Hardware provides Virtualization support for 64 Bit and how to enable it in the Setup (BIOS) of your team.
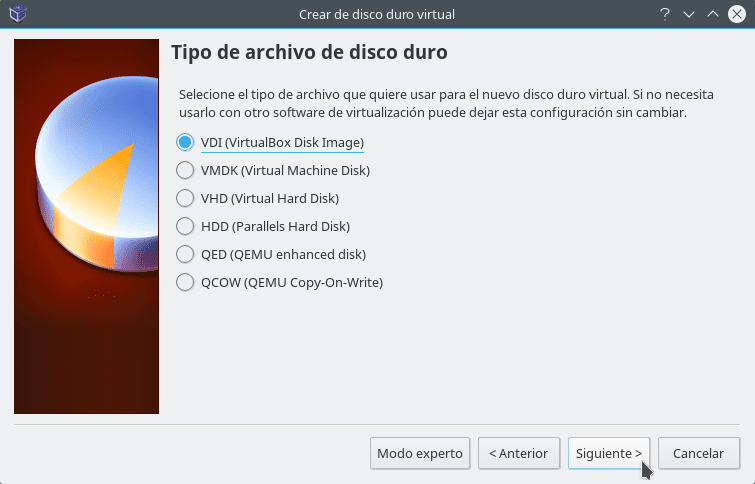
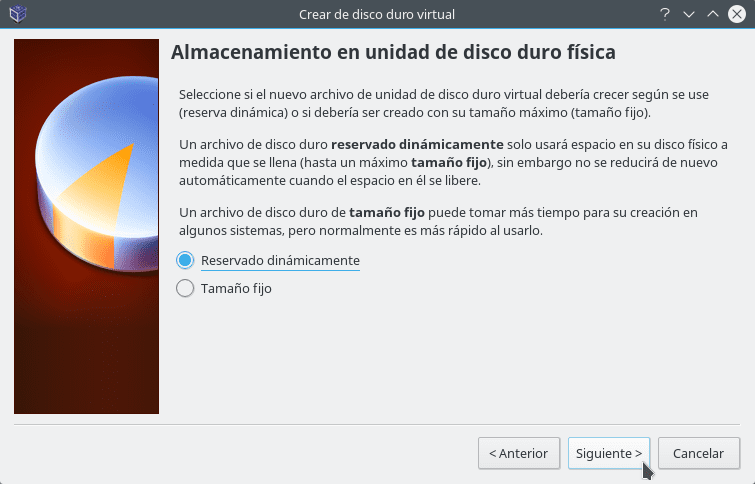
That we should preferably choose the Hard Drive Type as VDI, since the format VDI (Virtual Disk Image) is the default file format (extension .vdi) used by products Oracle VM VirtualBox, to virtualize disks. On the screen of "Hard Drive File Type" they indicate that each format belongs to X Virtualization Platform supported by VirtualBox. And finally, configure your Hard Drive with the option "Dynamically Reserved" so that the Virtual Hard Disk grows in size as it is needed up to the maximum that has been assigned, since this is very practical and useful if we do not have much space on the real hard disk. Fixed Size Storage has better performance but the downside is that a file with the allocated size will be created all at once consuming the physical space immediately.
And then we proceed to configure the MV by Configuration button of its Toolbar. Or in the Menu Bar / Machine / Configuration (Ctrl + S).
Then in each section of said machine we proceed to perform the pre-installation presets. As shown below:
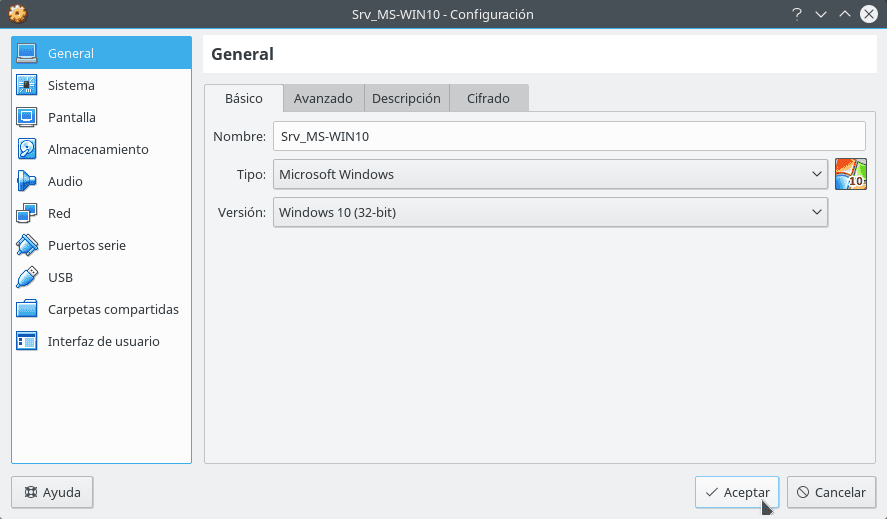

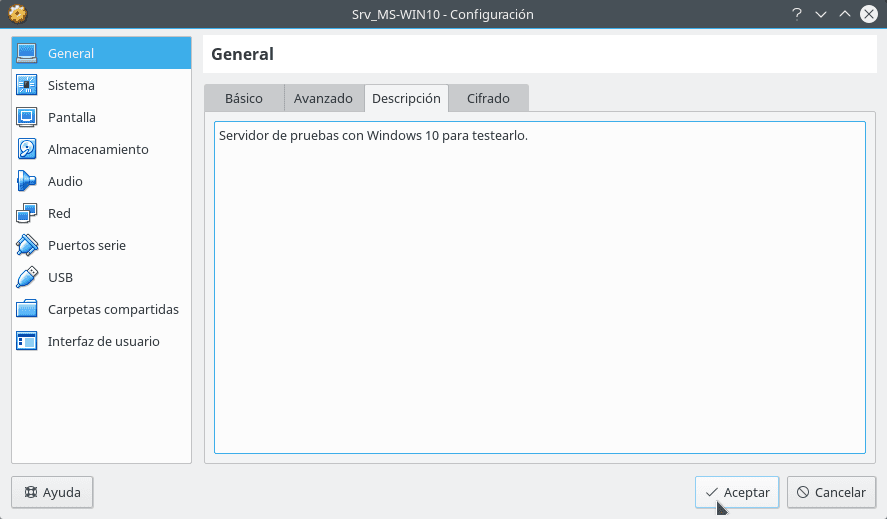
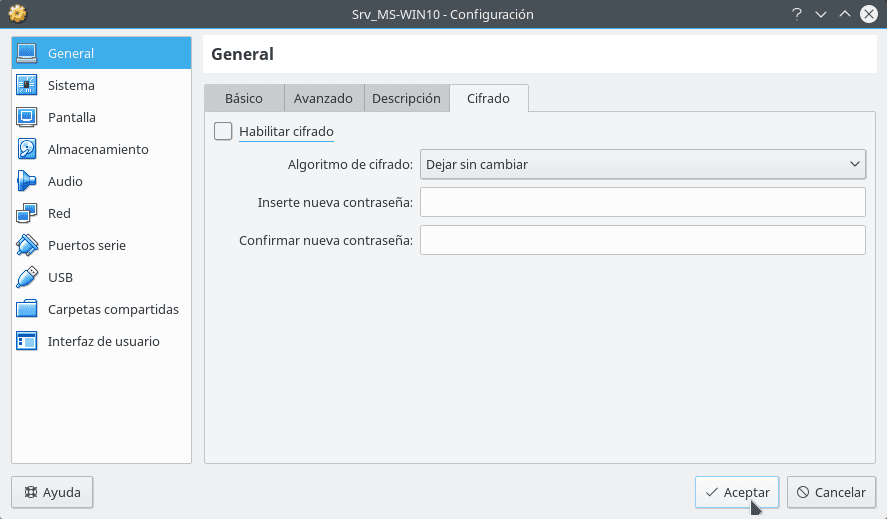


As we can see the recommendations by sections would be:
- General: In the Advanced depending on your needs it may or may not enable clipboard and Drag and Drop function in a Bidirectional or Unidirectional. On the tab Encryption you can activate or not activate it depending on whether or not it requires a protection of the data handled in the created VM.
- System: In the Base Plate depending on the Hardware of your Server Equipment adjust the options chipset y Pointing device, and regarding the option of Extended features mark if necessary the options Enable EFI y Hardware Clock in UTC Time. In the Processor tab uncheck the option Enable PAE / NX in case the Operating system installed be Non-PAE. If the tab Acceleration its enabled Hardware supports or has enabled Intel / AMD virtualization and nested paging capabilitiesIn case, look in your BIOS for the Virtualization Support enablement options if it brings them so that you can enable the execution of 64 Bit Operating Systems Virtualizations, and run those of Bits 32 in a Management.
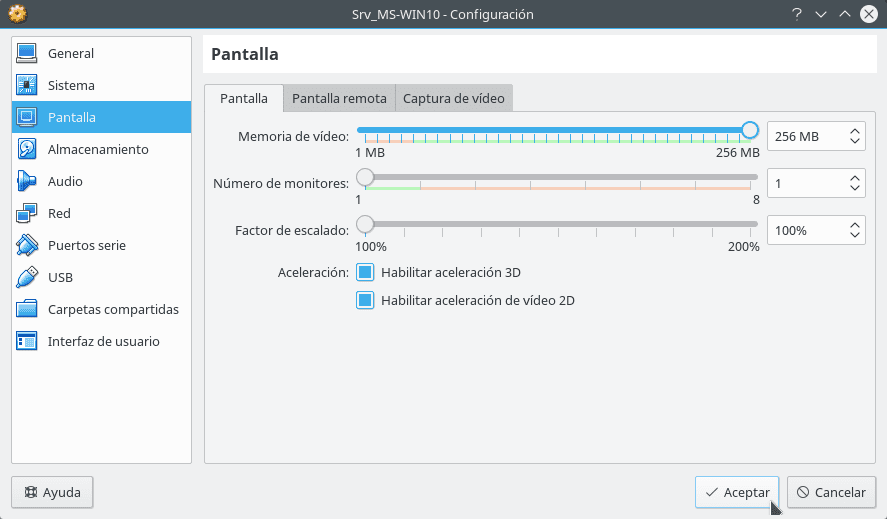
- Display: In the Screen depending on whether the Operating system installed has or not Graphic interface provide a higher level of Video Memory, and enable 3D and 2D accelerations. If it's just a Terminal Operating System (Console) it is not required to change anything if it is not desired.
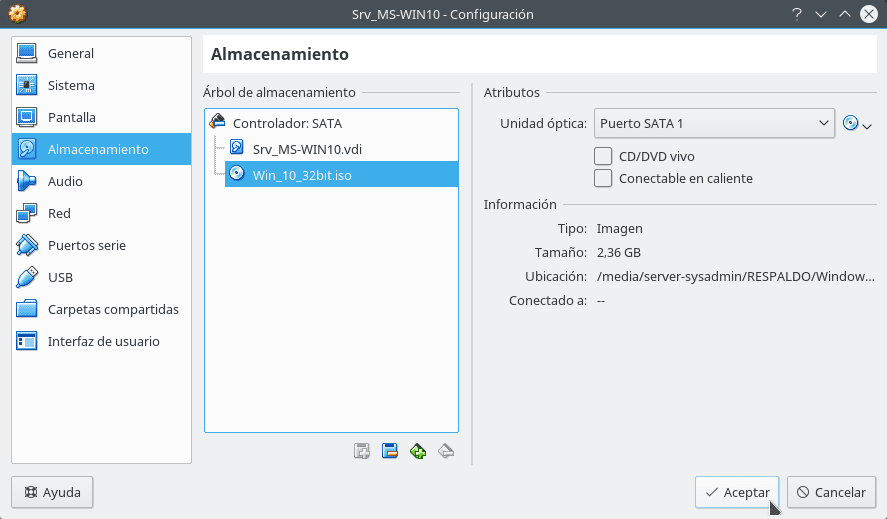
- Storage: In the Attributes section where the CD / DVD icon schedule the carga (dribble) full ISO with which you want to install.
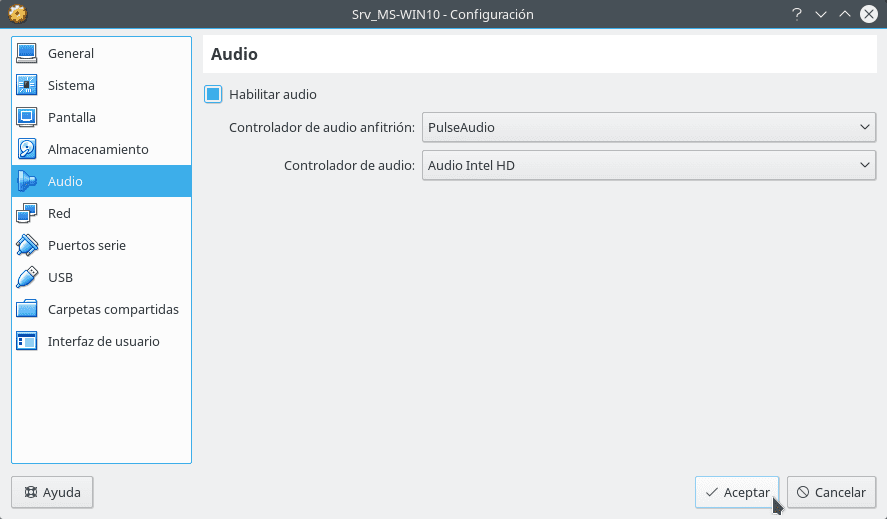
- Audio: Enable and configure in this section the appropriate parameters of the sound (peripheral) devices so that they synchronize with those of the Host host.
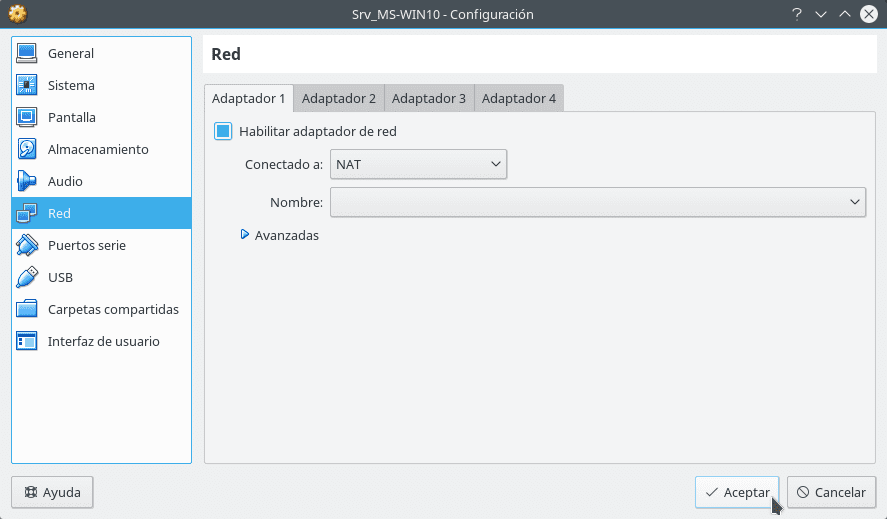
- Net: In this section configure each of the interfaces of the MV that correspond to those of the Host host. Each of the alternatives provided in the section "Connected to:" allows one different configuration that adapts to network connectivity needs you require according to your needs.
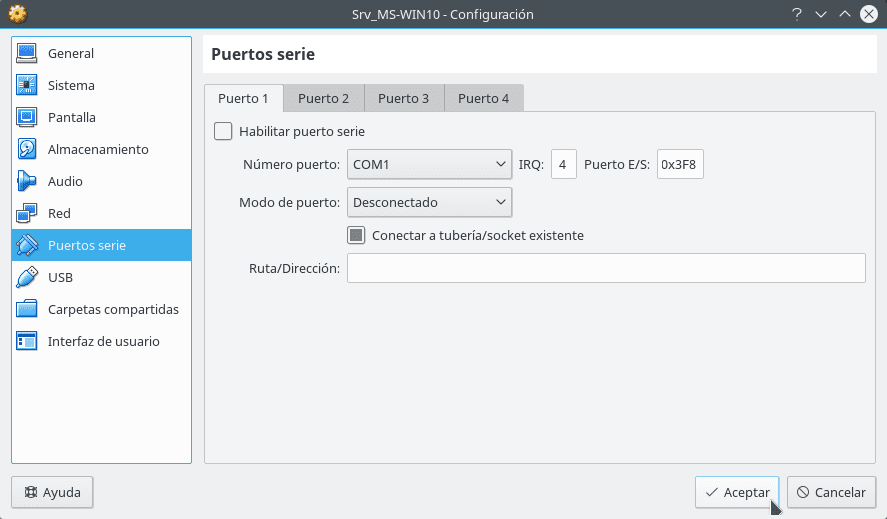
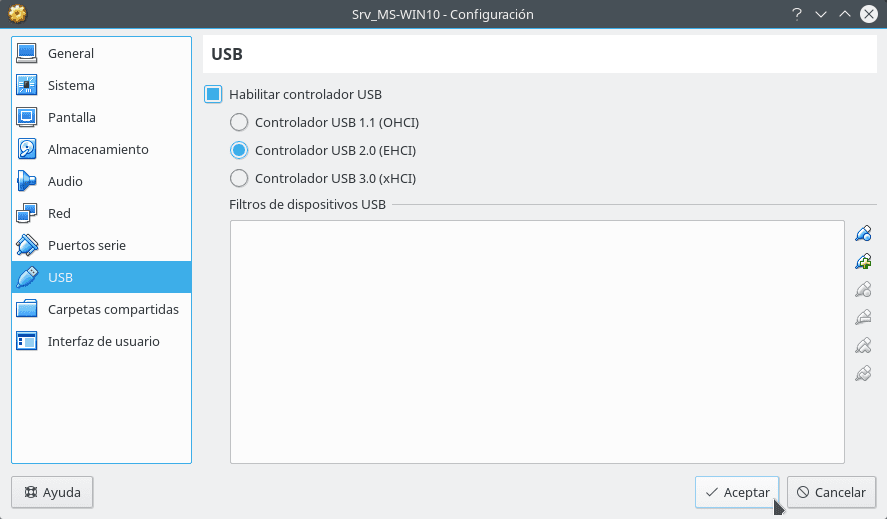
- PSerial and USB ports: Allows you to add in the MV peripherals connected to Host host. Add the ones you need according to your requirements.
- Shared folders: This section allows you to add network drives or local folders from Host host to MV. Add the ones you need according to your requirements.
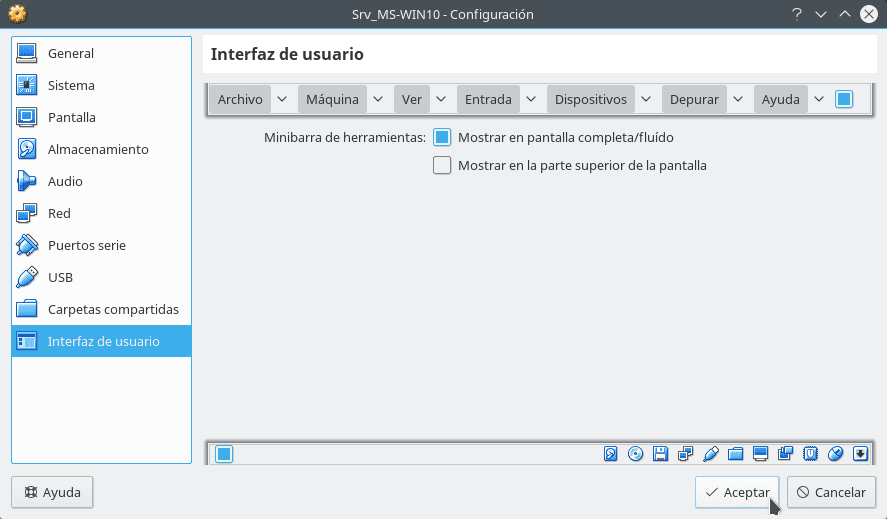
- User interface: In this section configure the VirtualBox management menus when the MV start. Adjust them according to your needs.
So far, they only have to start the MV through the Start button of its Toolbar. Or in the Menu Bar / Machine / Start .
Finally and remembering the most important of the Part 1 and 2 We can summarize the following about Virtualization:
The Hypervisors They can be classified into two types:
a) Type 1 (Native, bare-metal):
- VMware ESXi.
- Xen.
- Citrix Xen Server.
- Microsoft Hyper V Server.
- Next
b) Type 2 (Hosted):
- Oracle: VirtualBox, VirtualBox OSE.
- VMware: Workstation, Server, Player.
- Microsoft: Virtual PC, Virtual Server.
The difference of Type 1 hypervisors regarding the Hypervisors Type 2, is that the software runs directly on the hardware of the physical equipment.
The four (4) main virtualization models are:
1.- Platform virtualization
- Guest Operating Systems
- Emulation
- Full virtualization
- Paravirtualization
- OS-level virtualization
- Kernel-level virtualization
2.- Virtualization of resources
- Encapsulation
- Virtual memory
- Storage virtualization
- Network virtualization
- Bonding Network Interfaces (Ethernet Bonding)
- Input / Output Virtualization
- Memory virtualization
3.- Application virtualization
- Limited application virtualization
- Full application virtualization
4.- Desktop virtualization
And the main Virtualization platforms (tools) are:
- Container Virtualization (LXC): docker, DIGITALOCEAN y OpenVZ.
- Para-virtualization technology: XEN.
- Emulation Technology: VirtualPC y QEMU.
- Full virtualization: KVM y Xen HVM.
- Cloud-based virtualization: GOOGLE, Microsoft, VMWARE and Citrix.
- Cloud-based Enterprise Cloud Computing: open stack.
- Mixed Virtualization (Full + Containers): Proxmox.
Of the latter we can say the following:
nextmox is a Type 1 hypervisor also known as native, unhosted or bare-metal (on bare metal) so it runs directly on the Hardware of the physical equipment. Thus, nextmox is a complete solution of Server Virtualization that implements two virtualization technologies:
- KVM (Kernel-based Virtual Machine): Using KVM, Promox allows you to run multiple VMs (Windows, Linux, 32 and / or 64 bit Unix), in which each VM has its own virtual Hardware. As KVM in turn uses a modified version of QEMU, Promox manages to convert the binary code of the physical machine architecture into code that the guest virtual machine can understand. So it doesn't matter which Operating System we want to virtualize.
- OpenVZ: Doing use of OpenVZ, nextmox allows to run multiple "Instances" de Operating Systems isolated on a single physical server, with the advantage that each VM uses the hardware resources of the host server, thus achieving improvements in the performance, scalability, density, dynamic resource management, among other things, since each VM runs on the physical Server's own Kernel. The downside is that all VMs must be Linux-based Operating Systems.
I hope this series called "Build a simple Virtualization Server with a low-resource computer" has guided you enough to enter the wonderful world of the Virtualization homemade.