GIMP has become our image manipulation companion. If you've ever used it, you know you can count on this software to do everything from simple edits to highly complex jobs. There are many functions and tools with which this great software is equipped, and the best way to know them is by trying one after another. Today I present you a Gimp functionality, that if you did not know, now it will be very useful: create screenshots from the program.

The first thing you should do, as expected, open the GIMP. In the file tab of the menu bar, locate the option «Create»From which three very interesting program functions will be displayed: From clipboard, Screenshot y From a web page.
The "From clipboard" function is already known to us (Ctrl + V), so we will focus on the other two options.
Screenshot
Within the option «Screenshot", the characteristics of the capture are modified. He Area and Delay.
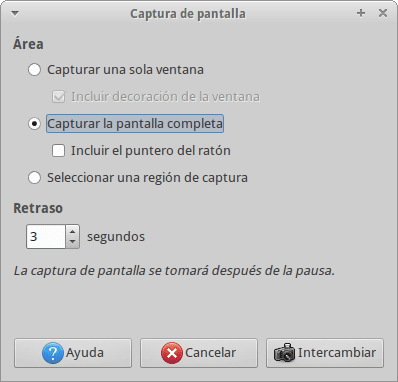
- El Area, refers to the portion of the screen, to which the capture is made, it can be, to a specific window, the full screen, or a portion of the screen defined by the user.
- The Rdelay, refers to the Gimp waiting time before taking the screenshot. Within that time you will be able to locate yourself in the window to which you will make the capture.
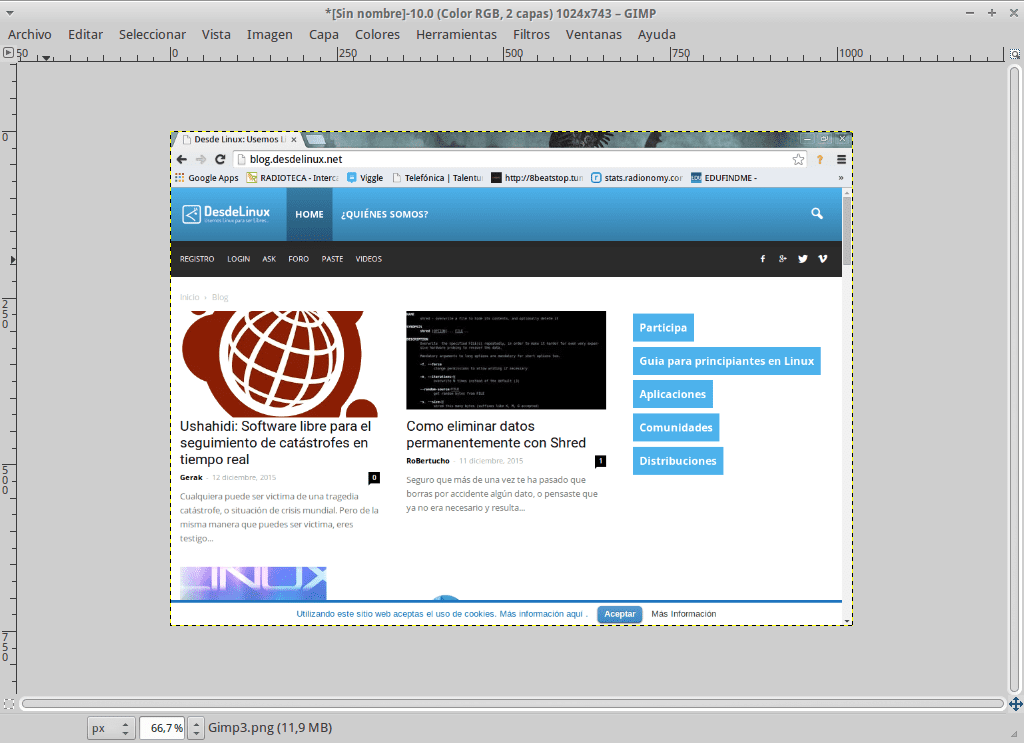
Once these two parameters have been defined, it only remains to press «Swap» to start the capture process. In this case, the screenshot is from the browser.

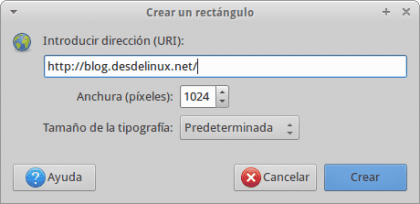
From a web page
The function "From a web page»Allows you to take a complete screenshot of a web page, you just have to enter the address of the page, and Gimp imports an impression of the site.
Surely this basic but useful tool from Gimp will help you with one or another project.
I preferred ShareX, apart from the fact that it automatically uploads what you have captured, it is open source and works wonderfully
Thank you very much for this tutorial, I did not know it ... Although to take screenshots I use the native Xubuntu program
very good ... I've been using it for years and didn't know you could do this ...