![]()
Without a doubt the Raspberry Pi is an excellent minicomputer by default, because in addition to having a large community also it has a large list of operating systems that can be installed on it.
Of which we will talk today about "DietPi”, This system is a derivative of Debian. DietPi it is even lighter than Raspbian Lite And it's optimized to tax your Pi hardware as little as possible.
But DietPi has a great feature despite its light weight, as DietPi comes with out-of-the-box software that includes a ton of popular programs.
What is DietPi?
Like Raspbian, DietPi is a Debian-based operating system designed for the Raspberry Pi. But while Raspbian focuses on bringing as many Debian amenities as possible to your Raspberry Pi, DietPi focuses on cutting down on all the censer to give you a sleek and lightweight operating system that can still do the heavy lifting.
With images starting at 400MB, that's 3 times clearer than 'Raspbian Lite'. It is highly optimized for minimal use of CPU and RAM resources, ensuring that your Raspberry Pi always runs at its full potential.
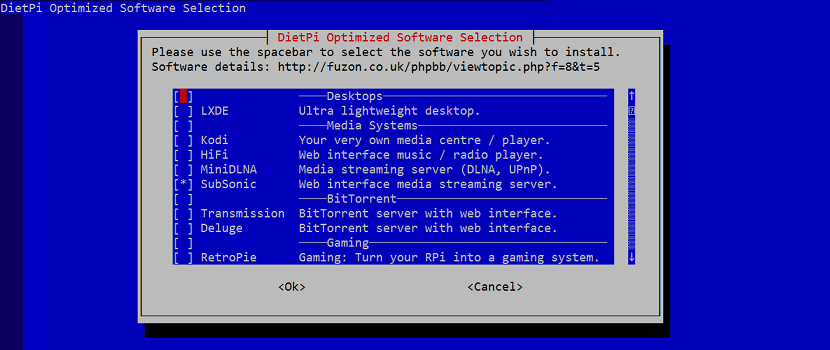
The list of included software includes media centers like Kodi and Emby, torrent clients, cloud backup systems like ownCloud, and even WordPress support.
How to install DietPi?
For those interested in being able to test this operating system on their Raspberry Pi, should go to their official website, which you can visit from the following link.
On the website we will go to the download section that you can access in the menu that is at the top of the site, there you can get the image for your Raspberry Pi
Done the system download, it will come compressed in a .7z format. which can be decompressed with any application to extract files of this type.
Now the image that was compressed is obtained, They can record it on their Micro SD of their Raspberry Pi with the help of Etcher or do it directly with the dd command from the terminal.
With the dd command you should know which mount point your SD has, this can be found by executing the command:
sudo fdisk -l
Or if you have Gparted installed, open the application and it will show you the mount point.
Knowing this, just run the command in the terminal as follows, where if will place the path to the system image and of the mount point of your SD:
dd if =/ruta/a/la/imagen/de/DietPi_vXX.img of =/dev/sdX
The image has already been recorded on your Micro SD we can make some adjustments prior to the initialization of the system.
This step is optional if you want your DietPi to connect via WifiIf you are going to connect via LAN, skip this step.
To do this within our computer we are going to navigate inside the SD and we will look for the file called dietpi.txt and this should be opened with the text editor of your liking.
Inside the file we are going to find the lines that contain the following:
WIFI_SSID [0] = y WIFI_KEY [0] =
Here we are going to put the name of our network (SSID) and its password (Key)The lines we are looking for are something like this:
WIFI_SSID [0] = “elnombre-de-tu-red”
WIFI_KEY [0] =“tu-contraseña”
We save and close the file.
Put the microSD card in your Pi, plug in your keyboard and mouse as well as your Raspberry Pi power supply.
Once the system is started, they must enter the credentials to access it, which are:
- username = root
- password = dietpi
Here the system will update and restart at the end of this. After starting again, they log in again.
Now to install the package of tools that the system offers, just type:
dietpi-launcher
Here you can choose the applications that you want the system to have.
It's pretty self-explanatory from here, but it should be noted that some of your options may be disabled because they cannot run on your Raspberry Pi.