I'm sure that sometime you will have made the comparison of two images in some game or challenge where you had to find a number of differences. In this type of activity they give you at least two images that are apparently the same and you must find the differences.
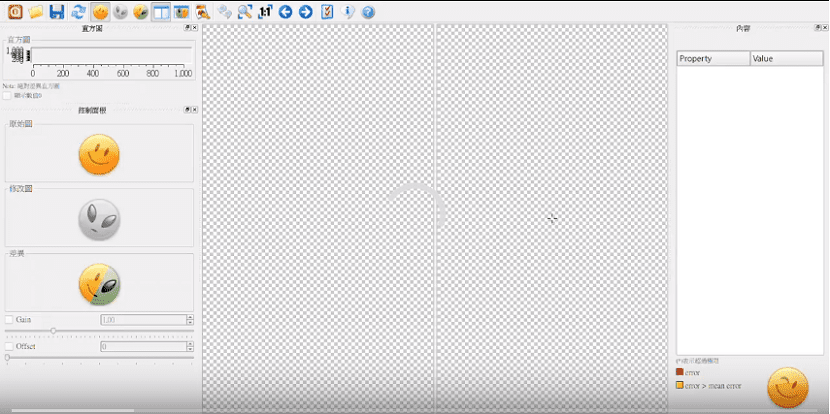
For this type of activity there is an application that will help you find these kinds of differences. Diffimg is an application free written in Qt and open source which is responsible for visualizing and finding the differences between two images since it makes the comparison between both.
This application is in charge of marking those differences that it finds between the images to be compared and that are not perceived at first glance.
One of the main utilities of this tool is the verification of modifications in images, where it uses several metrics that can be used to calculate the differences between them.
Basically what it does diff img is to perform pixel by pixel check and show the user the area where he found the difference in a certain position of the pixels between the two images to check.
Some of these checks are calculated and the positions where the pixels differ are shown as a color mask.
The image comparison mode can display a red mask overlay which indicates a small change or yellow to highlight the largest differences between the two images.
Diffimg it has a fairly intuitive and easy-to-use interface, makes use of OpenCV as a backend with which it is supported to be able to read and compare 8/16/24/32 bit images without problem.
The only downside to this app is that it doesn't support the alpha channel. Further, can read the most basic image formats like BMP, PNG, JPG, but also Tiff and OpenExR.
DiffImg is a cross-platform application since as mentioned it is written in Qt so it works on Windows and Linux.
How to install diffimg on Ubuntu 18.04 and derivatives?
If you want to install this cool image checking tool on your system, must perform the following steps.
They must open a Ctrl + Alt + T terminal and in it we are going to write the following command to add a repository to our system:
sudo add-apt-repository ppa:dhor/myway
Once this is done, we are going to update our list of repositories with this command:
sudo apt update
And finally we install the application with the following command:
sudo apt-get install diffimg
How to install diffimg from deb package on Ubuntu 18.04 and derivatives?
If you don't want to add a repository to your list, we have the option to install this application from a deb package.
For this let's download the application from the following link. Once this is done, we can install the application with the application manager of our preference.
Or also if you prefer, you can install it from the terminal with the following command:
sudo dpkg -i diffimg_2.2.0-1dhor~trusty_amd64.deb
And ready with it, we will have the application installed.
In case of having problems with the dependencies we can solve it with this command:
sudo apt-get install -f
How to use diffimg?
To start using this application, we must first open it. For this we are going to look for it in our application menu to run it.
Once inside, we will only have to select the images that we are going to compare with diffimg.
For this let's click on the folder icon which is in the application menu and we are going to select the images to compare, where the first will be the original image and the second the one that will be used to check the differences.
Once this is done, depending on the weight of the images to be compared, it may take a while for the application to work.
A dialog box will also open that specifies the level of similarity between both images and the percentage of differences per pixels, among other information.
If you know of any other application similar to this, do not hesitate to share it with us in the comments.
I have not been able to install it on Ubuntu 18.04. Don't you have to wait for the Bionic package to come out? I only see Xenial and Trusty.