
Docker Hub: Learning a little more about Docker technology
As well as the Repositories, and other sites like GitHubInter similar online hosting and development platforms, allow you to manage software projects, programs and applications, free and open, through Go as a version control mechanism, for the benefit of the use and development of GNU / Linux, Free software and Open Source; Similarly Docker hub, is for Docker, the soul of this Open Source project.
This because of, Docker hub It is the official and favorite place where the community of this project meets. That is, it is where users have a cloud-based commonplace, where to store and get everything you need to give life to the installation and use of Docker.
In this publication we will learn a few more tips about technology Docker, but mainly about how to register and use Docker hub.
A little more about Docker
In our 2 previous posts on Docker, we learned to install the same on DEBIAN GNU / Linux 10 (Buster) or similar, directly from the Official repositories, and to install an application (system) using said technology. However, Docker owns many commands, options, and parameters, which must be known and managed, for optimal use of said technology.
To get to know and test them, you can type in a terminal (console) de GNU / Linux the following command command: docker help, to show us on the screen, among other things, the following:
- The semantic structure of using Docker:
docker [OPTIONS] COMMANDodocker [OPCIONES] COMANDO - The available and current options to be executed:
--config string,-c, --context string,-D, --debug,-H, --host list,-l, --log-level string,--tls,--tlscacert string,--tlscert string,--tlskey string,--tlsverifyy-v, --version. - The administrative commands available and in force to execute:
builder,config,container,context,engine,image,network,node,pluging,secret,service,stack,swarm,system,trustyvolume. - The normal available and current commands to execute:
attach,build,commit,context,cp,create,diff,events,exec,export,history,images,import,info,inspect,kill,load,login,logout,logs,pause,port,ps,pull,push,rename,restart,rm,rmi,run,save,search,start,stats,stop,tag,top,unpause,update,versionywait.
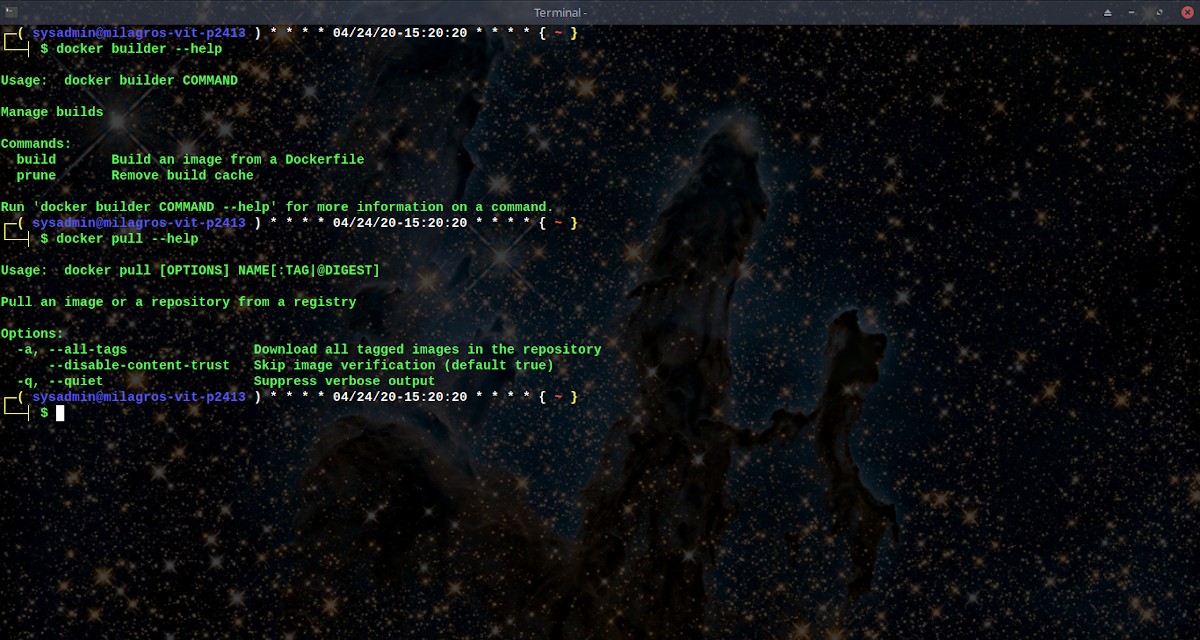
And for more information on a special command from Docker, you can type in a terminal (console) de GNU / Linux the following command command: docker COMMAND --help. For example: uterine

Docker Hub: Web for managing container images
What is Docker Hub?
Docker hub is a service provided by Docker to find and share container images on our computers. It has the following main characteristics or elements:
- Repositories: For the management (push and pull) of the container images.
- Teams and organizations: For managing access to private repositories of container images.
- Official images: These are high-quality images of the containers provided by Docker.
- Editors images: These are high-quality container images provided by third-party vendors. These certified images also include support and guarantee of compatibility with Docker Enterprise.
- Creations: Own container images created from GitHub and Bitbucket, which are then uploaded to Docker Hub.
- Webhooks: Actions scheduled on an uploaded repository to integrate Docker Hub with other services.
How is it used?
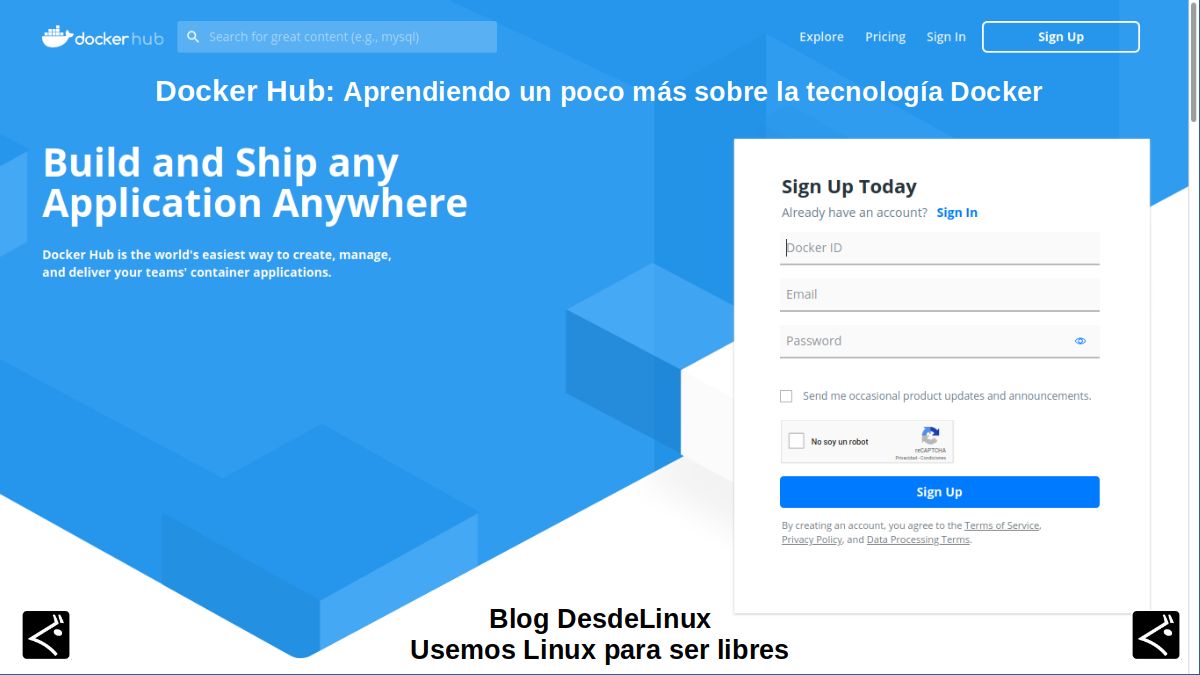
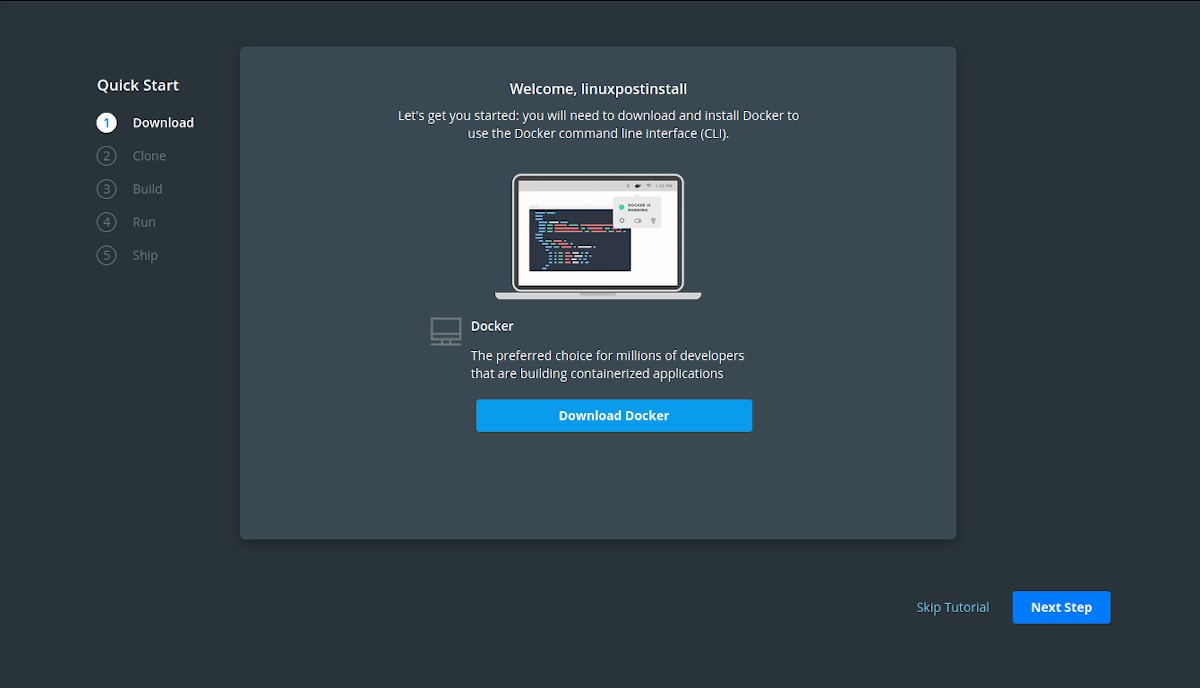
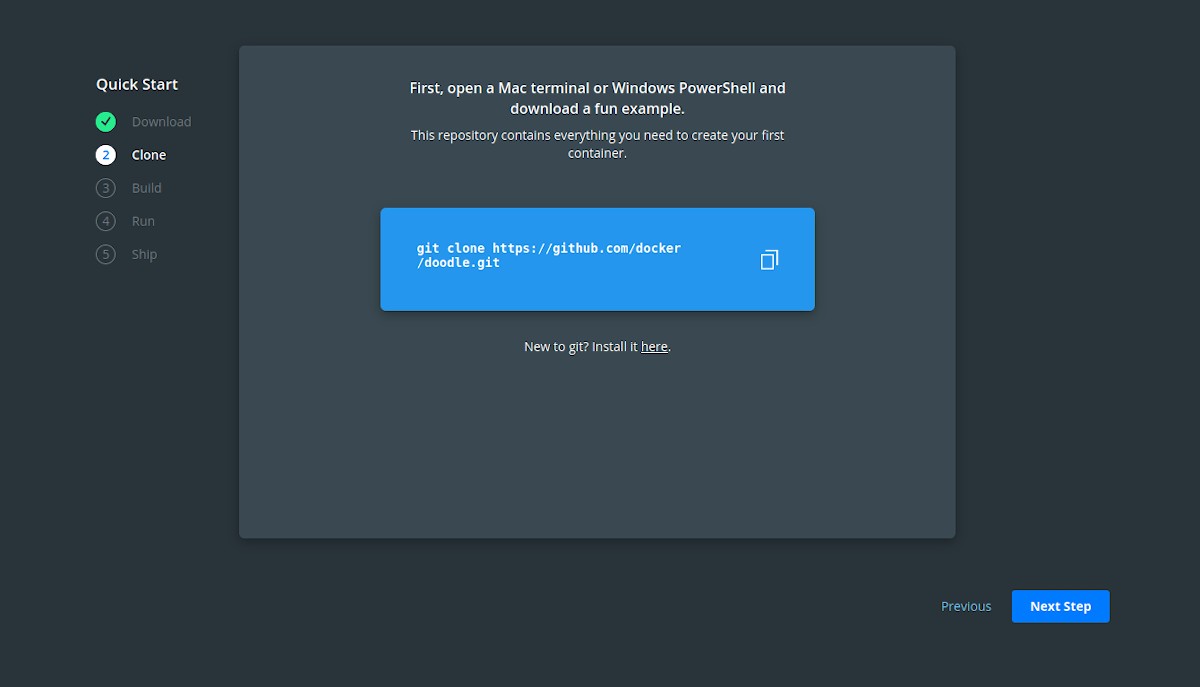
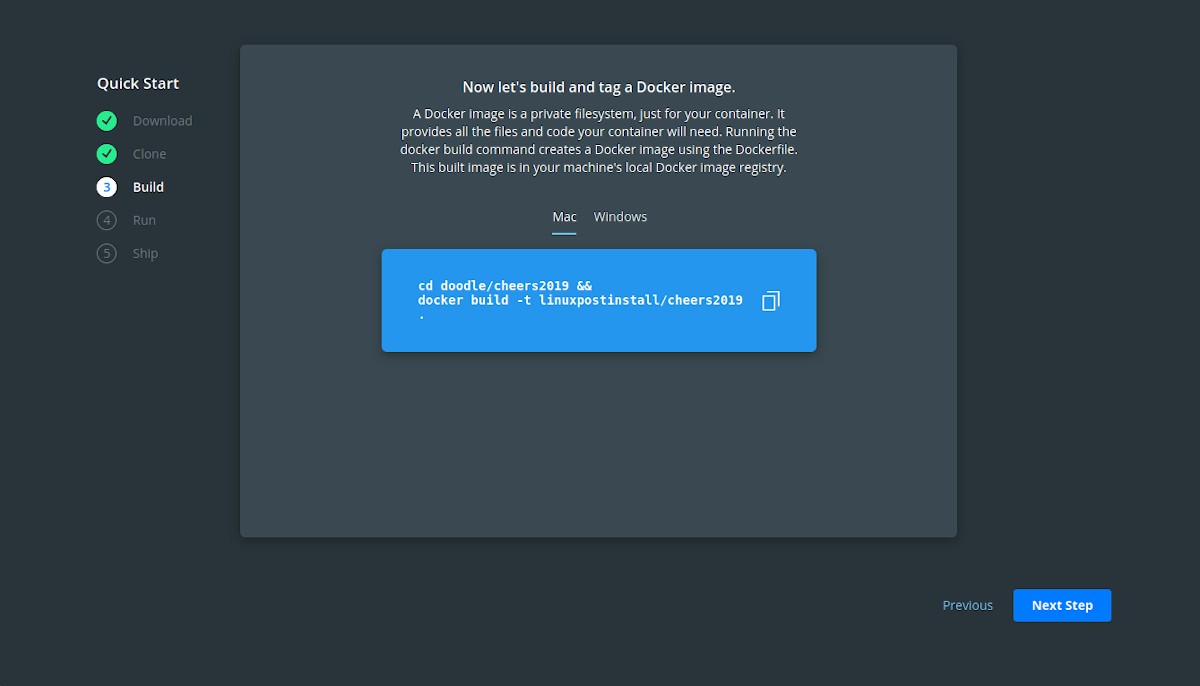
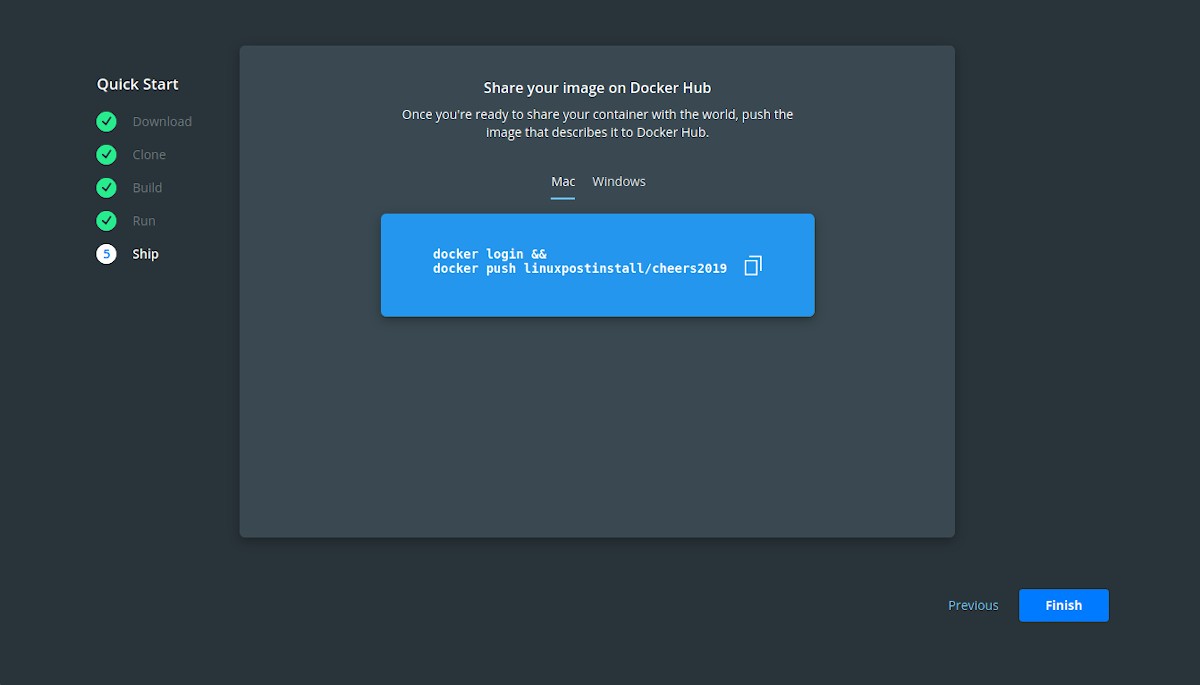
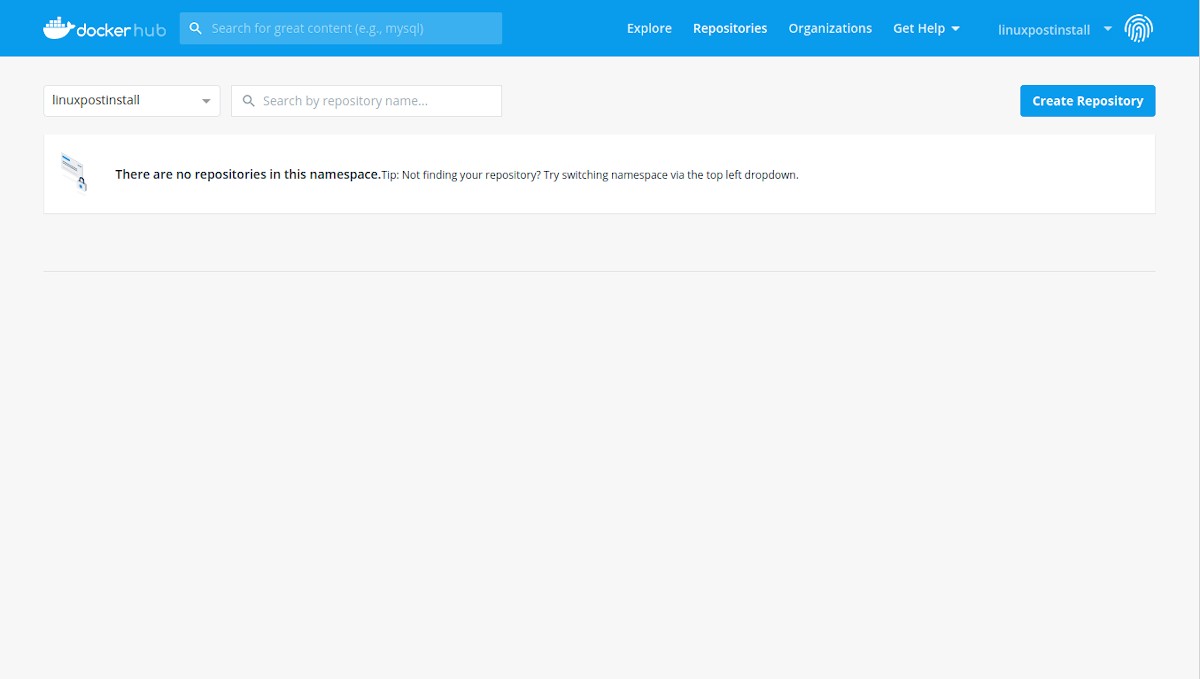
By registering in the Docker Hub official site, and log in for the first time, it guides us through a small tutorial, to create via terminal (console) de GNU / Linux, our first docker repository and then continue advancing on it in case we believe it with said tutorial. Otherwise, we can only move forward, and then create it manually using the button called "Create Repository". As shown in the following pictures:


So far, for now with this little initialization tutorialOn Docker and Docker Hub. In future posts, we will delve more into this fabulous technology. However, you can go a little deeper on what is discussed here in the following link.

Conclusion
We hope this "useful little post" about the technology «Docker» y «Docker Hub», especially the latter, which is a service provided by Docker to find and share container images on our computers; be a lot interest and utility, For the whole «Comunidad de Software Libre y Código Abierto» and of great contribution to the diffusion of the wonderful, gigantic and growing ecosystem of applications of «GNU/Linux».
And for more information, always do not hesitate to visit any Online library as OpenLibra y jedit to read books (PDFs) on this topic or others knowledge areas. For now, if you liked this «publicación», don't stop sharing it with others, in your Favorite websites, channels, groups, or communities of social networks, preferably free and open as Mastodon, or secure and private like Telegram.
Or simply visit our home page at DesdeLinux or join the official Channel Telegram from DesdeLinux to read and vote for this or other interesting publications on «Software Libre», «Código Abierto», «GNU/Linux» and other topics related to «Informática y la Computación», and the «Actualidad tecnológica».
I liked how your terminal looks, can you tell us something about its configuration?
Greetings.
Greetings Chiwy! My terminal shows that background, since it has full transparency and shows my desktop wallpaper. And in my user .bashrc file I use these lines at the end:
PS1 = »\ [\ e [33; 1m \] ┌─ (\ [\ e [34; 1m \] \ u @ \ h \ [\ e [37; 1m \]) * * * *` date + » % D »-"% T "` * * * * {\ [\ e [31; 1m \] \ w \ [\ e [33; 1m \]} \ n└──┤ \ [\ e [32m \ ] \ $ »
alias cc = 'clear'
alias linuxpostinstall = 'bash /opt/milagros/scripts/milagros_linux-post-install_1.0.sh'
alias soa = 'bash /opt/milagros/scripts/milagros_linux-post-install_1.0.sh'
neofetch --backend off --stdout | lolcat
toilet -f small -F metal “MilagrOS”
toilet -f small -F metal «Version 2.0»
toilet -f small -F metal «Tic Tac Project»
figlet -ltf small -w 100 "www.proyectotictac.com"
printf% 80s | tr »» «=»; threw out "" ; echo "Author: Linux Post Install Twitter: @ albertccs1976 Telegram: @Linux_Post_Install"; printf% 80s | tr »» «=»; $ «=»; threw out ""
Thanks for sharing, I'm already messing with the settings.
Greetings.