First part of a guide on how to install, configure and customize LMDE. In this case we will see the installation and update process step by step.
Knowledge Level: Beginner / Installation knowledge
linuxmint has become one of the most popular distributions of GNU / Linux, and it is the fourth Operating system most used in the world, being only below MS Windows, Mac OS y Ubuntu.
Since last year, to the mint family was joined by a variant called LMDE (Linux Mint Debian Edition) with the aim of offering an elegant system but at the same time, faster, more stable and that simulates a kind of rolling release.
To this day, it is being used by a large part of The LinuxMint Community and important improvements have been added, which we will explain in later articles.
Why use LMDE?
Speed, stability, security, are adjectives that are generally associated with Debian GNU / Linux, however, ease and functionality do not. All user of Debian You know that once we install the system, we have to spend some time afterwards trying to get it ready, installing packages, configuring a little here and a little there.
If you are already an experienced user that should not represent a very big problem, but in the case of beginners, things change. With LMDE we save a lot of work. We just have to install and everything works the first time. Sure, we can also make some adjustments, but they are just tweaks nothing more.
So, let's see how to install it.

Installing LMDE.
To install LMDE we can go to download site and lower the . Iso which weighs around 900mb, so it is in format DVD. We can burn it to a DVD or we can create with UNetbootin the bootable image from a flash memory. It is worth clarifying that, on the download site it is also available LMDE Xfce.
Once we have everything ready, we start the PC with the option of lifting by the CD-ROM or by USB and we should load the desktop of LMDE in a few seconds.
We execute the installed one by double clicking on the icon Install Linux Mint and we wait for the installation wizard to come out.
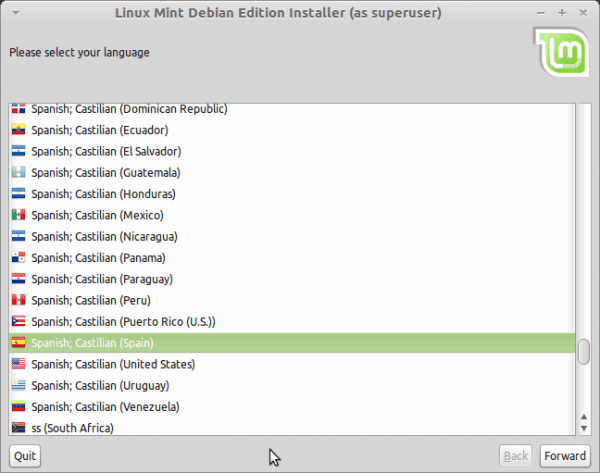
The first option will be to choose the language. It should be clarified that this version, although we choose the Spanish-Castilian, the wizard will run entirely in English.
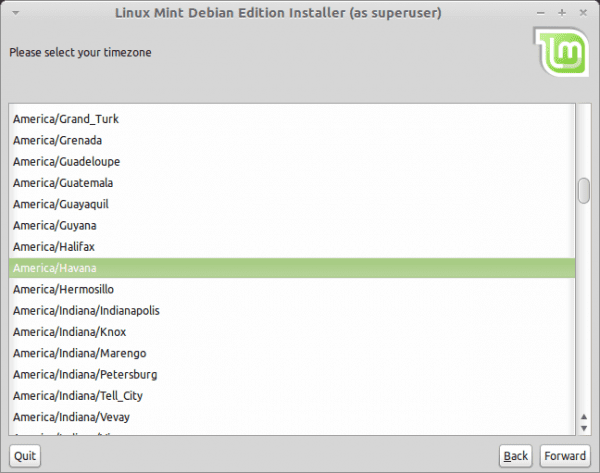
We continue with the second step, which will be to choose the Time Zone. In this case, we must select the country or region in which we live.

Now we select the variant of the keyboard that we use. In general, this configuration must be generic depending on the language we select, but we can set changes manually, as is logical.

This step is extremely important. Disk partitioning is a bit of a delicate process. We will dedicate an entire article to explain how to partition in GNU / Linux, but for now I will briefly describe the process.
Like in Windows, where the partition exists C: for system files, and D: for user data, in GNU / Linux we can separate a partition for the binaries and another for our files. Basically the partition will be made as follows:
1- First partition of the primary type, it is assigned to the root "/".
2- Second partition that will be of the Extended type that will contain:
- A partition of type Logic for the SWAP with double the RAM.
- A partition of the Logic type for our home "/home" with the rest of the disk space.
Yes, I know this may sound a bit difficult, but it really isn't. Anyway, as we prepare the detailed manual on partitions in GNU / Linux, they can learn more about the subject in this link o this other.
In the case of this post, we assume that you already know how to partition and that this step has passed it without any problem.
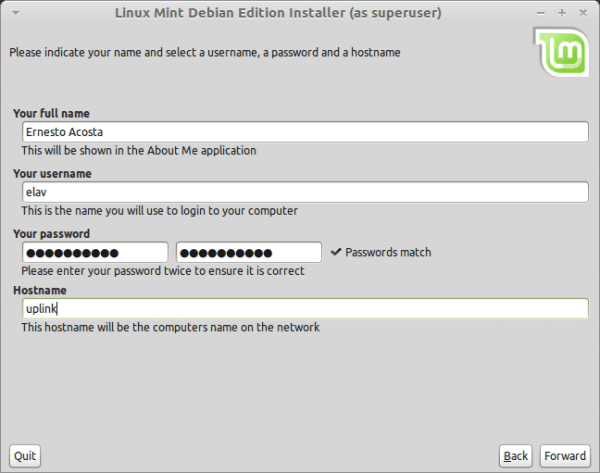
After partitioning we have to put our data. First our full name which is optional. Then our username, which is the user that we are going to use to access our session. Then our password and finally, the name of our team.

Unless you know what you do, step 6 which is to install the GRUB you should leave it as it comes by default, especially if you have more than one system on your computer. After this part, the wizard will show us a summary of the actions that the system will do and the installation will begin.
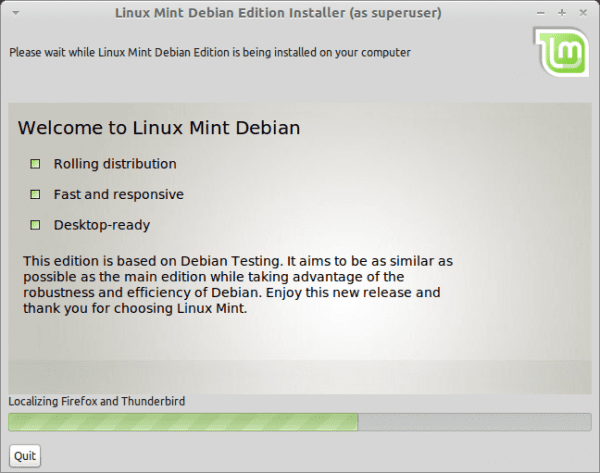
Once this process is finished, which lasts around 5 to 10 minutes depending on the hardware of our equipment, LMDE It will notify us that it has finished installing.
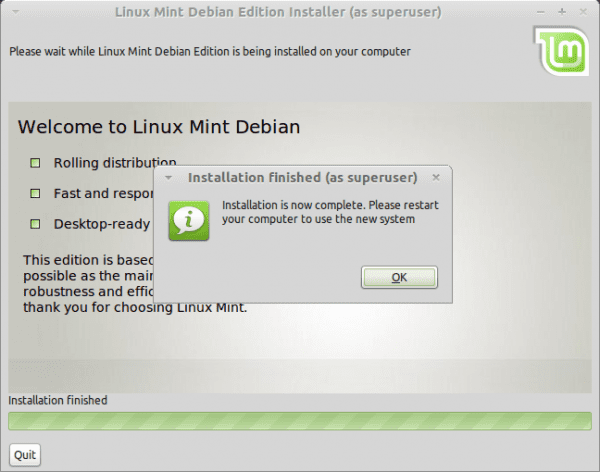
And here the installation process ends. Simple right?
In the next installment we will see how to update our system and how install uninstall certain packages that we may or may not use. We will also show you some tips to optimize our system a little more.
Finally there is a decent tutorial on how to install LMDE; D. I will look forward to the second tutorial, since I want to know how to install programs, update, etc: D. Once I know that I'm moving to Linux Mint!
Regards!
PS: Excellent blog, it's just starting and it's phenomenal 😛
I hope to publish the next article soon 😀
Thanks for the comment
How much does this distro consume, that is, what hardware requirements do you need, since I have a friend who has started with Debian 6 and the poor guy is going through a huge job, I suggested this distro, but I need to know the requirements, since he has a p4 with 512Mb of ra and a cpu at 2.4.
greetings.
Tell your friend to try the version with Xfce. I use it and it flies.
I think LMDE can be used with those specs, but don't expect it to run as smoothly as if it had 1Gb of RAM. However, as Carlos says, the version with Xfce must fly low .. 😀
I installed the Mate version for my sister on a pc with 512 ram and it works very well.
Deluxe Tutorial 😉
Thanks for the tutorial, it is good for us neophytes in the matter, I would be interested to know more and I would appreciate in advance you publish the next tutorial so that I can obtain a little more knowledge of this magnificent distro, congratulations and once again thank you
The following tutorials have already been published 😀
Part 1ra
Part 2da
Part 3ra
4ta Part
Hi!
One question. I have been struggling to install LMDE as the installation freezes when it says "Adding user to system", what could this be?
Did you validate the sum of your ISO? It may be that this corrupt;).
How is lmde supposed to be left completely in Spanish?
excellent distro, recommended!