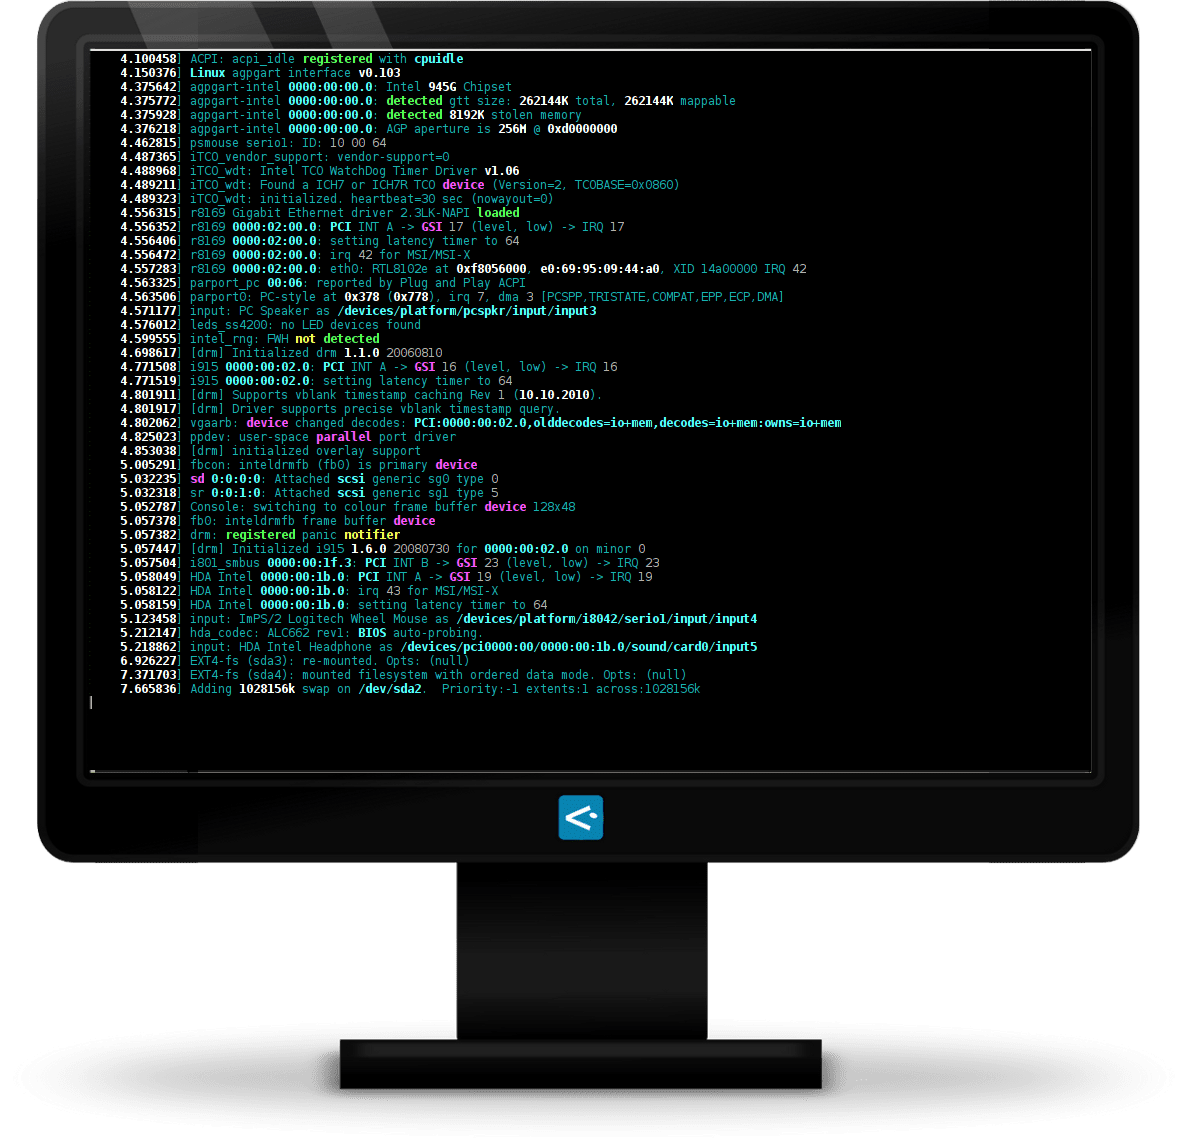
Hello how are you, these days I have spent installing a couple of distros in my sister-in-law's notebook, which has a small problem and is that the lamp of the
monitor does not turn on with distros whose kernel is 3.x so after looking around I found a solution, but I had to make this solution apply by itself at the beginning, and after trying a bit I managed to apply it in the 3 distros that I install and now I will comment on how it was implemented.
The solution
The command that we must execute with root permissions on the console is:
setpci -s 00:02.0 f4.b=0f
Application
I applied it in Sabayon X with KDE, in Chakra Claire and in ArchLinux, I will start by explaining how I did it in Sabayon which was the first one I installed.
Solution in Sabayon: In this distro it was simpler, in the /etc/local.d/ folder I created a file called video.start and inside I wrote the following:
setpci -s 00:02.0 F4.B=0F

exit 0
Save the file, restart and voila the lamp lights up perfectly.
Solution in Systemd: Well, here the issue was a bit more complex, first create in the / etc / directory the rc.local file with permissions 755 and in the following
code:
#! / bin / sh setpci -s 00: 02.0 F4.B = 0F exit 0
after this I needed to create the service so I did the following, in the / usr / lib / systemd / system / folder create a service called rc-local.service as follows:
[Unit] Description = / etc / rc.local Compatibility ConditionPathExists = / etc / rc.local [Service] Type = forking ExecStart = / etc / rc.local [Install] WantedBy = multi-user.target Alias = rc-local. service
once this file is created, we save and execute the following command:
sudo systemctl enable rc-local.service
and ready to start, we will raise the monitor perfectly.
Conclusions
The only bad thing is that we cannot adjust the brightness later, but I think that is a minor detail, the code to activate the lamp I got it here and the Systemd service achieves this by looking at other services and testing.
I hope this small contribution has been useful to you and after more than a year within the community I managed to create an article for DesdeLinux :P. Greetings to all and success o/
Ohh, excellent conandoel, very good start 🙂 But it's funny, I already had the rc.local and its service, I suppose the systemd package installs it or something ...
When you migrate it converts it by itself but if you install a distro with systemd the rc.local is not there, so you have to create it. Thanks for the comment!!!
Excuse my ignorance, but I don't quite understand what you mean by not turning on the laptop monitor lamp.
What happens ivan is that when you put a distro it is like the monitor turns off but what happens is that the lamp that makes the monitor have light or see it goes off, if you put the laptop against the light and at a suitable angle you can get to see something.
It has not been very clear to me .. But if that's how I understood, I never had that problem .. Thanks for the contribution, anyway.
Well, in some laptops, with a certain graphics and processor, it happens that when installing a distro, the contrast of the screen does not work, by default it is so low that nothing is seen, unless you focus with a light at a specific angle .
It happened to me, but with the latest versions of the kernel the problem no longer manifests itself to me.
A greeting.
Like I am also ignorant about this issue, my laptop (Samsung RV408 with LM 14 Nadia KDE RC x64) does not leave me any black screen, neither with this distribution nor with the others that I have tested.
And if what you need is to make the buttons (Fn) for brightness, sound, etc. work, I have the solution for Samsung, I don't know if it works for other brands.
Excellent post, you know although I use Arch and I have not had this type of problem, in openSUSE with GNOME Shell or KDE this detail is presented to me. I have several installations (openSUSE) that I have made to some friends and although I do another trick (I can't remember it at the moment) this one seems perfect.
Excellent!
Some time ago I was struggling with this problem, but I had solved it differently, what I do is through whatever boot manager, in the kernel line I add
acpi_osi = Linux
But it is somewhat annoying to be pressing each time the combination of keys to increase the brightness of the screen.
Regards!
This is what I was going to comment on !!
How much I fought against my Ubuntu 11.10, back in November of last year (Oh! I've been using GNU / Linux for a year! Yup!) I had to do the installation with a flashlight in my mouth to see something, until I gave up , and my first Distro was Ubuntu 10.04 (with it all good) until I read that it was because of the kernel and the graphics (in my case intel), from 3.0 those problems began, the Grub.cfg must be edited, after the »Ro quiet splash» put the –acpi_osi = Linux, then save and Enjoy again, the same for Fedora, OpenSUSE, and Linux Mint (which at the time I tried them, they also gave me that problem, and I solved them like this).
But, as of kernel 3.4.5 it is already fixed again.
The rc.local service for systemd is fine. The one that comes with arch hasn't worked for me, so I'll have to try that one. Although now I no longer need it. 🙂
interesting …. and think that there is a solution for these things: D, I gave up making hibernation and suspension work xDDD
excellent article!
In case it helps those who asked about screen brightness, here are some steps that worked for me to modify the brightness of my laptop from the software and assigned keys, I use a Samsung with Intel:
In the terminal:
sudo kate / etc / default / grub
Locate the lines and modify or add them:
acpi_osi = Linux
acpi_backlight = vendor
GRUB_CMDLINE_LINUX_DEFAULT = "quiet splash acpi_osi = Linux acpi_backlight = vendor"
Save and close Kate.
In the terminal:
sudo update-grub
Restart
______________
In addition to Samsung it is recommended to install Samsung Tools:
sudo add-apt-repository ppa: voria / ppa
sudo apt-get update && sudo apt-get upgrade
sudo apt-get install samsung-tools
sudo apt-get install samsung-backlight
sudo reboot
The source to consult: http://twistedpairdevelopment.wordpress.com/2010/11/16/installing-ubuntu-on-a-samsung-n145-and-possibly-others/
I hope it serves you. Cheers
I was going to comment the same thing but you have anticipated me xD for me this is the most optimal solution and by the way you can modify the brightness from the multimedia keys 😀
Big baby, I was about a new rc-local.service since I deleted the previous one and just read your post.
Besides using acpi_backlight = vendor in the kernel line I use these aliases when I want to change the screen brightness from AwesomeWM (in KDE I need them):
alias BacklightSETMax = »echo 4800 | sudo TEE4CPUPOWER / sys / class / backlight / intel_backlight / brightness »
alias BacklightSETMin = »echo 200 | sudo TEE4CPUPOWER / sys / class / backlight / intel_backlight / brightness »
A clarification: TEE4CPUPOWER is a horrible hack that I use to avoid having to enter the password to validate the actions. It is called TEE4CPUPOWER because at the time it used the hack to change the values of the governors of cpupower (successor of cpufreq) and now I use it every time I have to modify some system parameter so as not to have to enter the pwd. The steps to do this hack are:
1. copy the tee system program as TEE4CPUPOWER in a path that is within the path (otherwise it will have to be prepended to the file name):
# cp / usr / bin / tee / usr / bin / TEE4CPUPOWER
2. edit the visudo file and add this application to run without pwd:
# visual
(the sudo config file will be loaded in our default text editor)
Add at the end of the file a short description of the section and the command that interests us:
# Run applications as root without entering user's password
system_user_name ALL = (ALL) NOPASSWD: / usr / bin / TEE4CPUPOWER
3. Close visudo (changes are saved automatically).
We can now use the command as a restricted user without having to enter the password each time.