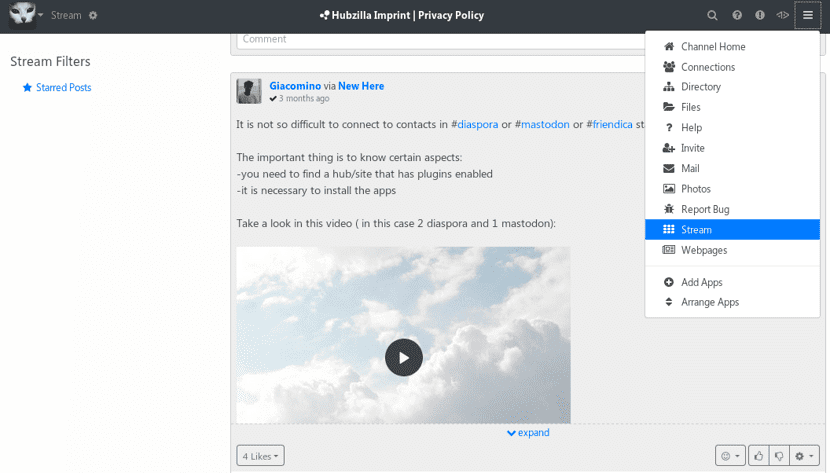
Hubzilla is a web publishing platform (CMS)de open source to create interconnected websites. Like a shared hosting service, the websites created on Hubzilla are isolated and have no idea who is accessing their content, and controlled access to data is limited to setting permissions between individual accounts on a site.
Basically the project provides a communication server that integrates with web publishing systems, equipped with a transparent identification system and access controls in decentralized Fediverse networks.
hubzilla supports a unified authentication system to function as a social network, forums, discussion groups, Wiki, systems for publishing articles and websites. I also implemented a data warehouse with WebDAV support and we work with events with CalDAV support.
Federated interaction is based on the proprietary ZotVI protocol , which implements the WebMTA concept for transferring content via WWW on decentralized networks and provides a number of unique functions, in particular 'Nomad Identity' transparent pass-through authentication within the Zot network, as well as a cloning function to guarantee points Completely identical input and user data sets on multiple network nodes.
The exchange with other Fediverse networks supports the ActivityPub, Diaspora, DFRN and Ostatus protocols.
Among its main characteristics the following can be highlighted:
- granular privacy settings
- forums
- file sharing
- posts that expire
- nomadic identity
- events
- calendar
- recoverable direct messages (mail)
- encrypt comments with passphrase
The project code is written in PHP and Javascript and is distributed under the MIT license.
About the new version of Hubzilla 4.4

After approximately 2 months of development, the launch of the platform to build decentralized social networks Hubzilla 4.4 is presented.
The new version includes, for the most part, changes related to expanding the capabilities of ZotVI, improve federated interaction, as well as improve user experience and fix bugs.
The most interesting changes in the new version:
- Improved logic and procedures when working with calendar events.
- Transferring the new work queue manager (available as an extension) from experimental to pre-test
- Convert a single user directory to ZotVI format
- Improved Opengraph support for channels
- Added support for additional events in the module to interact with ActivityPub networks
- Separately, it should be noted that work began on the official standardization of the Zot family of protocols within the W3C, for which the process of forming a working group began.
How to install Hubzilla on Linux?
The installation of this platform is quite simple, they should only have what is necessary for a web service to run (basically with LAMP).
We can download what is necessary for its installation by executing the following command (where website is the directory where you have your website to use hubzilla or the space that you will give the platform on your server or computer).
git clone https://framagit.org/hubzilla/core.git sitioweb
Then we are going to type the following:
git pull

mkdir -p "store/[data]/smarty3"

chmod -R 777 store

cd sitioweb

util/add_addon_repo https://framagit.org/hubzilla/addons.git hzaddons

util/update_addon_repo hzaddons

util/importdoc
Now we are going to create a database for the platformIf you have Mysql you can do it from the same terminal by executing the following commands:
sudo mysql -u root -p

CREATE DATABASE hubzilla;

CREATE USER 'user'@'localhost' IDENTIFIED BY 'password';

GRANT ALL ON hubzilla.* TO 'user'@'localhost' IDENTIFIED BY 'password' WITH GRANT OPTION;

FLUSH PRIVILEGES;

EXIT;
Finally from a web browser you must go to the url and path that you assigned to the platform on your server or from your local computer, just type:
127.0.0.1 o localhost.
From there you just have to place the data of the database that you just created to connect it with the platform.