Long ago I read an entry in which it was indicated how, by means of a script, to install the Windows fonts in Fedora. For some it worked, for others it didn't, based on their feedback.
However, there is a manual way to do it, in addition to being an option in which the average user can understand the full operation of the installation.
This mode applies to any Linux distribution and to any program that uses system fonts.
Install fonts graphically
On the internet there are many container sites for fonts with different types of licenses. Among the free ones we find dafont.com, FontSpace, Font Squirrel, among others.
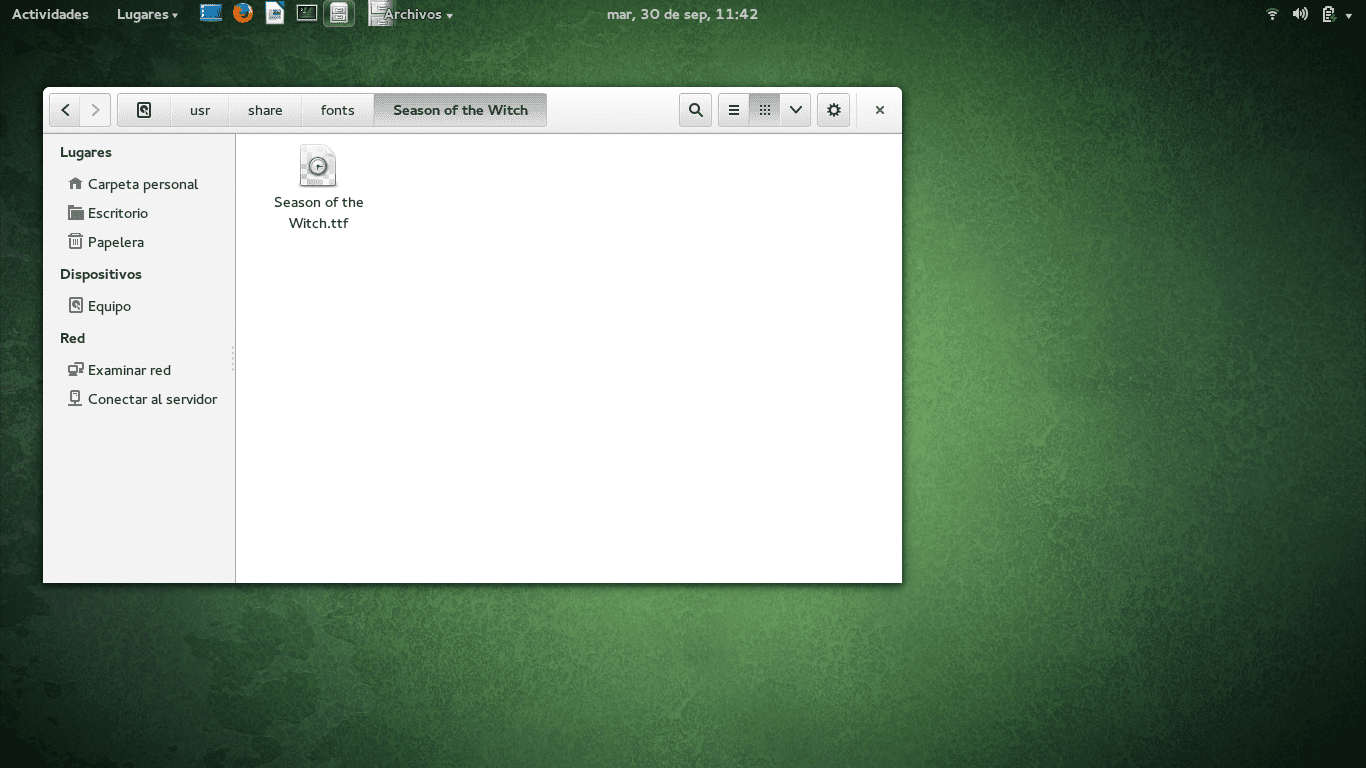
The first step to follow is to download the font of our choice. I chose, as a test, Season of the Witch. I select the download destination in the Downloads directory. We can see that the compressed file is in our download directory.
We extract the container by right clicking and «Exit here».
Once unzipped we will see that the file has the ending ttf. This termination indicates that we are facing a file of typographic fonts.

This file will have to be copied to the / usr / share / fonts directory, but there is a "small" detail: we must have root permission to access it.
Therefore we enter a terminal, we log in as root and we open the file explorer of our preference or that comes with our desktop environment. Since at the moment I use Gnome I will have to do it with Nautilus.
su nautilus
Once we have the file explorer as root, we copy the font file to the directory / usr / share / fonts. To give a greater order to the destination directory, we can create a directory with the name of the source and inside it paste the file.
One last step is still missing: give the file the corresponding permissions. Right click, «Properties». We go to the "Permissions" tab and in "Group" and "Others" select the "Read only" option.

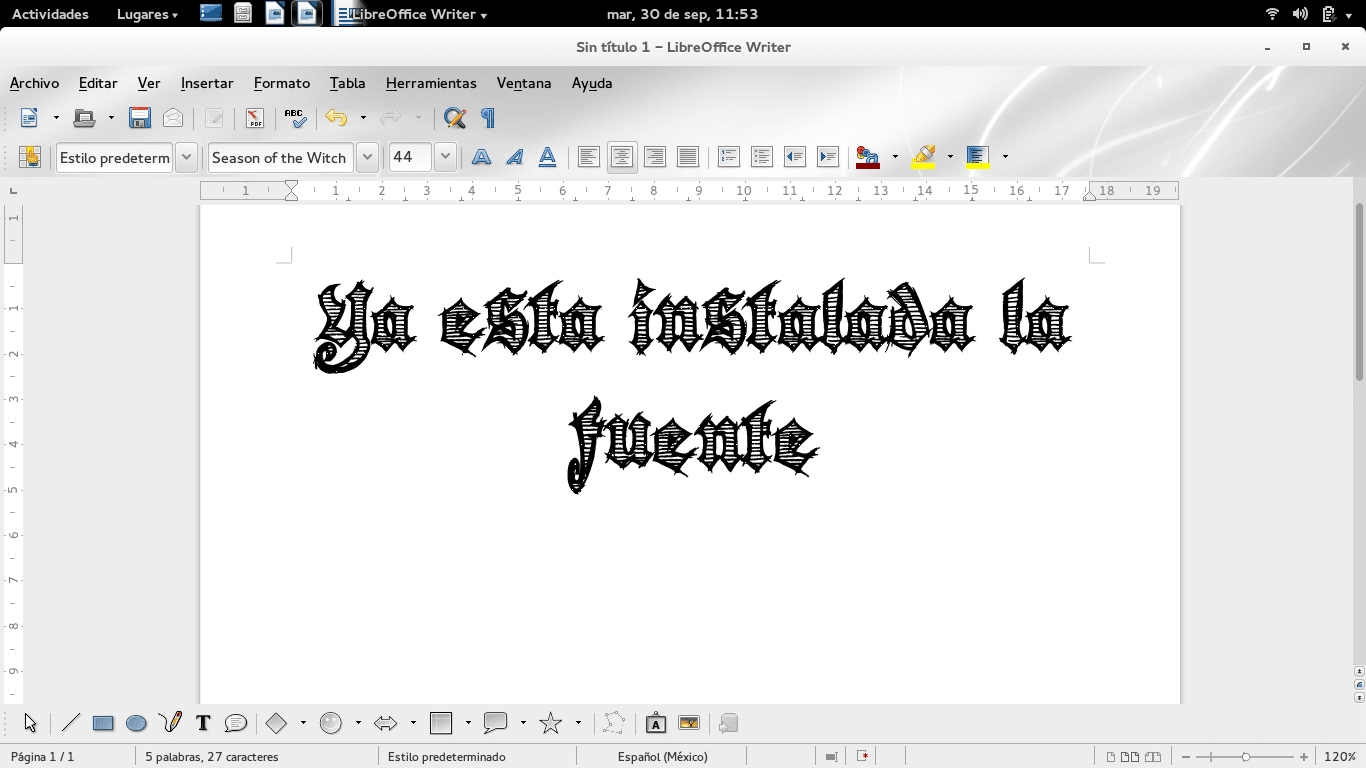
Ready. If we open LibreOffice we can see that the font is already installed.
Install fonts from terminal
The installation of the fonts through the terminal is as simple as it is graphically, with the advantage that you do everything from the same window. We can do this directly.
First we go to the directory where the font was downloaded, «Downloads».
cd Descargas
Unzip the file.
unzip season_of_the_witch
Once uncompressed, we log in as root
su
We create a folder with the name of the source in the destination directory (if the name has separate words it is put in quotes. Otherwise the terminal interprets each word as different directories)
mkdir /usr/share/fonts/"Season_of_the_witch"
We copy the file to the destination directory.
cp Season_of_the_Witch.ttf /usr/share/fonts/"Seasons_of_the_witch"
We are in the directory
cd /usr/share/fonts/"Seasons_of_the_witch"
We change the file permissions
chmod +w “Season_of_the_Witch.ttf"
And voila, we have our font installed.
Your contribution is very useful, thank you 😀
I do the same, only I do not do the permission step, instead I do a
sudo fc-cache -vf /usr/share/fontsAnother way, in which you don't have to become root, is to "install" the fonts on your home, in the ~ / .fonts dir. It is exactly the same as what they say in the post, but without having to become root, and copying the .ttf file to the hidden dir .fonts of your home (if it does not exist, it is created). In my case it works just as well (Debian Testing).
The only difference that occurs when installing it in ~ / .fonts is that the fonts found there will be used only by the owner user, and being installed in / usr / share / fonts they remain global for all users of the system.
Or am I wrong?
It is right. Placing them in our user will only have them available in these sessions. Another thing I do not know is if all programs have access to the sources from the home directory.
Greetings.
When you use that command, it installs it directly in the user folder, and these fonts are not to be shared with others. For fonts to be used in all sessions, it is better to use the direction in which the tutorial indicates.
Thank you very much, this is very important to know if, for example, you are going to use that font on a computer that is not yours and we do not know the root password, for example if you are going to give a presentation in another place with a computer provided by another.
A note, in the installation process from the terminal when you change the permissions you use "+ w", but in the graphical installation you comment that they must be read-only. Shouldn't it be "-w" to remove the write then?
You're right. In which case I should have put what you mention and "+ r".
Greetings.
I've always had the non-system fonts in .fonts in Home. And both Libre Office or Gimp or any other application recognizes them, that way I have more at hand the fonts that I install and if I want to delete them, I just have to delete the .fonts folder and there is no change in the fonts that already come installed by default.
Install the fonts in usr / share / fonts / I see it practical when there is more than one user on the team
if not, having them in .fonts is a good option.
If you only have one user, the fonts can be loaded into your $ HOME in ~ / .local / share / fonts
by the way, Gnome brings a font installer 😉
I liked the XD desktop
This can also serve:
http://cofreedb.blogspot.com/2013/08/instalacion-facil-y-segura-de-letras.html
Do you really have to do all that to install a font? I'm currently using Kubuntu and I just have to double click on the downloaded file to install a new font.
I suppose GNOME also has an application of the same style, since it is silly to do all those steps that you show in the publication.
Although I consider that it is good to know different methods to carry out a task in question, in this case it seems to me that there are faster and more useful alternatives to achieve the same result.
Greetings.
How curious, in arch, fedora and mageia I did something that I read somewhere, make a folder with the name .fonts inside the personal folder and there paste the fonts you need.
From terminal:
$mkdir .fonts
$ cp / directory_of_the_fonts_to_import/*.ttf .fonts / (* .ttf will import EVERYTHING that has the extension .ttf, you can also go to the windows fonts directory and it will be enough to use *. * within the same directory to copy all the fonts ).
After finishing the copy you can now use the free office with what was imported.
Thank you very much for the info.
I have to say that what worked for me was just creating the hidden .fonts file on my home and then copying the downloaded font there. I am using Debian Wheezy with Mate Desktop. First I tried what the tutorial says but without success ...
regards
Thanks for your post.
It has come in handy for what I wanted to do.
Greetings,
Santiago
why is it so complicated in linux to do something that should be so simple?