Pocket is a popular service that allows us to save web pages to read them later calmly. What makes it a great service is that we can synchronize what we save from the browser with our phone and thus be able to take the information anywhere. But Pocket has a problem, it is proprietary.
Reading in Very linux I found out that there is an open source alternative called wallabag, which we can use in two ways:
1. We create a free account at Framabag
2. Or we install it on our own server.
And it is precisely what I intend to show in this article, how to install Wallabag in a simple way on our VPS.
Creating the database
The first thing we must do is create a database in MySQL or Postgres for Wallabag. In my case we will do it with MySQL. We can use PHPMyAdmin for this, but in this case we will do it through the terminal, so we execute the following:
$mysql -u root -p
We put our MySQL password and later we create the database called * wallabag *, although you can choose the name you want:
mysql> create database wallabag; Query OK, 1 row affected (0.03 sec)
Once the database is created, we set the privileges for the user * wallabag *.
mysql> GRANT ALL PRIVILEGES ON wallabag. * TO 'wallabag' @ 'localhost' IDENTIFIED BY 'password'; Query OK, 0 rows affected (0.13 sec)
As is logical where * password * says we put the password for the database. Finally we execute:
mysql> FLUSH PRIVILEGES; Query OK, 0 rows affected (0.05 sec)
And that's it, we can now exit MySQL.
Installing Wallabag
Once we exit MySQL we write in the terminal:
$ wget -c http://wllbg.org/latest $ mv latest wallabag.zip $ unzip wallabag.zip $ mv wallabag-1.9 wallabag $ sudo mv wallabag / var / www / wallabag $ cd / var / www / $ sudo chown -R www-data: www-data wallabag / $ sudo chmod -R 755 wallabag /
I think you understand what we just did. First we download the file, then we rename it, extract the content, change the name of the folder that was left as a result of the extraction, and then with administrative privileges we transfer it to the directory where our websites are hosted. Finally we establish the owner and the necessary permissions on the folder.
Now we have to create a VHost in Apache, so we execute:
touch /etc/apache2/sites-availables/wallabag.mydomain.ltd
And we put it inside:
ServerAdmin elav@mydomain.ltd ServerName wallabag.mydomain.ltd DocumentRoot / var / www / wallabag / ErrorLog "/var/log/apache80/wallabag_error.log" CustomLog "/var/log/apache2/wallabag_access.log" common Options Indexes FollowSymLinks MultiViews AllowOverride All Order allow, deny allow from all
We restart Apache:
$ sudo /etc/init.d/apache2 restart
We open a browser and access * wallabag.midominio.ltd * and we should get something like this:
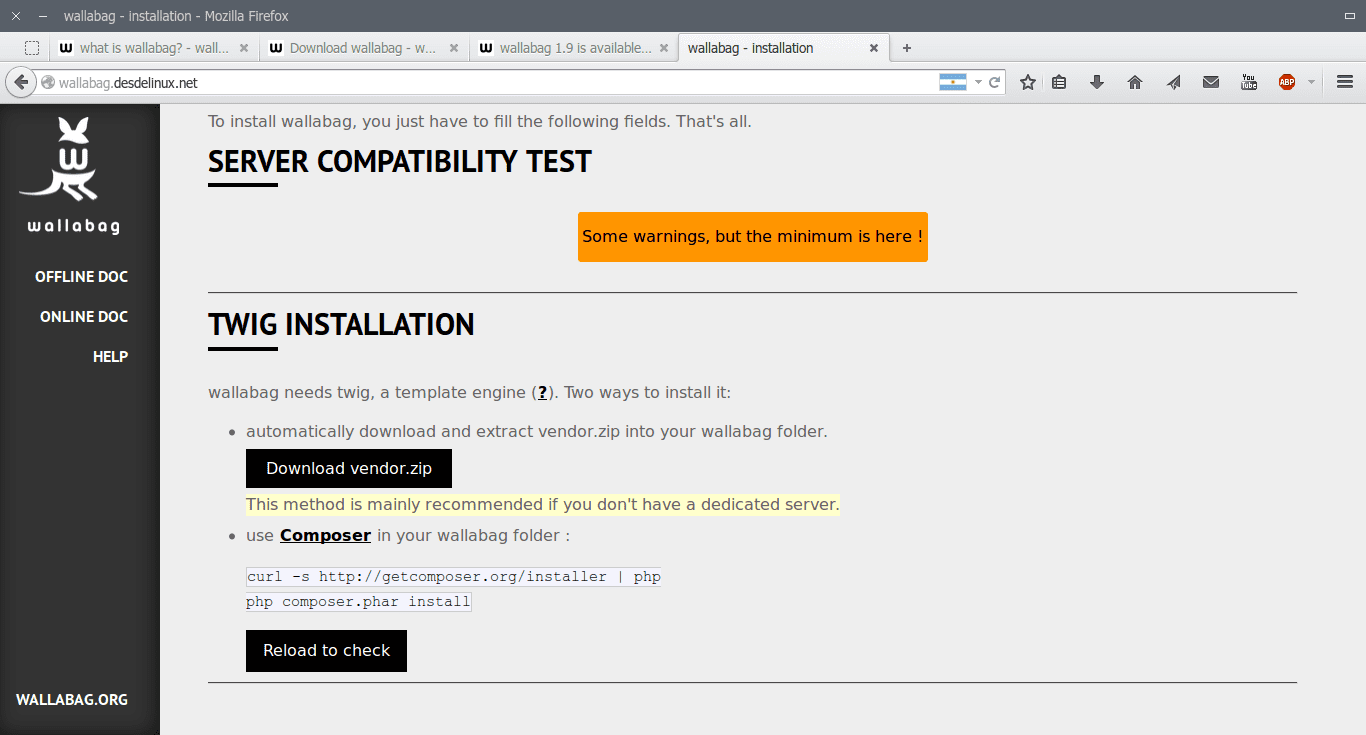
We have to realize two things before proceeding:
1. See the dependencies necessary for the installation of Wallabag by clicking on the button that says: Some warnings, but the minimum is here!
2. We have to install Twig. We just have to press the button that says: Download Vendor.zip and it will install automatically.
When we do step two we will get this:
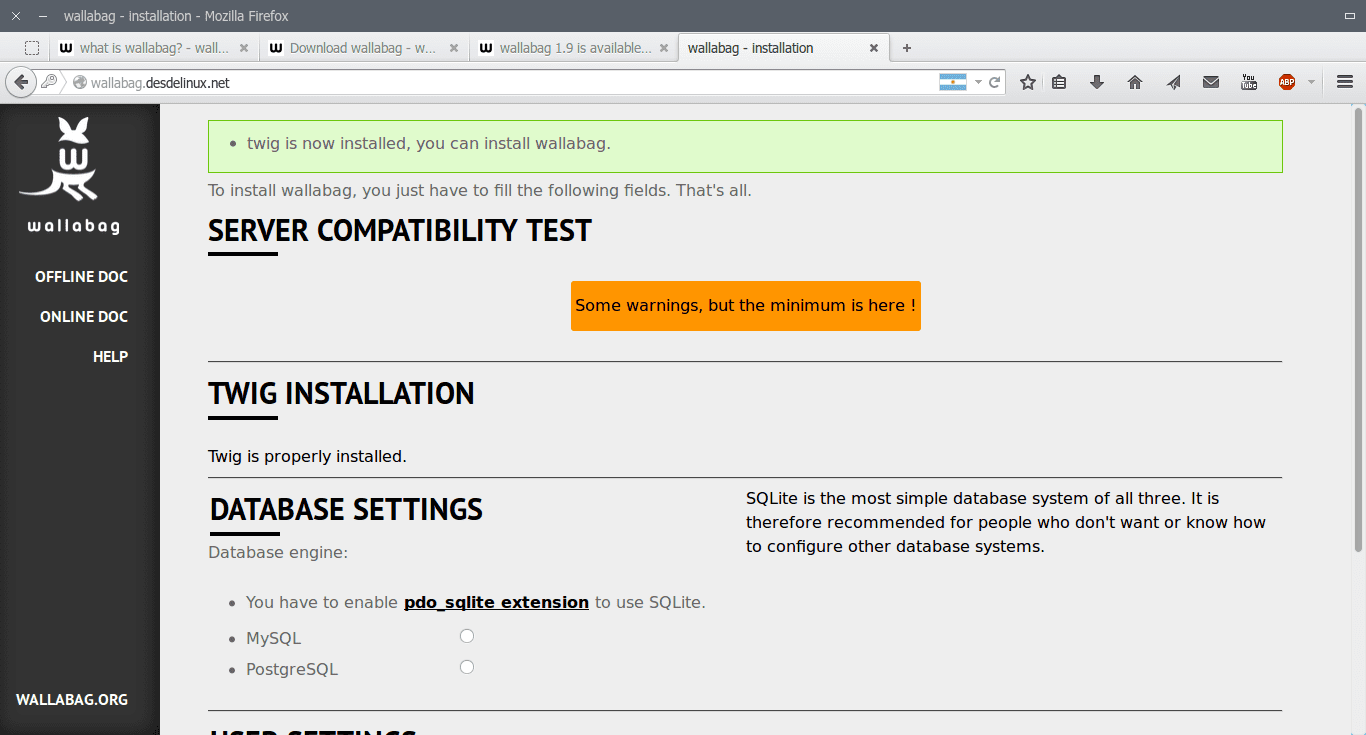
Notice that now we got the option to choose which database we are going to use, which as I said before will be MySQL. So we proceed to fill the fields with the data from our DB.

Now we select the username, password and email (alternative option) to Manage Wallabag:

We click on Install Wallabag and if everything goes well we get this message:

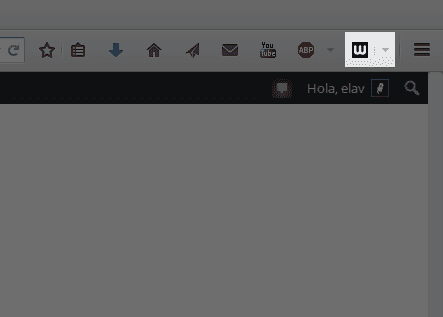
Click on: * Click here to access the login form * and it will ask us for our username and password and when we access, we will see this:

Ready, we already have Wallabag installed.
What do you do after installing Wallabag?
Well, the first thing is to go to the Settings and select the language we want (by default it will be in English). We can also select the default theme for Wallabag, and even import our articles saved in Pocket, Readability, Instapaper in json or html format. We can also export our articles to ePub3, Mobi and PDF.
We can install Wallabag as an extension in Mozilla Firefox and Google Chrome in the following links:
- Android: via F-Droid or via google play
- iOS: download the application
- Windows Phone: download the application
And this is it, we can send Pocket flying.
Sounds pretty good, I want to get a vps to fiddle with, or "make" a homemade one.
Elav, by chance you do not know if it can be installed on a Raspberry Pi B +, in any case I will check it, favorites. Thanks for the tuto 😀
Wallabag can be installed on a Raspberry, I have it with ArkOS that comes integrated as a plug-in, with a quite acceptable operation.
I have the following combination
Raspberry + ArkOS + Wallabag
I have never been able to use such an artifact, but if you install the Debian distro that is for them and mount a LAMP on this distro, of course you can 😀
Thank you when I get there (there is little left) I promise to write something for DL 😀
Great .. it will be a pleasure to have you collaborating here.
This great one, it would lack an application for Firefox OS no more
Very interesting, it is worth trying it, the best thing is that it is open source and even better that it uses the most popular and standard software in the world of free code: Linux, Php and Mysql.
We appreciate your article that not only provides us with a useful tool but also contributes to the expansion of open source.