Manjaro Linux is currently the most popular Linux distribution according to Distrowatch rankings And even though it is a derivative of Arch Linux, this distribution makes it easy for the user to install Arch Linux, since not everyone ventures to install Arch Linux pure.
This time Let's see how to install Manajaro Linux in a fairly simple way And it should be noted that this post is aimed at newbies who are curious to try Arch Linux.
Get Manjaro Linux
The first step we must do is download the Manjaro ISO, here you should know that there are several versions available, all with different desktop environments, including KDE, XFCE and GNOME in addition to the community versions.
You can download Manjaro Linux from its official website the link is this.
When you have decided which version you want to use, click on the direct download link.
CD / DVD installation media
- Windows: We can burn the iso with Imgburn, UltraISO, Nero or any other program even without them in Windows 7 and later it gives us the option to right click on the ISO.
- Linux: They can especially use the one that comes with the graphical environments, among them are, Brasero, k3b, and Xfburn.
USB installation medium
- Windows: They can use Etcher, Universal USB Installer or LinuxLive USB Creator, both are easy to use.
- Linux: The recommended option is to use the dd command, with which we define in which path we have the Manjaro image and also in which mount point we have our usb:
dd bs=4M if=/ruta/a/manjaro.iso of=/dev/sdx && sync
- Another option is Etcher since it is cross-platform.
How to install Manjaro Linux
To start the Manjaro installation, we are going to place our medium that we have just prepared on our computer where we will perform the installation and proceed to boot the system.
Before starting the installer you need to connect to the internet. If you are using an Ethernet connection, you should already be connected, but if you are using WIFI, click on the network icon in the upper right corner of the screen and choose the "select network" option.
Click on the network you want to connect to and then enter the password if necessary.
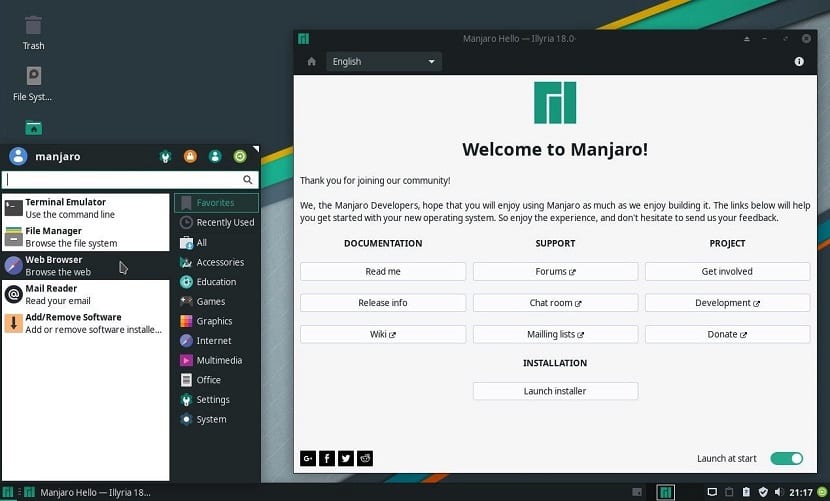
To start the actual installation process, Click on the "Launch Installer" icon on the welcome screen.
You can see a list on the left side of the screen and these are the stages that you will go through to install Manjaro. The first step is to choose the language for the installer.
The second step leads you to choose your location. This will define your computer's time zone and set the clock to the correct time
They can also choose the language for their system and the locale for numbers and dates.
In most cases, your location and language will already be set to the correct valuesYes, but if you don't change them, click on «Next».
You will now be asked to choose your keyboard layout.
Default, the language of your keyboard will be the default that the Manjaro installer has determined that it is correct. They can test the design by writing in the box provided.
If the layout is wrong, choose the language in the left panel and then the exact layout in the right panel.

In the next step on the partition screen you are allowed to choose where you want to install Manjaro.
Options include "install together", "replace partition", "erase disk" or "manual partition".
- If they want to dual boot with Windows, they can choose to install along with then choose the partition they want to shrink to install Manjaro.
- If you want to replace a partition on your disk with Manjaro, choose the option "Replace a partition" and then choose the partition you want to replace.
- To make Manjaro the only operating system on your drive, click the "Erase disk" option and click "Next".

Now you need to create the default user. In the next step they will need to enter their name, username and a name for their computer.
After they will need to assign the password they want to use for that user and a confirmation password.
In addition to the default user password, they can enter a different password for the administrator and confirm it.
However, If you want the administrator password to be the same as the user password, click on the option "Use the same password for the administrator account".
By clicking "Install", you are given one last chance to return. If you are sure you want to continue, click "Install Now".
At the end of the installation, simply remove the installation media and restart the computer.
Install manjaro 19.1 next to mint 19.3, with uefi the 2 and they work very well. Manjaro has more options than mint and that should be safer as those who know say. It cost me a little bit to activate the bluetooth but it is x the passage from one to another nothing ma, it is a very good distro as they say and so far no problem I always use mint in this notebook and delicacy in an Asus netbook that I have but now the handle already It is heavy for the net because it is a 10-year-old machine. The 2 distros that I mentioned before I use them in a lenovo 50-80 and they run very well with a 3th generation i5 and 16gb of ram. I clarify add a 240 gb ssd where I install the distros, remove the reader and in its place I put the 1 tera hdd that brought the notebook and the latter I use as the home of the distros and leave space in the ssd to install opensuse too, greetings