We are going to create a simple applet for Cinnamon. To begin, we must know that Cinnamon offers different types of applets:
- TextApplet (showing a label on the panel)
- IconApplet (showing an icon on the panel)
- TextIconApplet (indicating both an icon and a label on the panel)
- Applet (for hardcore developers, which show an empty box you can fill in yourself)
In this tutorial, we simply want to display an icon on the panel, so we will use an "IconApplet". In order to program our applet to Cinnamon or Gnome we need to know and know something about Javascript programming
Location of our code.
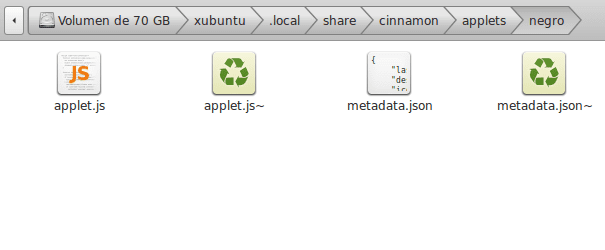
First, let's see the location of our file. The location of our applet is given at the following addresses:
/.local/share/cinnamon/applets or in /usr/share/cinnamon/applets

Files that make up our Applet.
We proceed to define applet.js

Now let's proceed to see the code of applet.js and explain each of its sentences:
applet.js code start
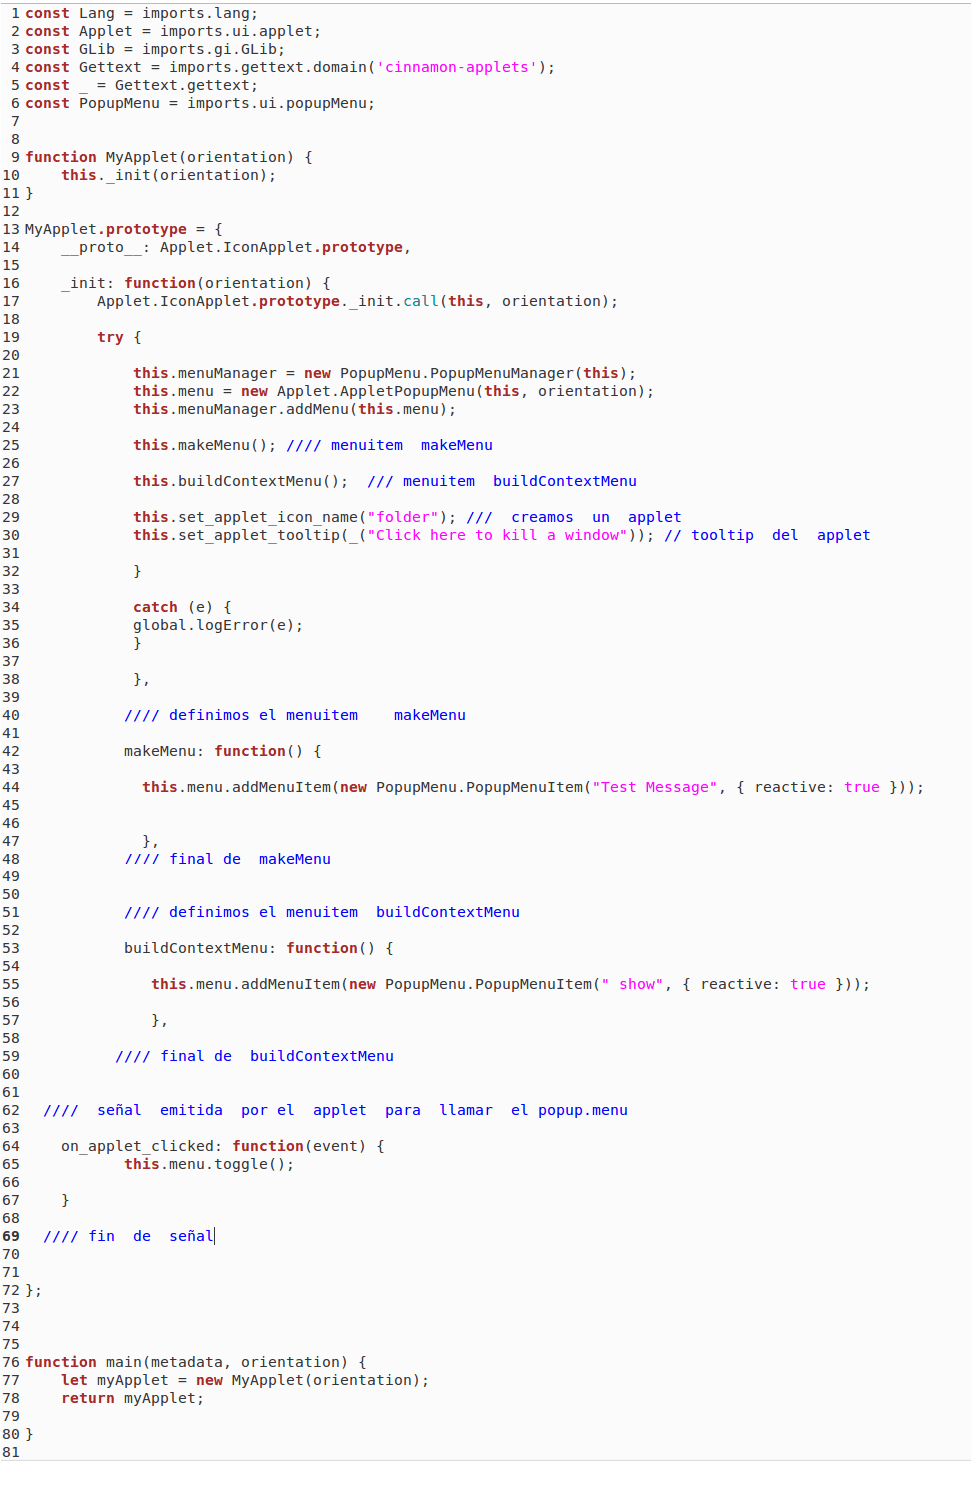
Let's see each of the sentences of our previous code
const Lang = imports.lang; / * We invoke the Gtk and Lang libraries, they are a basic part of any GNOME application, they allow us to create windows, widgets and link them. * / Const Applet = imports.ui.applet; / * We invoke the Applet library that allows us to create an applet for Cinnamon and Gnome and at the same time gives us its properties and functions. * / Const GLib = imports.gi.GLib; / * GLib is a helper library, it allows us to do things in GNOME, for example say where the hellognome.html file is, it is the library in charge of signals. * / Const Gettext = imports.gettext.domain ('cinnamon-applets '); const _ = Gettext.gettext; // Gettext library that allows us to import the characteristics of the Cinnamon desktop. const PopupMenu = imports.ui.popupMenu; / * PopupMenu is a library to use the menu manager, it allows us to invoke the popup-menu widget usually used in applets. * / Function MyApplet (orientation) {this._init (orientation); }
The constructor of our applet is defined below, let's look at our Class or Class:
We continue with the definition of each of the sentences
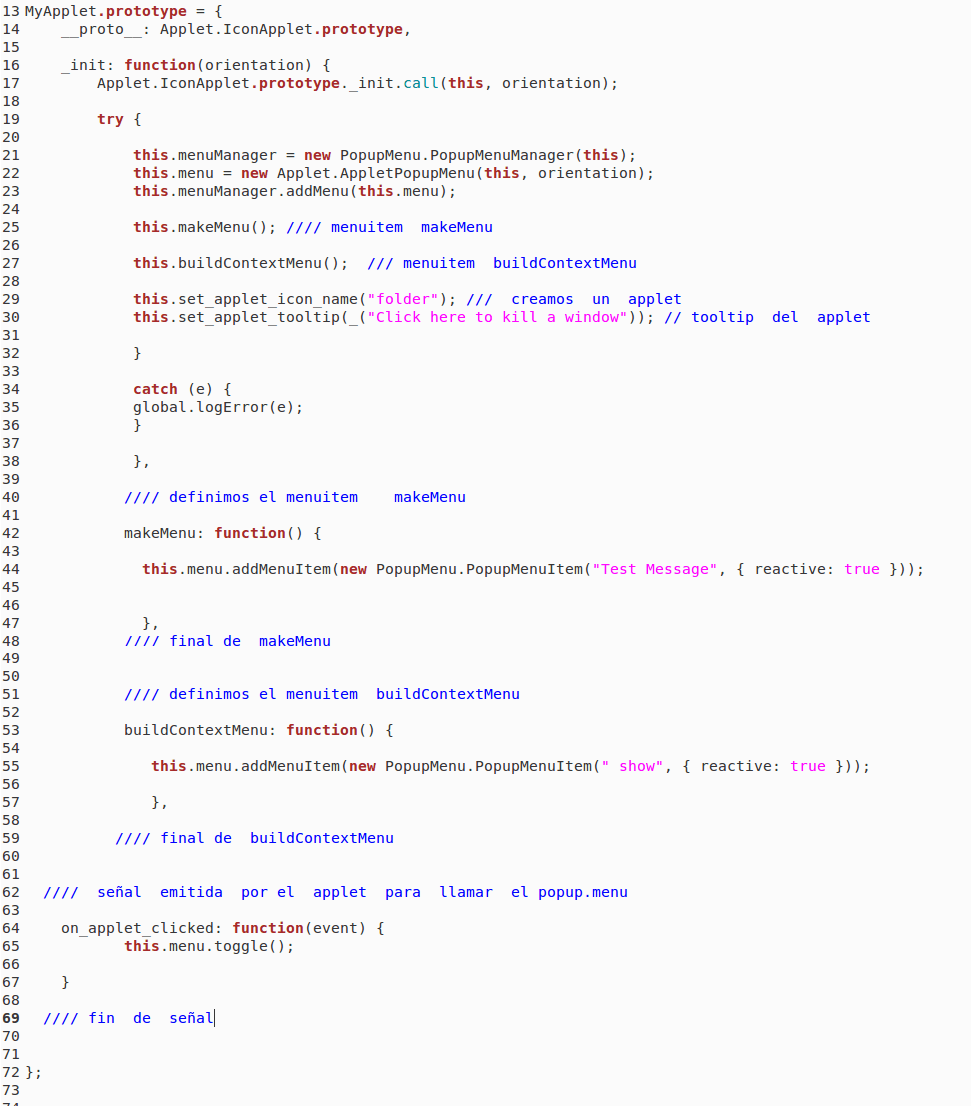
MyApplet.prototype = {__proto__: Applet.IconApplet.prototype, // We define our Class or Class _init: function (orientation) {Applet.IconApplet.prototype._init.call (this, orientation); / * We set the orientation through Cinnamon. We set whether the applet's panel is at the top or at the bottom (this has an impact on the orientation of the applet menus). * / Try {// Do something} Catch (e) {// What happens if an error occurs} / * We use a try / catch to catch any errors that may occur in our applet and to make sure they are written to the global error log. This way, if something goes wrong, you can see the error in Looking Glass: Press Alt F2, type "lg" and click on the "errors" tab. * / This.menuManager = new PopupMenu.PopupMenuManager (this) ; // Create the popup-menu and set the menu manager this.menu = new Applet.AppletPopupMenu (this, orientation); // we create a menu. this.menuManager.addMenu (this.menu); // We add the menu to the popup-menu. this.makeMenu (); // menuitem makeMenu, we create a menuitem called makeMenu. this.buildContextMenu (); // buildContextMenu, we create a menuitem called buildContextMenu. this.set_applet_icon_name ("folder"); / * We create the applet, this case is unique, the chosen icon is the folder or folder, we can also establish a text applet if we want. * /
As an example change the name of "folder" to "terminal", "docky" to establish new names see the name of the Gnome or Cinnamon icons or any other icon theme, go in the address.
/usr/share/icons
this.set_applet_tooltip (_ ("Click here to kill a window")); // Catch to catch any errors that may occur in our applet. catch (e) {global.logError (e); } makeMenu: function () {this.menu.addMenuItem (new PopupMenu.PopupMenuItem ("Test Message", {reactive: true})); }, / * We define the name of the makeMenu menuitem and its characteristics. In this case the label is Test Message ". We will define {reactive: true} We establish that the background of the menuitem will change when the pointer passes over the menuitem through true if it is false the opposite happens. * / BuildContextMenu: function () {this.menu .addMenuItem (new PopupMenu.PopupMenuItem ("show", {reactive: true}));}, // We define the name of the makeMenu menuitem and its characteristics. In this case the label is "show". on_applet_clicked: function (event) {this.menu.toggle ();} // Signal emitted by the applet, to call the popup-menu function main (metadata, orientation) {let myApplet = new MyApplet (orientation); return myApplet;} / * Finally , we just have to add a "main" function, which is likely to be the same in each applet, an instance of our applet is created and returned to Cinnamon. * / // We close the loop return myApplet;
We proceed to define metadata.json
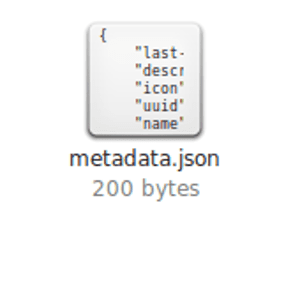

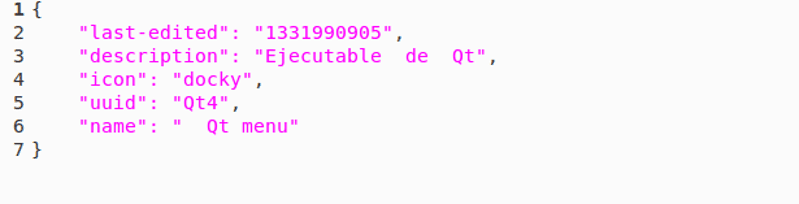
"last-edited": "1331990905", // Last edition. "description": "Click on the applet to show a custom personally defined gtk menu", // Applet description. "icon": "docky", // Icons used for the applet description. As an example change the name of "docky" to "terminal", "folder". "uuid": "black" // Folder where our metadata.json file is included "name": "Custom gtk menu" // Applet name.
Note: To set new names see the name of the Gnome or Cinnamon icons or any other icon theme, go to the file systems address.
/usr/share/icons
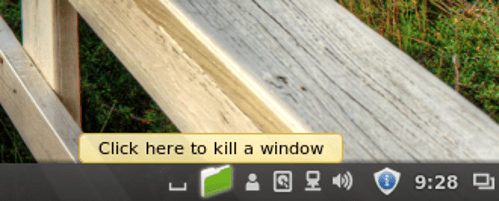
Image of created Applet

Qt, Gtk, Vala and other languages used to create an applet for Cinnamon or Gnome
Let's see the location of our applet for Cinnamon
The location of our applet is given at the following addresses:
/.local/share/cinnamon/applets
or in
/usr/share/cinnamon/applets

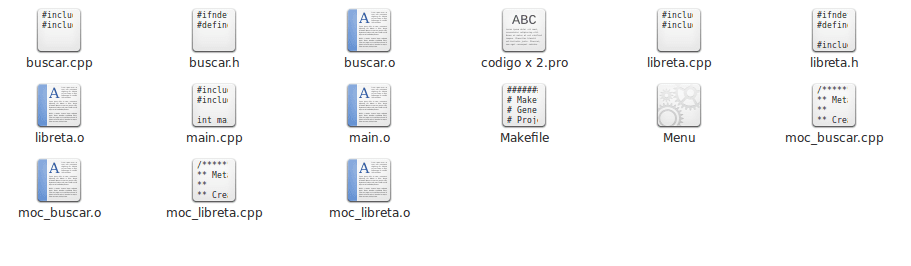
Composition of our applet

We proceed to define applet.js
Starting the applet.js code

End of applet.js
Now let's proceed to see the applet.js code and explain its statements.
The code written is practically the same as the previous example written with Javascript.
Only the signal has been changed, which will call our auto-executable.
on_applet_clicked: function (event) {GLib.spawn_command_line_async (GLib.get_home_dir () + '/.local/share/cinnamon/applets/Qt4/Qtmenu/Menu'); }
Our auto-executable can be written with Qt, Gtk, Gtkmm, wxWidget, Vala, etc. languages with which self-executables can be created. Our auto-executable is called Menu and it is in the Qtmenu folder.
We can also use other programming languages that have bindings for Gtk such is the case of PyGTK, Ruby Gtk, Perl Gtk, etc. which can be used using a script to execute the code written in those languages. The principle is always the same to call programs, create popup-menu and popup-window according to our needs.
Let's see the code of our auto-executable written with Qt
We proceed to define metadata.json
The code is written in the same way as the previous example
Image of the Applet created with Qt

Image of the Applet created with Gtk 3.10
Here is a small example of an applet that uses an executable written in Gtk, in this case we take the myGtkMenu menu used in OpenBox.
It is a self-executing menu.

Download the tutorial and examples
Interesting Article ...
Thank you . My is that we learn a little bit every day.
Very good, I love it, I always wanted to know how these kinds of applets were made
A small correction. Gettext is nothing specific to Cinnamon as it says in the article, it is a library that makes automatic translations possible and from templates.
Very good tutorial and all that but the important thing you did not put it: link to wallpaper?
Download the Linux Mint 16 Petra wallpapers.
The package is called mint-backgrounds-petra: http://packages.linuxmint.com/list.php?release=Petra
Very interesting article. The truth is that I had always wondered how these applets were created. Maybe I am encouraged to create a mini-player applet for MPD or something similar.
Thanks for sharing!
Excellent, I'm just figuring out how to modify the cinnamon nm-applet (network manager), so that it changes color when I don't have internet access, (I have a wifi card), and this helps me to orient myself a bit.
Well there Marian, I didn't know you were posting here. Regards.
As you walk, Matute… .. I always walk around these parts. Cheers
Good article.
file not found was deactivated for copyright violation.
What I mean is that if you have it there, can you upload it again ???. Please.
thank you.