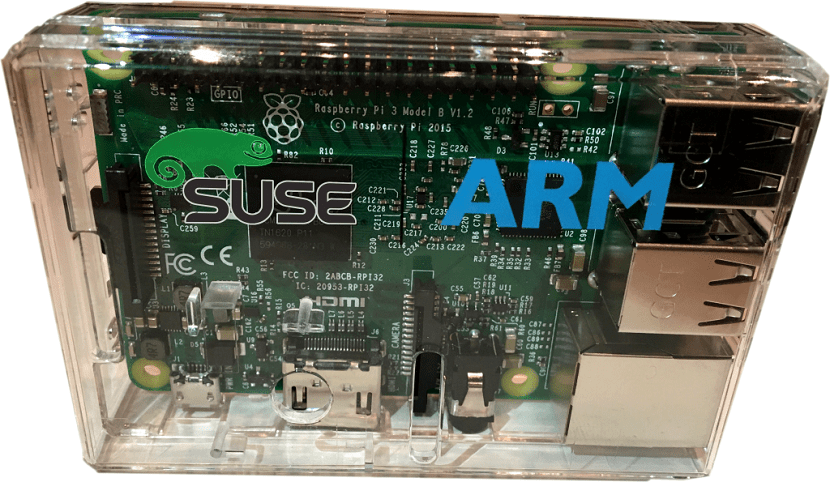
On some occasions I have already taken the opportunity to share with you some distributions that we can use in our Raspberry Pi 3 and today it is also one of those. Well, hoy we are going to know how to install openSUSE on our little device.
Although it is not a system that can be found in NOOBS or PINN, we can install this excellent system on our Raspberry Pi in a simple way.
The guys at openSUSE didn't decide to be left behind and have been making system images available to users to install on ARM devices for some time now.
Without a doubt I really like the idea of being able to use this system on our Raspberry Pi, because in the first instance we can choose whether to install a Rolling Release (Tumbleweed) or updates (Leap) system.
In addition to it too We are offered to choose if we want a system with a graphical environment (X11, Enlightenment, Xfce, or LXQT) or without an environment.
OpenSUSE ARM Download
Already knowing the versions with which we have, we can proceed to download the openSUSE version to our liking, which we can download from the following link.
Once the raw.xz file is downloaded, create a self-bootable microSD card from which to boot the system. You can use the system tools to save the image to the microSD card.
As well you can make use of a multiplatform tool "Etcher" which makes the process more secure.
O from the terminal we can extract the image with the following command:
xzcat [image].raw.xz | dd bs=4M of=/dev/sdX iflag=fullblock oflag=direct; sync
Keep in mind that you must replace the path of the image "[image] .raw.xz" with where you have the one you downloaded stored.
And "dev / sdX" by the path of your MicroSD.
Once the raw.xz file has been downloaded, create a self-bootable microSD card from which to boot the system. You can use the system tools to save the image to the microSD card.
At the end of the system image recording process, we must place the SD card in our Raspberry Pi to proceed to connect it to the current and this begins with the process of booting the system.
During the first start, openSUSE will automatically install the system and make use of all the free space on the card.
During the process you will see the following message:
GPT data structures destroyed! You may now partition the disk using

fdisk or other utilities
When the process finishes, log in with the following credentials
- User: root
- Linux password
By default the SSH protocol is activated on the system, so if you want you can use your Raspberry Pi without the need for a monitor.
During this first start, it is necessary to allow the entire system to be configured, so we must wait for this.

At the end we can connect to the system using the SSH protocol with the following command:
ssh root@linux.local
OpenSUSE configuration on Raspberry Pi
It is important to mention that the only user on the system is the root user so the use of the system for everyday tasks with this user is not recommended.
We can create a normal user with the help of YaST, for this it is enough that we execute yast2 and position ourselves in Security and Users → Users and Group Management and add a new user.
Now we must update our systemWe can do this from YaST2 in "System -> Online update".
Done this we can install nano with:
sudo zypper in nano
We can enable the Wifi interface by editing the following file:
sudo nano/etc/dracut.conf.d/raspberrypi_modules.conf
Inside the file we must delete sdhci_iproc on the first line and uncomment the last line. Save the changes and run the command:
mkinitrd -f
And restart the Raspberry Pi.
When the system has started again we should be able to see the activated wireless network connection, as well as the networks available at that moment.
If not, we go to YaST and in "System → Network Settings" the list of devices.