SparkleShare is a file sync tool which allows users to sync and share various text files, office documents and other types of small data to users on a LAN or over the Internet in the form of Dropbox.
SparkleShare it's free and works great on a large number of Linux distributionsBy default, it uses Git as a storage backend.
The advantage of self-hosting is that the user retains complete control over their own data. In the simplest case, self-hosting only requires SSH and Git.
SparkleShare host system is effortless to configure, thanks to its "Dazzle" tool. Dazzle is a shell script that users can use to manipulate SparkleShare actions, connect clients, and much more quickly.
How to install SparkleShare on different Linux distributions?
In order to install this great file synchronization tool on our system or on a server, we are going to use the Dazzle script.
The Dazzle script does not require any one-time setup to use or installSimply download the script to the home directory of the Linux server or desktop that will host the files.
For this in a terminal we are going to type the following command:
wget https://raw.githubusercontent.com/hbons/Dazzle/master/dazzle.sh
Script download already done we are going to update the permissions of the Dazzle script, so that they can use it correctly.
Without the correct permissions, it is very likely that the script will not run correctly, for this in the terminal we must type:
sudo chmod + x dazzle.sh
After setting the permissions, run the Dazzle setup command.
The configuration command will automatically generate various configuration files as well as other essential system changes required to run a Sparkleshare system.
sudo -s

sh dazzle.sh setup
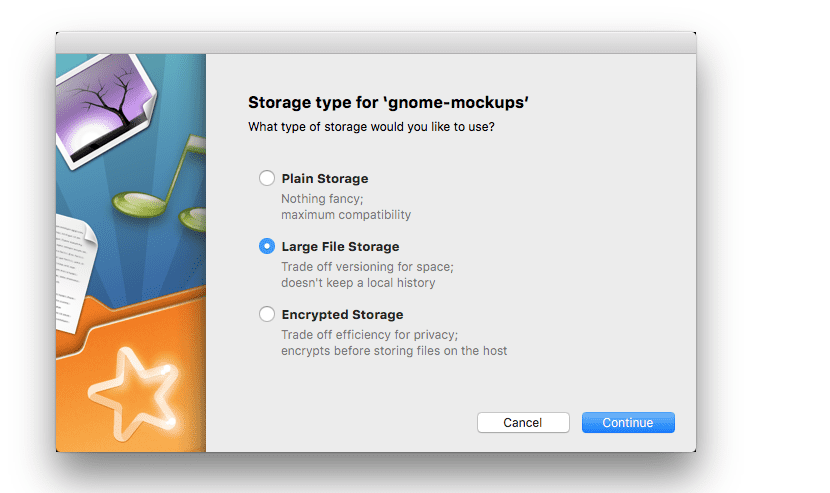
You should be aware that Sparkleshare file hosts work with small files in a better way such as text files, images or other small documents.
Trying to use this for large files is not recommendedas that is not what the software is designed for.
To create a new share, just run the following command
sh dazzle.sh create recuerso_a_compartir
The Dazzle script, when complete, will print the remote connection details for your new share.
They should copy this shared information and save it in a text file.
Installing the Sparkleshare client

Now that you have the Sparkleshare server running, time to configure client side. Fortunately, Sparkleshare is available on all major operating systems.
To install Sparkleshare on Linux, open a terminal and follow the instructions depending on your Linux distribution.
If they are users of Debian, Ubuntu, Linux Mint, Elementary OS or any system that is derived from these, you can install this tool with the following command:
sudo apt-get install sparkleshare
In the case of those who are Arch Linux users, Manjaro, Antergos or any Arch Linux derivative system. It is necessary to have the “Community” repository enabled in your pacman.conf file.
To install the application, you must type:
sudo pacman -S sparkleshare
While for those who are CentOS, RHEL, Fedora, and derived system users of these can install the application with the following command:
sudo dnf install sparkleshare -y
If you're user of any version of OpenSUSE, simply install with the following command:
sudo zypper in sparkleshare
The developers of Sparkleshare have a version of Flatpak available to install, for this they only have to execute the following command:
flatpak remote-add flathub https://flathub.org/repo/flathub.flatpakrepo

flatpak install flathub org.sparkleshare.SparkleShare
Setting up SparkleShare
To connect to a self-hosted SparkleShare, first they must add the ID to their server. Start the SparkleShare client and right click on it in the system tray on your desktop.
In the right-click menu, find "Client ID" and click the "copy to clipboard" button.
With root access, run the Dazzle script and run the following command:
sh dazzle.sh link
Immediately after They should put the ID and that's it.
When the host and client are connected, click again on the SparkleShare icon in the systray and select "add hosted project", here you will need to enter the connection details of your share to gain access.