![]()
This is the second part about the tool SUSE Studio, to read the first part click here. In the first part I explained a little the interface of SUSE Studio, in the following parts I will try to explain the tool in detail, and where the power of this tool really lies, the section on Software and of Configuration. In this second part I am going to delve into the section on Software.
Software section in Suse Studio
In this section we can choose the software that our new distribution will have by default. In the tab Software There are three sections which are: Software sources, selectedsoftware y Search for software.
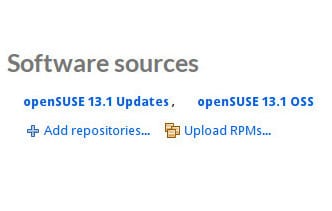
Software sources
In this section we can select the repositories and files RPM from where we will be able to add the software we need for our distributions. Here we can see two important things: the repositories and files that we have added at the moment and two buttons where we can add more repositories or more files RPM.
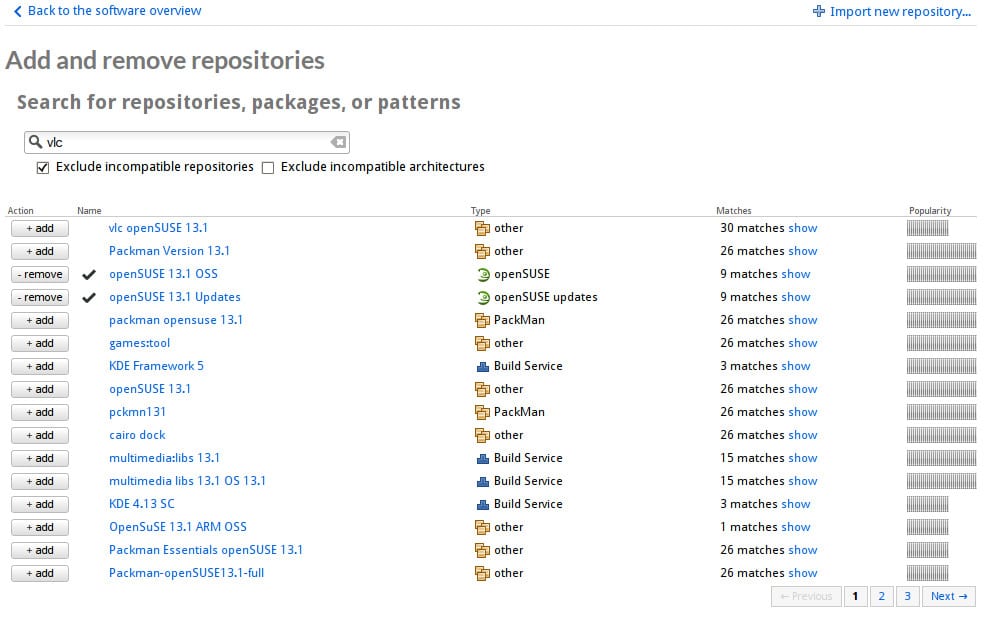
To add a repository, click on the button Add repositories and a search engine will appear where by entering the name of a package or repository name, it will search the name of the repository and the packages within it.
It will show us the result below with a button to add the repository, the name of the repository, the possibility of viewing the packages that contain the searched word and a popularity bar of that repository:
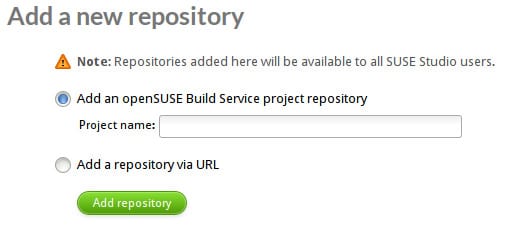
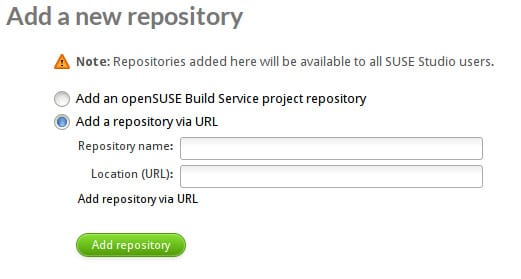
To be able to add the repositories by hand you have to click on the button Import new repository which is in the upper right. Clicking on the button takes us to another window where there are two options to add the repository, with the project's name:
or with URL:
To add a file RPM to our sources you have to click on the button Upload RPM's. Here a window with two buttons will appear. The button Upload RPM's It will open a window from where we will have to select the RPM that we want to upload from our PC:

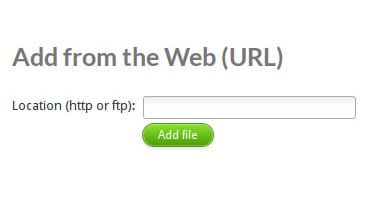
The other button Add from the Web (URL) takes us to another window where we have to indicate the URL of the package:
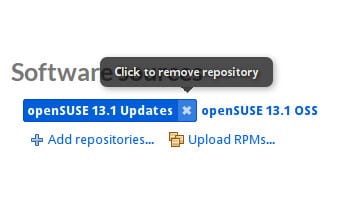
In order to delete a repository or file, simply where we have them listed we place the mouse over it and a "X" to be able to remove it with a simple click.
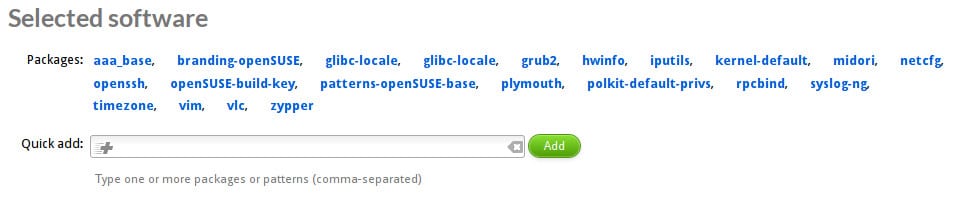
selectedsoftware
In this section we have a list of the packages that we have added to our distribution. To add a package, below where they are listed we have a button that says quick add, click and a search engine will appear where by putting the name of the package and clicking on the button Add will directly add the package to the list.
To delete a package, do the same as in the section Software sources.
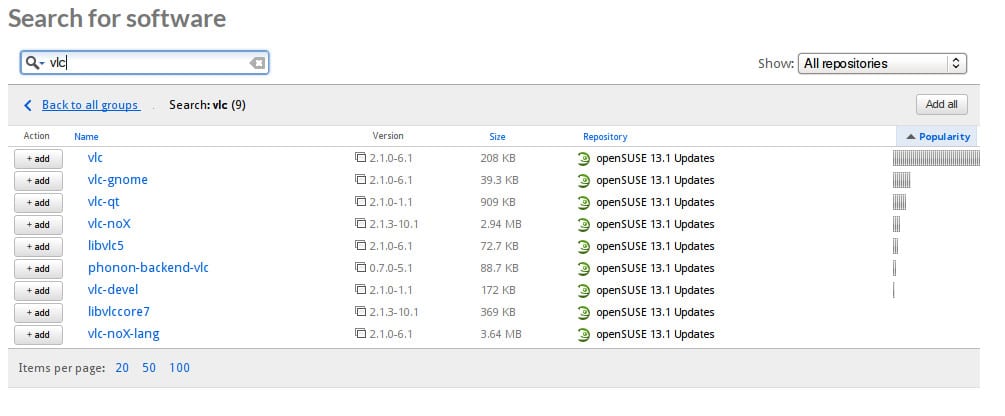
Search for software
In this section we can search for the packages we want for our distribution. There are two parts, in one we can use the search engine to put the name of the package and select it in the window that appears by clicking on the button Add:
The other part consists of several icons where the software is organized by categories. If we click on an icon, a window will appear with all the packages that it contains category and add them by clicking on the button Add:

So far the second part about SUSE Studio, in the next part I will talk about the tab Configuration.
Sources:
Very good thanks.
The tutor is excellent. This makes you want to try SuSE / OpenSuSE.
One question, can you log into SUSE Studio with a Google account? I have been with the account for a few days without any problem but now, when I log in, it tells me "Error Invalid username or password".
Today I have no problems with the Gmail account. I log in correctly