![]()
ownCloud is an application free software of the service type file hosting, which allows online storage and online applications (cloud computing). It has a good web-based user interface and has apps for Linux, Windows, macOS, Android, and iPhone.
Due to the nature of ownCloud, eThis application is perfect for our Raspberry Pi and that can help us to give you the functionality of hosting our files.
Installing ownCloud on our Raspberry Pi is quite simple. In this tutorial we will take as a basis the official system of our Raspberry which is Raspbian.
If you still do not have this system installed on your Raspberry, you can consult the following article where we explain how to do it in a fairly simple way. The link is this.
Already with Raspbian installed on our Raspberry pi, we are going to update the packages and the Raspbian APT package repository cache with the following command:
sudo apt update
Now, you have to update all new software packages that have been detected from Raspbian. For this we just have to execute the following command:
sudo apt upgrade
Adding the OwnCloud package repository
OwnCloud is not available in the Raspbian repository. For which we will add it to our system in the following way.
First, let's download the GPG key from the OwnCloud package repository:
wget -nv https://download.owncloud.org/download/repositories/production/
Debian_9.0 / Release.key -O Release.key
Now, we add the download key to the system with:
sudo apt-key add - < Release.key
Already with the key added to the system, we can add the ownCloud repository to our system. We are going to add this by executing the following command:
echo 'deb http://download.owncloud.org/download/repositories/production/Debian_9.0/ /'| sudo tee /etc/apt/sources.list.d/owncloud.list
Already added the repository, now we are going to execute the commands update of packages and our list of repositories with:
sudo apt update
sudo apt upgrade
In case we see a message related to wpasupplicant, we just type the letter q. And at this point the installation should continue.
With everything updated and the application installed, We will only have to restart our Raspberry Pi with the following command:
sudo reboot
Installation and configuration of Apache and MySQL for OwnCloud
OwnCloud is a web application that runs on the LAMP stack and you need a fully functional LAMP server setup before you can install OwnCloud. I will show you how to do it in this section.
They can install Apache, PHP, MariaDB and some PHP extensions in Raspbian:
sudo apt install apache2 libapache2-mod-php mariadb-server mariadb-client php-bz2 php-mysql php-curl php-gd php-imagick php-intl php-mbstring php-xml php-zip
Now We are going to execute the following command to enable Apache's mod_rewrite module:
sudo a2enmod rewrite
Done this let's log into the MariaDB console as root user with the following command:
sudo mysql -u root -p
By default, no MariaDB password is set. Already being inside, we proceed to create the database with:
MariaDB [(none)]> create database owncloud;
We create a new MariaDB owncloud user and we will also assign a password to it for the user with the following query:
MariaDB [(none)]> create user 'owncloud'@'localhost' identified by 'tu-password'
Where you can replace the password (your-password) and username (owncloud) with the one of your choice. And after that we are going to give permissions to the newly created user with:
MariaDB [(none)]> grant all privileges on owncloud.* to 'owncloud'@'localhost';
And we left MariaDB
MariaDB [(none)]> exit;
Apache configuration
Now, we need to edit the Apache default site configuration file with:
sudo nano /etc/apache2/sites-enabled/000-default.conf
And here we are going to look for the line "DocumentRoot / var / www / html" and we are going to change it to
DocumentRoot / var / www / owncloud.
We save the changes with Ctrl + O and close with Ctrl + X.
Now we are going to execute the following command:
sudo apt install owncloud-files
And we are going to restart the Apache 2 service with the following command:
sudo systemctl restart apache2
Setting up OwnCloud
The first thing we are going to do is know what our IP address is, we can know this with:
ip to | egrep "inet"
We are going to copy the ip that results for us and in a web browser we paste it in the address bar and here we will configure OwnCloud for the first time.
Where It will ask us to create a username for the administrator as well as a password.
And we can also change the default data directory of OwnCloud / var / www / owncloud / data for whatever we want or we can leave it like that.
Now we are going to put the username of the database that we created a few steps ago.
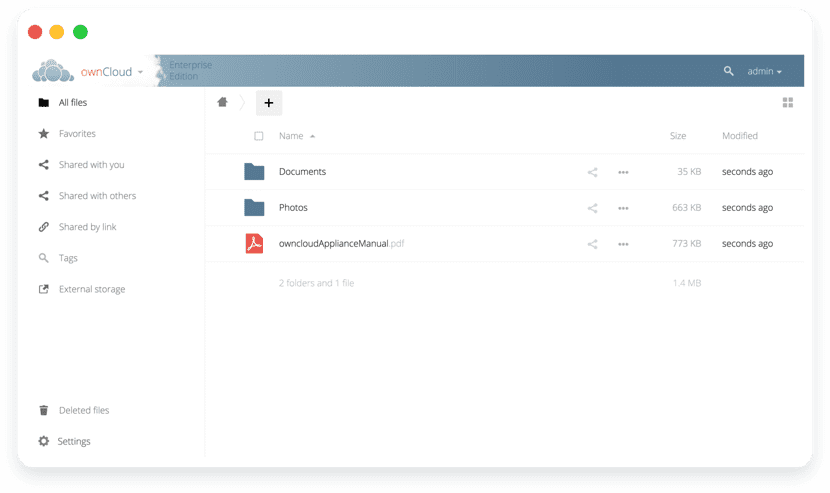
Now you can log in with the OwnCloud username and password you just specified and you're done. They can now start using OwnCloud on their Raspberry Pi.
In my humble opinion, Nextcloud development is much more active, so I would suggest installing Nextcloud instead of Owncloud ...
Hey.
On the grant all privileges step I get stuck. I have changed the syntax I don't know how many times and I don't get anything.
The localhost should I change it to the ip that my raspberry has or do I just leave the loclahost as written?
I'm a novice at this, and I'm trying to serve by following the steps you describe here ...
Thanks in advance.
I have stayed in
echo 'deb http://download.owncloud.org/download/repositories/production/Debian_9.0/ / '| sudo tee /etc/apt/sources.list.d/owncloud.list
I did sudo apt update and it came out Malformed entry 1 in list /etc/apt/sources.list.d/owncloud.list (Suite)
The list of sources could not be read.