As I have some free time to rest (from doing projects or playing games for a while), I have decided to write this article (or perhaps articles) about web development with Flask (Python). I'm not going to stop to explain what Flask is, they already explain that in Hypertext and they explain it much better than me.
Installation
At this point (whatever the operating system) we should already have Python installed, so we only have to install Flask
$ sudo pip install Flask
Easy right?
Hello World
In Flask we can create the classic "Hello World" in the following way:
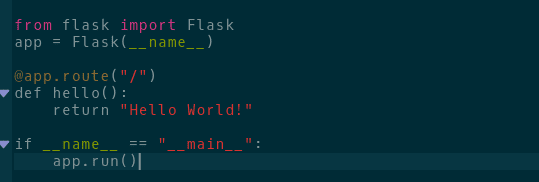
We just save our code as hello.py and run it
$ python hello.py

* Running on http://localhost:5000/
Now our application is running at http: // localhost: 5000 /
Very easy, right?
A simple blog
Step 0: creating the folders
Before we start, we need the following folders for our application:
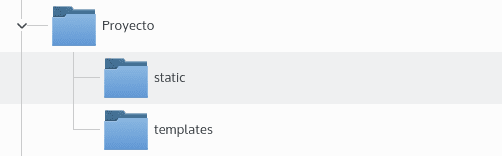
The Project folder can have any name you want, it is just the folder where you will have your application. In the static folder will be the files available to users via HTTP. That is the place where you should put your css and js files. The templates folder is where the templates (the html5) of your application will be.
Step I: Database schema
We will create the database schema first. For this application we will only need a database. Just enter the following code in a file named "schema.sql" in the Project folder.

This scheme consists of a single table called inputs and each row of this table has an ID, a title and a text. This ID is an auto incrementing integer and a primary key, the other two are strings.
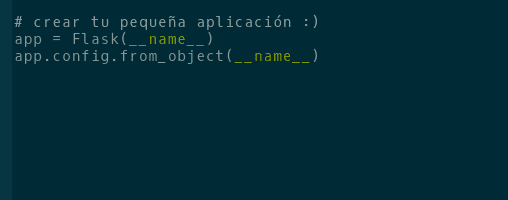
Step II: Initial application code
Now that we have the schematic we can create the application module. Let's call it flaskr.py, which has to be inside the Project folder. To begin we are going to add the necessary imports, as well as the configuration section. In small applications we can leave the configuration directly in the module that we are going to do. However, the best and most correct would be to create a .ini or .py configuration file, load it and import the values from there.
In the flaskr.py file:

The secret_key is required to keep sessions secure. Choose this key wisely. The debug flag enables or disables the interactive debugger. Never leave debugging on on a production system, as it will allow users to run code on your server!
Now we can create our application and start with the configuration in flaskr.py:
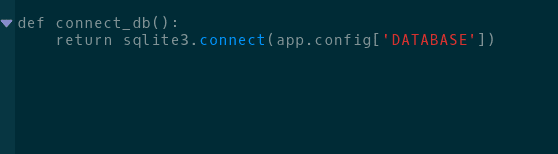
We are also going to add a method to easily connect to the specified database. This can be used to open a connection on request. This will come in handy later.
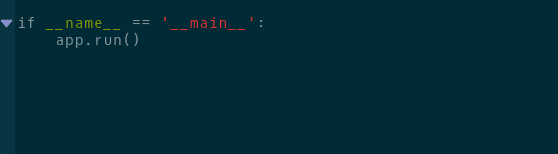
Finally we add a line at the end of the file that the server will execute if we want to execute the file as an independent application:
With that you should be able to launch the application without problems. Now we use the following command:
$ python flaskr.py
You will see a message indicating that the server has started along with the URL.
If we access the URL, it will give us a 404 error, since we don't have a website yet. But we'll focus on that a bit later. First we must get the database working.
Hello, thanks for the article. What do you think about having all the routes together Django style? What advantages are there in having the route for each function in the style of Express, Flask or Bottle?
I have not tried Django (Kill me if you want) but I could say that it is for the convenience of whoever programs. (Correct me if I'm wrong)
The article is not finished !! Who dared to post it? D:
Spelling mistakes like "conciste", the same author in his comment says "Corriganme", it would be nice to have a spell checker installed and look at the red stripes that appear under some words. It is also true that he has not finished writing it and therefore reviewing it.
I think I'm not the only one who has been looking like an asshole looking for the next button ... to turn the page "or something."
Hopefully more come, very good job