
Getting to know LibreOffice Tutorial 05: Introduction to LibreOffice Impress
Continuing the series of posts on Getting to know LibreOffice, today we will focus on this fifth installment on the application known as LibreOffice Impress. In order to continue our exploration dedicated to knowing in detail a little more about the current previous stable version (still 7.2.5.2) for the LibreOffice Office Suite. While, for future installments, we will continue to base ourselves on the current stable version (still 7.3.5).
And as many already know, LibreOffice Impress is the application created to be the Multimedia Presentation Manager Of the same. And, therefore, the ideal to start generating and editing, new or existing presentations, Style MS PowerPoint. So, next we will see what this version offers in terms of graphical interface and technical characteristics.
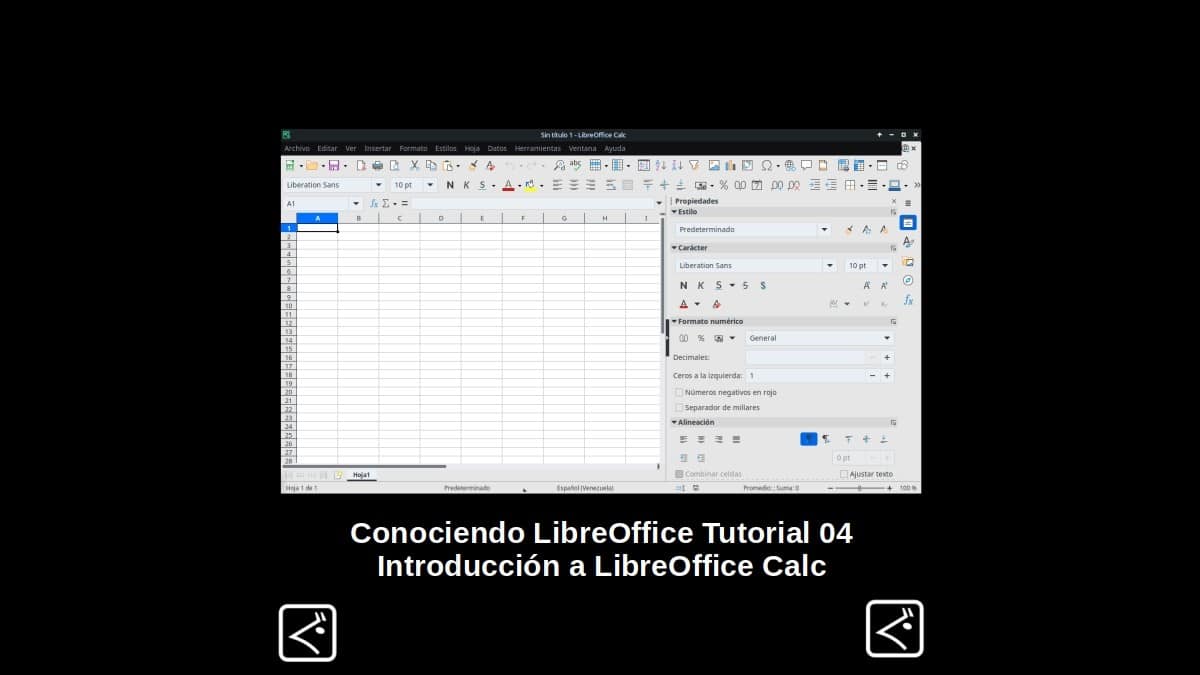
Getting to know LibreOffice Tutorial 04: Introduction to LibreOffice Calc
And as usual, before we dive into today's topic of LibreOffice Impress, we will leave some links to previous related posts:

LibreOffice Impress: Getting to Know the Presentation Manager
What is LibreOffice Print?
For those who know nothing or little to LibreOffice Impress It is worth briefly remembering that it is, a feature rich tool that acts as the component of presentations (slideshow) of the office suite. Therefore, with this utility anyone can easily, from generate slides with texts, numbered and bulleted lists, even tables, graphs, images clipart, and other objects.
Another important feature is that Impress includes some bundled styles, wallpapers, slides and templates, to help you generate presentations. Also, includes a spell checker, a thesaurus, text styles, and background styles, to be able to work efficiently the elaborated texts, both orthographically and visually.
Finally, it is worth noting that, although natively files are saved in ODP-format, these can open with other office software compatible with it. And failing that, they can be saved or export the content created in various image and file formats, free and proprietary, for example, to open them later in MS Power Point on Windows, or other office suites on other operating systems.
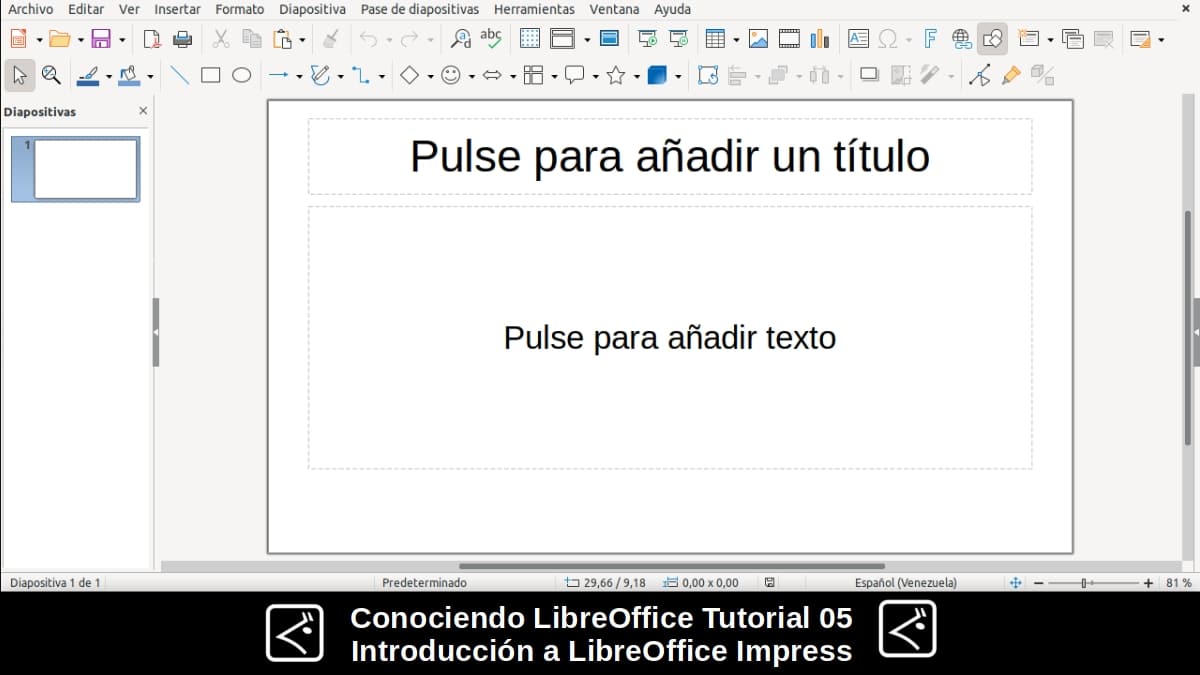
Visual interface and app design
As can be seen in the following image, this is the current visual interface of LibreOffice Impress, as soon as it is started:
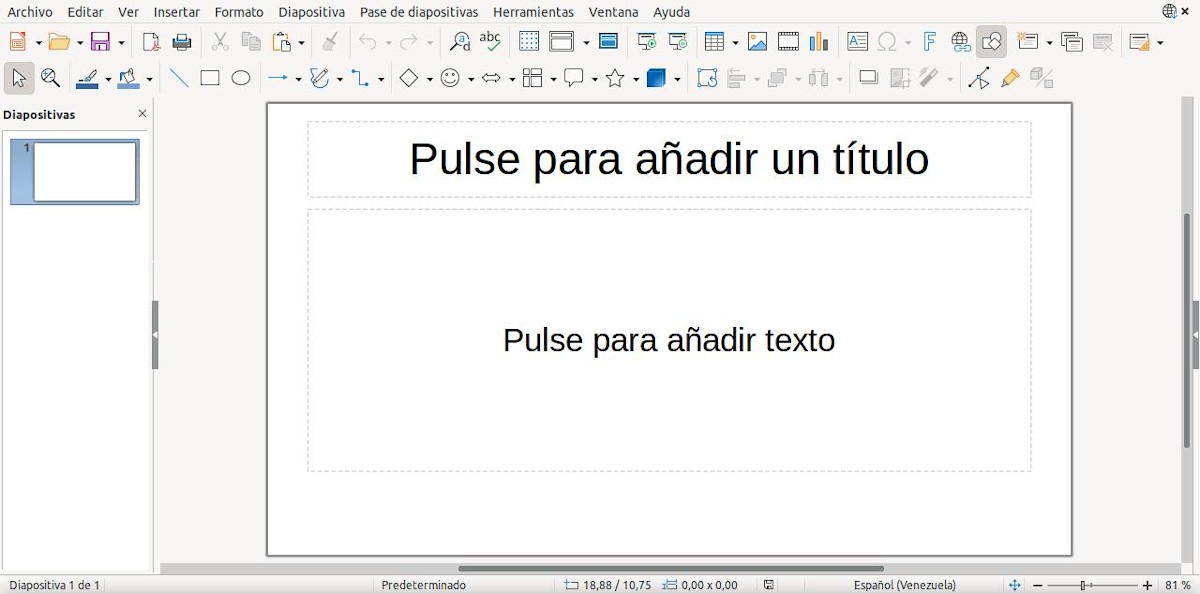
In it you can see, immediately below the title bar from the window, the bar of Menus, and then the toolbar that come by default. While, occupying almost the entire central part of the window, is the user workspace. That is to say, the design sheet of the multimedia contents (presentations) in which the work will be done.
Finally, on the right side, there is a side bar which comes with many displayable options, at the request of the user. While, on the right side, is the section (panel) called Slides, where you can see the thumbnails of the sheets that the presentation contains. And at the end of the window, at the bottom, as usual, is the traditional status bar.
As shown below, each one separately:
- Title bar

- Menu bar

- Toolbar

- slide panel + User workspace
- Left sidebar
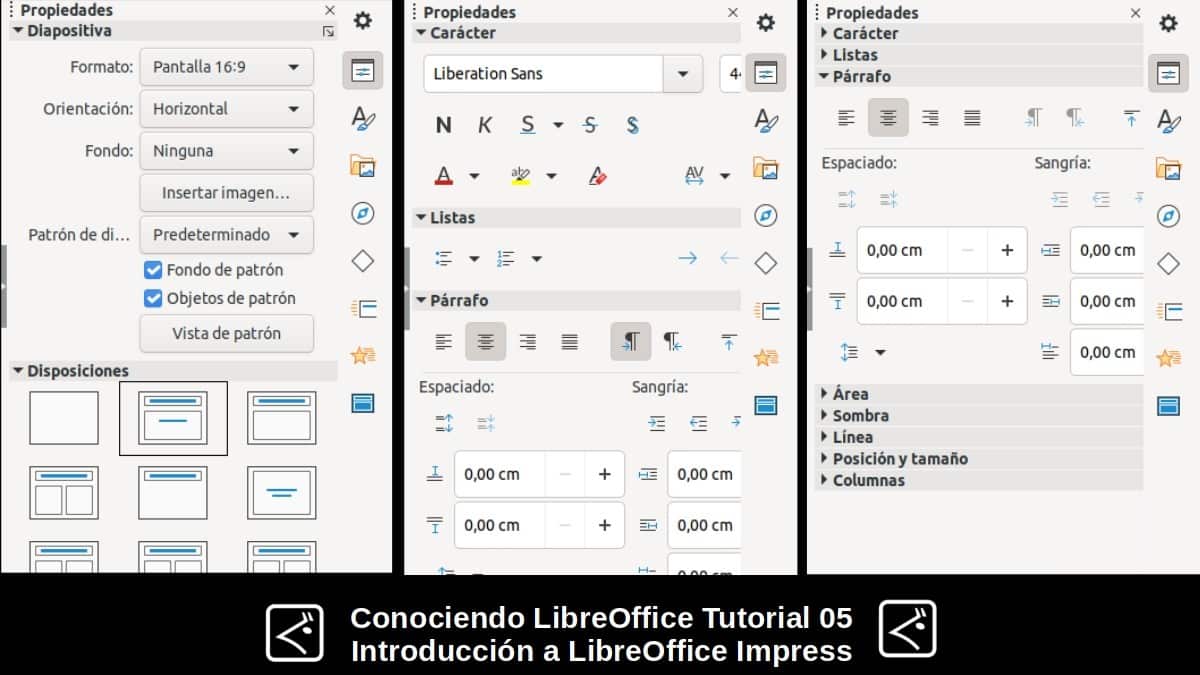
- Status Bar

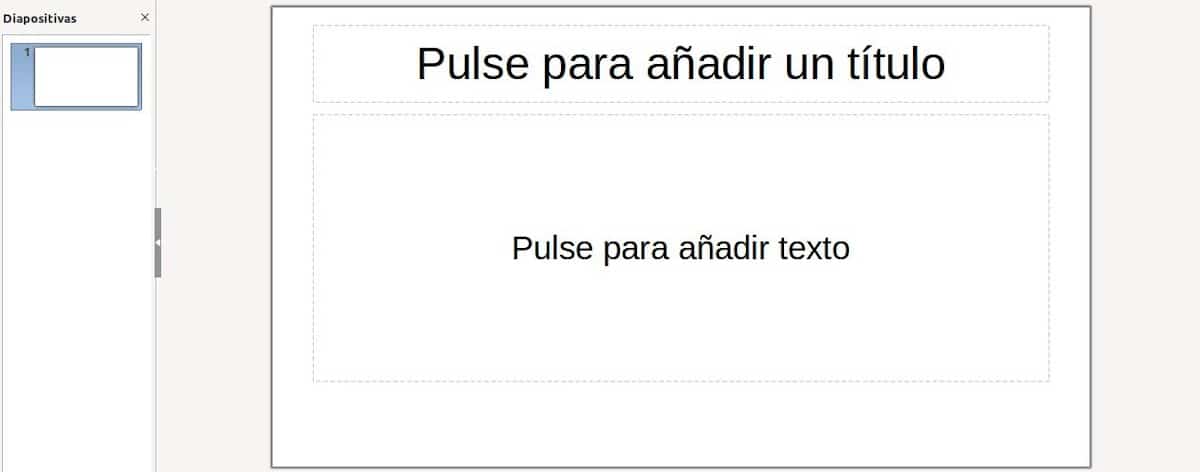
“The Workspace (usually the center of the main window) opens in Normal view. It has four standard views Normal, Outline, Notes, and Slide Organizer. You can also activate the View Tabs bar in the same View menu to display the four frequently used tabs in the work area. These views are selected via tabs at the top of the Workspace". Workspace views / Getting Started 7.2
More information about LibreOffice Impress Series 7
If you're still in the LibreOffice version 6, and you want to try the version 7, we invite you to try it by following the next procedure About you GNU / Linux. Or if you just want to get to know her by reading, click here.


Summary
In short, in this fifth installment of Getting to know LibreOffice about LibreOffice Impress, we can continue checking the most recent features and functions within it. In this way, to optimize our work on it, in order to improve our user experience when using it.
If you liked this post, be sure to comment on it and share it with others. And remember, visit our «homepage» to explore more news, as well as join our official channel of Telegram from DesdeLinux, West group for more information on today's topic.