
Getting to know LibreOffice Tutorial 06: Introduction to LO Draw
Continuing the series of posts on Getting to know LibreOfficeToday we will focus on this sixth installment about the application known as LibreOffice Draw. In order to continue our exploration dedicated to knowing in detail, a little more about each component of the LibreOffice Office Suite.
Also, as many already know, LibreOffice Draw is the application created to be the Drawing Manager Of the same. And, therefore, the ideal to generate and edit, new or existing vector graphic designs and raster (pixel), Style MS OfficeVisio. So, next we will see what this version offers in terms of graphical interface and technical characteristics.
Getting to know LibreOffice Tutorial 05: Introduction to LibreOffice Impress
And as usual, before we dive into today's topic of LibreOffice Draw, we will leave some links to previous related posts:
LibreOffice Draw: Getting to Know the Drawing Manager
What is LibreOffice Draw?
For those who know little or nothing about LibreOffice Draw, it is worth briefly pointing out that it is, un vector graphics drawing program, which also supports easy management of raster (pixel) graphics. Therefore, it is ideal for quickly generating a wide variety of graphic images.
And since it is fully integrated into the LibreOffice suite, greatly facilitates the graphics exchange between the components of it. Therefore, creating an image in Draw, and reusing it (copy/paste) in a Writer document or another of the LibreOffice apps, it is something really simple and easy to do.
Their features and capabilities can be classified as belonging to a mid range tool, since, it does not have many advanced tools, but it does bring some more and better ones, than other low-end tools, on average.
For example, it includes the layer management, a system of grid points magnetic making tools dimensions and measurement display, connectors to organize pictures, and 3D functions for generate small three-dimensional drawings (with texture and light effects), among many others.
Finally, it is worth noting that, although by default files are saved in ODG format, they can also be saved in the formats OTG (Draw Drawing Templates) and FODG (ODF drawing in plain XML).
However, in that drawing tool, you can export the content created in multiple image and file formatssuch as htm, html, xhtml, bmp, emf, eps, jpg, png, gif, svg and even pdf. Then, to be able to use them in any other multimedia and office automation tool, especially Windows, macOS, or Linux.
Visual interface and app design
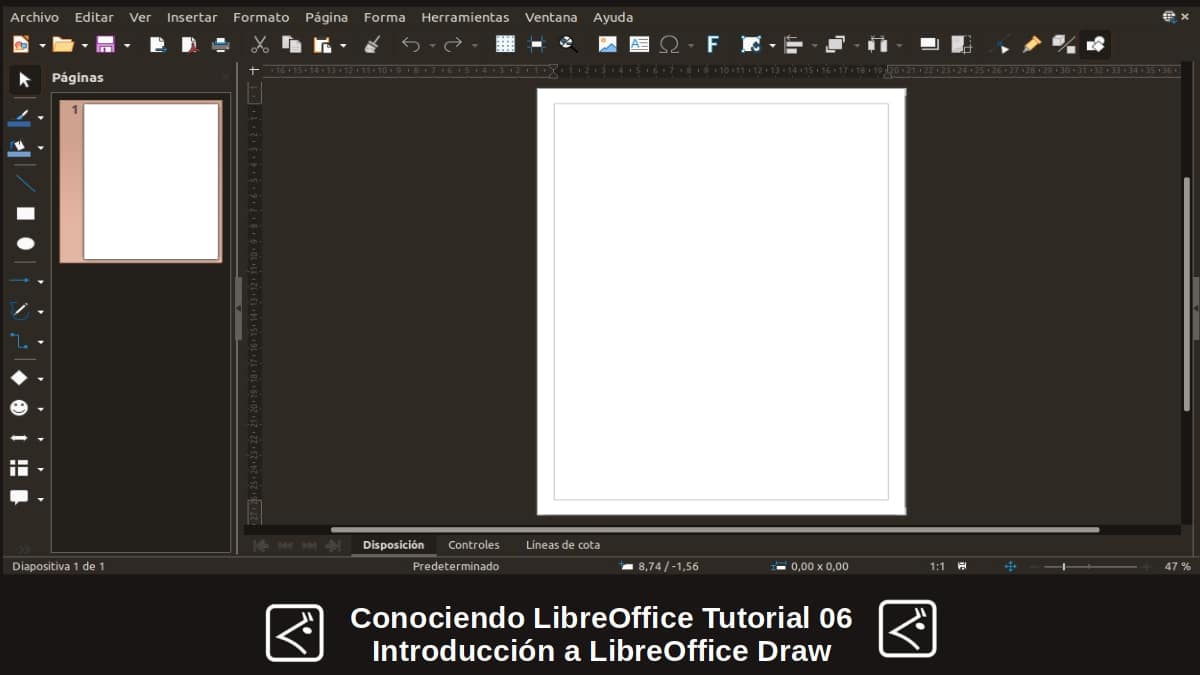
As can be seen in the following image, this is the current visual interface of LibreOffice Draw, as soon as it is started:
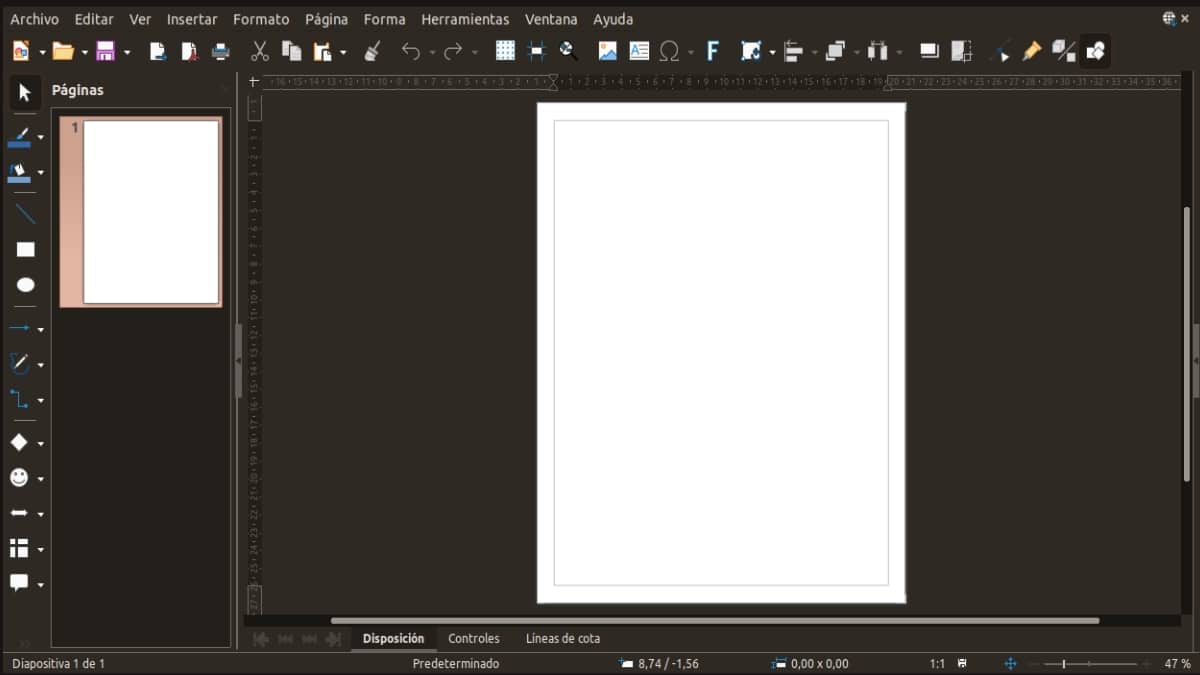
In it you can see, immediately below the title bar from the window, the bar of Menus, and then the toolbar that come by default. While, occupying almost the entire central part of the window, is the user workspace. That is, the sheet or drawing area on which to work.
Finally, on the right side, there is a side bar called Properties, where you can access the properties of the created layout, its styles, and other resources. While, on the left side, there is a Toolbar next to a section called Panel Pages, where you can see the thumbnails of the sheets that our current graphic design contains. And at the end of the window, at the bottom, as usual, is the traditional status bar.
As shown below, each one separately:
- Title bar

- Menu bar

- Standard toolbar

- Drawing Toolbar, Panel of pages, Workspace and Properties Area

- Status Bar

"Although Draw does not match the functionality of specialized drawing or image editing programs, it is capable of producing and editing very good 3D drawings.. Working with 3D Objects / Getting Started Guide 7.2
Learn more about LibreOffice Draw Series 7
If you're still in the LibreOffice version 6, and you want to try the version 7, we invite you to try it by following the next procedure About you GNU / Linux. Or if you just want to get to know her by reading, click here.


Summary
In short, in this sixth installment of Getting to know LibreOffice about LibreOffice Draw, we can continue checking the most recent features and functions within it. In this case, it is clear to us that this LibreOffice tool is excellent for drawing, both simple and complex; and very versatile by allowing us to export them in various image formats, well known to all. And furthermore, his seamless integration with its sister apps, facilitates that in them, we can include from tables, graphs, formulas, among many others.
If you liked this post, be sure to comment on it and share it with others. And remember, visit our «homepage» to explore more news, as well as join our official channel of Telegram from DesdeLinux, West group for more information on today's topic.