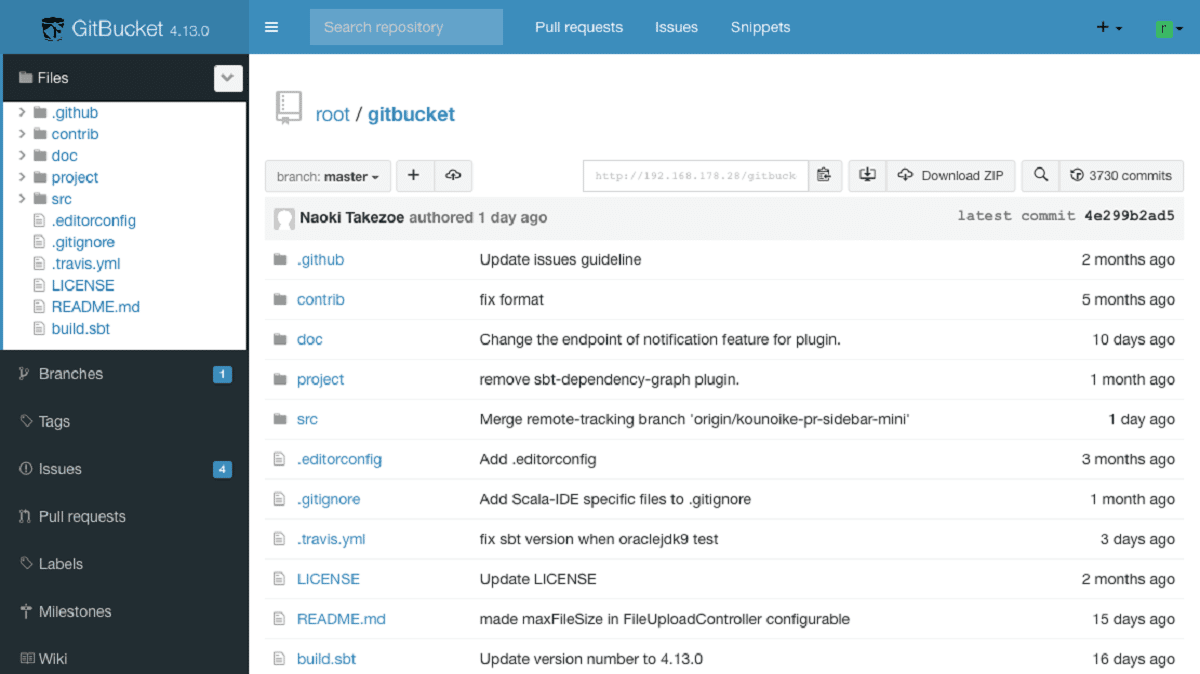
GitBucket is a Git web platform powered by Scala
Recently the release of the new version of GitBucket 4.38 was announced, which develops a collaboration system with Git repositories with a GitHub, GitLab or Bitbucket-style interface.
GitBucket comes with a set of scope features which includes, GitLFS support, issues, pull request, notifications, plugin system, Git public and private repositories, plus that can also be easily integrated with LDAP for managing accounts and groups. The GitBucket code is written in Scala and licensed under Apache 2.0.
GitBucket It has a plugin system. which features a collection of plugins developed by community contributors. In the form of plugins, features such as creating essential notes, posting announcements, backups, displaying desktop notifications, commit plotting, and AsciiDoc drawing are implemented.
GitBucket 4.38 highlights
In this new version of GitBucket 4.38 that is presented, it is highlighted that provided the ability to add custom fields to issues and pull requests. The fields are added in the interface with the repository configuration. For example, under Issues, you can add a field with a date by which the issue must be resolved.
In addition to that, in GitBucket 4.38 it is now possible to assign several responsible persons troubleshooting and reviewing pull requests.
It is also highlighted that users are provided with an interface to replace a password forgotten or compromised. To confirm the operation, you must configure the sending of emails through SMTP.
On the other hand, when displaying materials created with Markdown markup, horizontal scrolling is supported for very wide tables.
And we can also find that added “–jetty_idle_timeout” command line option to configure the Jetty server idle timeout. By default, the timeout is set to 5 minutes.
It is worth mentioning that a corrective version was released that adds the following fixes:
- Fix comments difference in Chrome 105
- Fix Table Markdown CSS
- Fix HTML rendering of multiple assignees
Finally if you are interested in knowing more about it, you can check the details In the following link.
How to install GitBucket on Ubuntu?
The system easy to install, expandable via plugins and compatible with the GitHub API. The code is written in Scala and is available under the Apache 2.0 license. MySQL and PostgreSQL can be used as DBMS.
GitBucket installation is similar on most Linux distributions, plus you should know that requires Java8, so you have to install it, if it is not already installed. You just have to take into account that in the instructions instead of placing a domain you must use the local IP in your home network.
Let's create a new group and a user in order to run GitBucket:
sudo groupadd -g 555 gitbucketsudo useradd -g gitbucket --no-user-group --home-dir /opt/gitbucket --no-create-home --shell /usr/sbin/nologin --system --uid 555 gitbucket
Once this is done, now we are going to download the most current stable version that is version 4.33 from the following link or from the terminal with wget:
wget https://github.com/gitbucket/gitbucket/releases/download/4.38.1/gitbucket.war
Once the download is complete, we will have to allocate a space to GitBucket. For this we are going to type the following command:
mkdir /opt/gitbucket
Now, we just have to move the downloaded file into the newly created directory:
mv gitbucket.war /opt/gitbucket
Now we must give permissions to the user that we create so that it can work on the created directory:
chown -R gitbucket:gitbucket /opt/gitbucket
With that, we are going to create a service in the system, for this we are going to type:
sudo nano /etc/systemd/system/gitbucket.service
In the file we are going to place the following:
# GitBucket Service

[Unit]
Description=Manage Java service

[Service]
WorkingDirectory=/opt/gitbucket

ExecStart=/usr/bin/java -Xms128m -Xmx256m -jar gitbucket.war

User=gitbucket

Group=gitbucket

Type=simple

Restart=on-failure

RestartSec=10

[Install]
WantedBy=multi-user.target
We save with Ctrl + O and we exit with Ctrl + X and we are going to load all the services again with:
sudo systemctl daemon-reload
And we enable the one we create with:
sudo systemctl start gitbucket

sudo systemctl enable gitbucket
With the service enabled and started, we must connect the database:
sudo nano /opt/gitbucket/database.conf

db {

url = "jdbc:h2:${DatabaseHome};MVCC=true"

user = "sa"

password = "sa"

}
And that's it, you can access the service from your domain by entering the assigned space http://yourdomain.com:8080 or in a local installation with localhost:8080
User: root
Password:root
Finally, implementing a reverse proxy is recommended, but the process differs on Nginx, Apache, or Candy. You can consult the documentation on this in the following link.