After KZKG ^ Gaara it will create a memory for me Bootable USB with the last .iso compiled by the developers of ArchLinux, I started installing this distribution on my PC.
Installation process.
The installation process I describe below was done later in a virtual machine, something I recommend that you do if this is the first time you install ArchLinux. Any errata please let me know to correct it.
The first screen we will see is this:
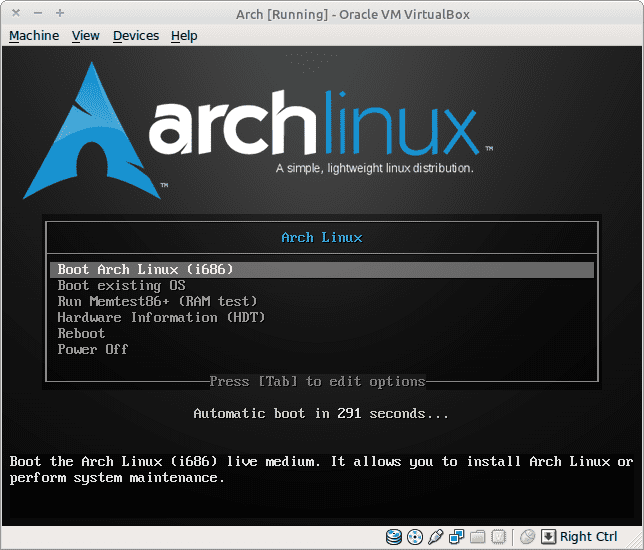
As is logical, we select the option shown in the image: Boot Arch Linux (i686). After starting, if everything goes well, we get this screen:
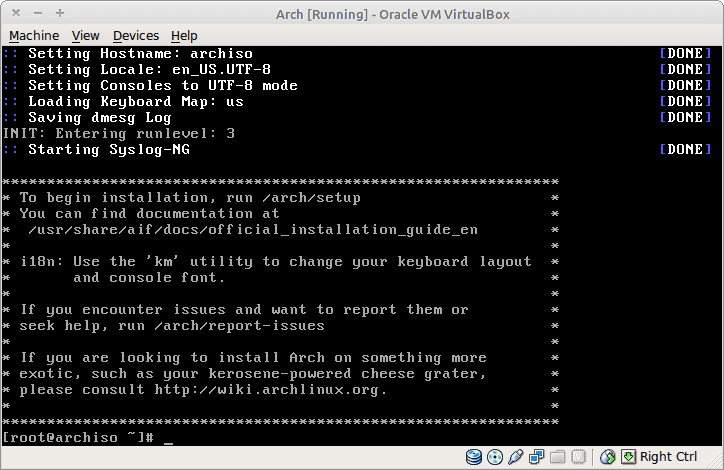
As you can well read, to start the installation process we must execute the command:
# /arch/setup
But first, it is advisable to configure our keyboard, so we write:
# km
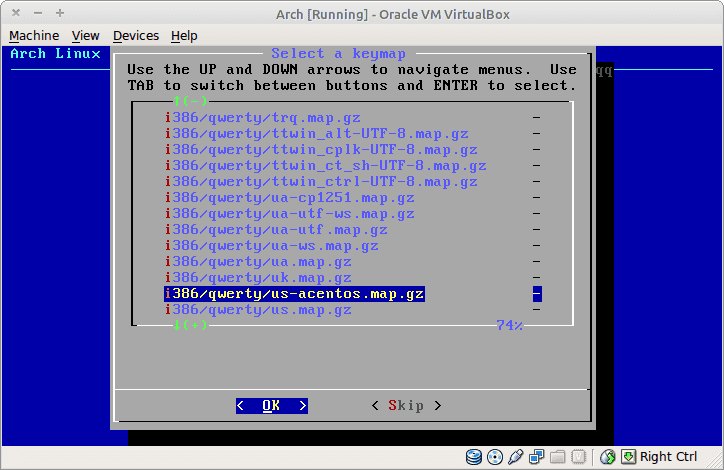
With this command ArchLinux allows us to choose the keyboard layout that we are going to use. In my case, I have an English keyboard, so I selected the following option:
Later we get the following screen:

Where it asks us to select a font for the console. I leave it by default .. And then now if we put the command to start the installation:
# /arch/setup
When we give Enter we will get this nice menu (which invites us to disgrace ourselves hahaha)..
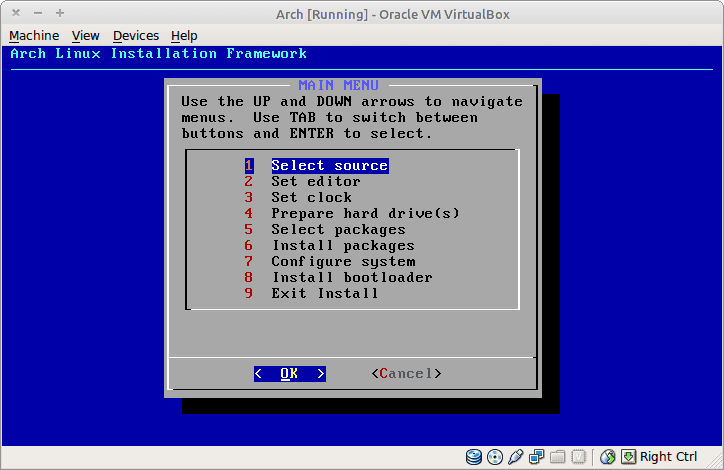
It goes without saying that the menu follows a logical order, so it is not advisable to skip any step, although it seems to me that the installer itself does not let you. This first option will allow us to choose from where we are going to install the initial packages and when giving Enter this screen does not appear.
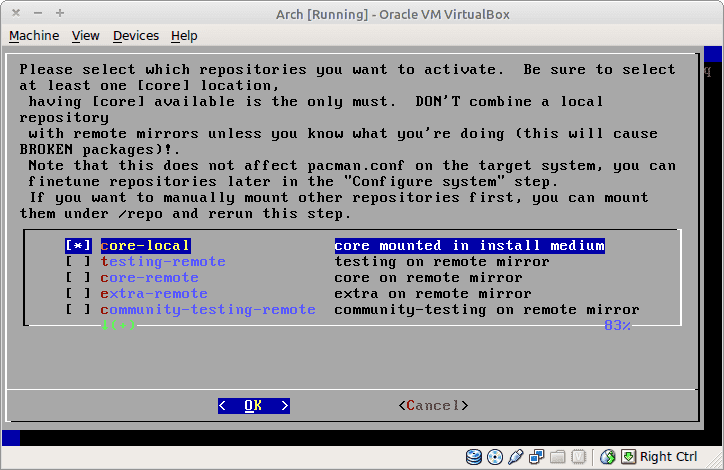
We leave it by default in the first option, so that it installs the necessary packages from the CD-ROM, or in this case from memory. Once we give Ok we return to the menu in image 5. We then jump to the second step, where we choose the text editor we want to use:
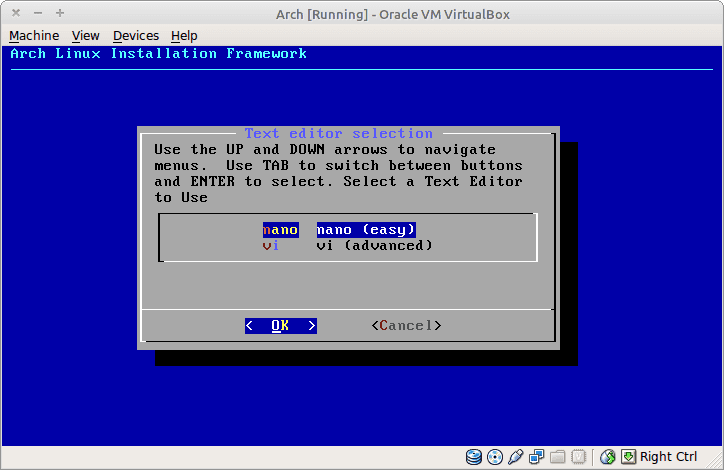
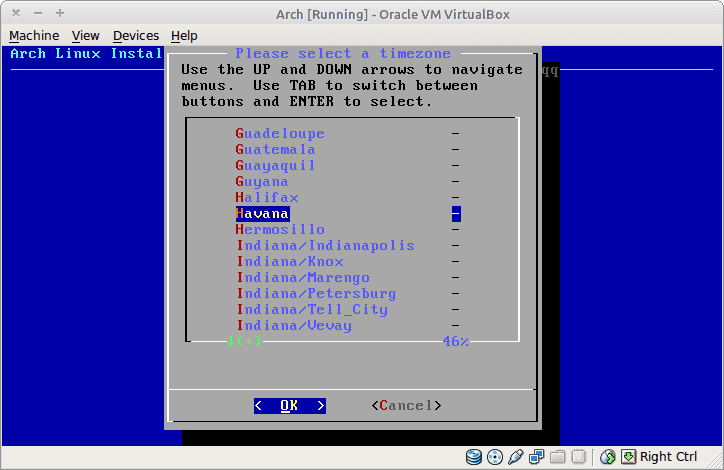
I don't know about you, but at least for me VI it is for users with octopus complex, so I use NANO Hahaha. Once we give Ok we return to the menu in image 5. We go to the third step where we configure the system clock:
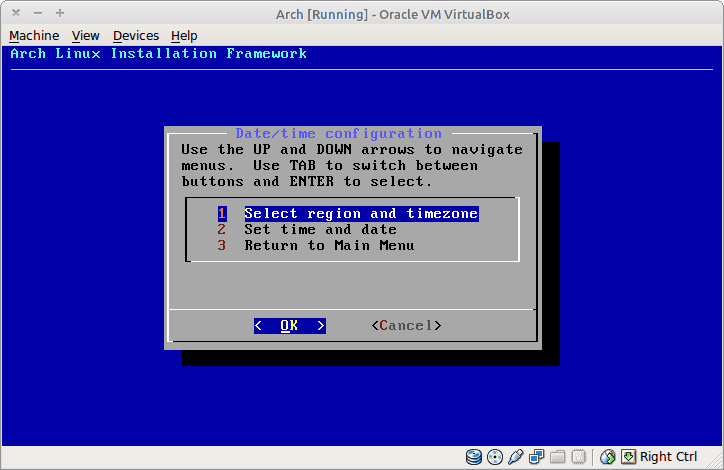
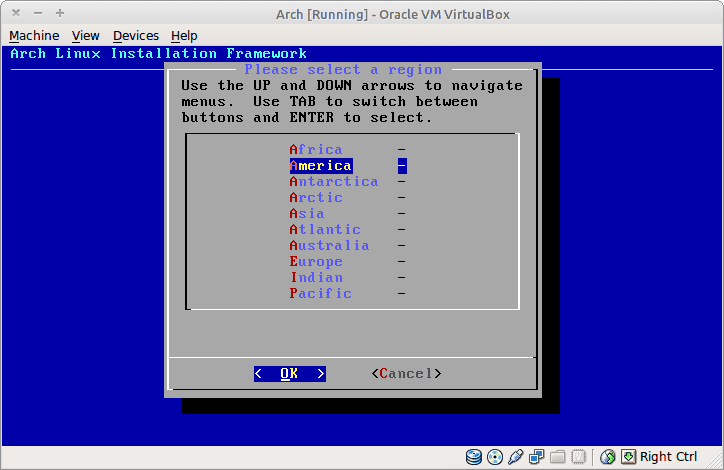
In my case I select America »Havana.
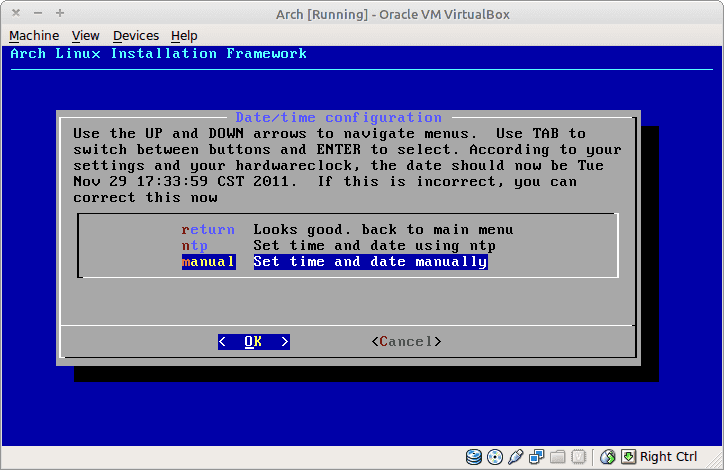
Then we configure the clock with the option Set time and date. I use the option: local time.

And I select the option Manual:
When we finish with the clock comes the most critical part of the installation: Disk partitioning. To illustrate this example I previously had 3 partitions created:
- sda1 : For the root [/].
- sda2 : For home [/ home].
- sda5 : For swap [swap]
What do we need to know when partitioning?
Once we enter the partitioning option and others, we will see this screen:
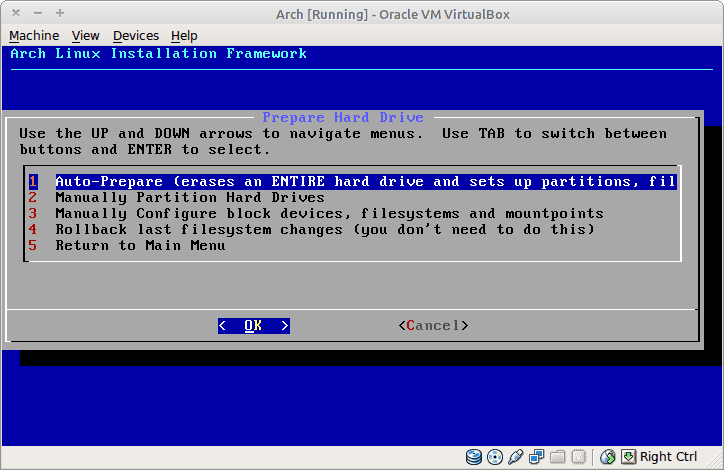
We basically have 4 options:
- Self-Prepare : It is a guided partitioning. Its use is great when we have a blank disk or we care little about losing the data, but it is not the one we are going to use.
- Manually Partition Hard Drive : Here we only have to enter if we want to create new partitions or delete them on the hard drive, we are not interested now.
- Manually Configure block devices, filesystems and mountpoints : This is the option that interests us since it will allow us to choose in which partitions we are going to mount the root, the home and the swap.
- Rollback last file system changes : This option is to return to the initial state of the disk. Nor do I think we need it.

In my very particular case, with a hard drive, I select the first option by default. Choosing some of the other options I don't know if it will be recommended, so do not touch them unless you are in a virtual machine. We give Enter and we get the following screen:
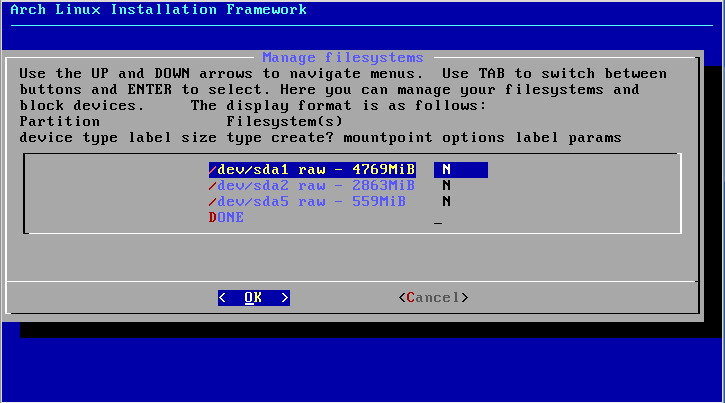
Here we can see the 3 partitions that I told you about earlier. Do not look at the size of them. They just need to know that sda1 is for root, sda2 for home y sda5 for swap. We select the first and give Enter. We get the following screen:

Attention with this message. Here what he is asking us is that we choose if we want clean, format or whatever you want to call the partition in question. For sda1 no problem, but we must be careful if we want to keep our data in the partition of the / Home.
In this case we tell you that YES <Yes> and we get the following window:

select Ext4 with the arrows of Up and down and we give Enter. Then the screen where we choose what we want to mount on that partition does not appear:
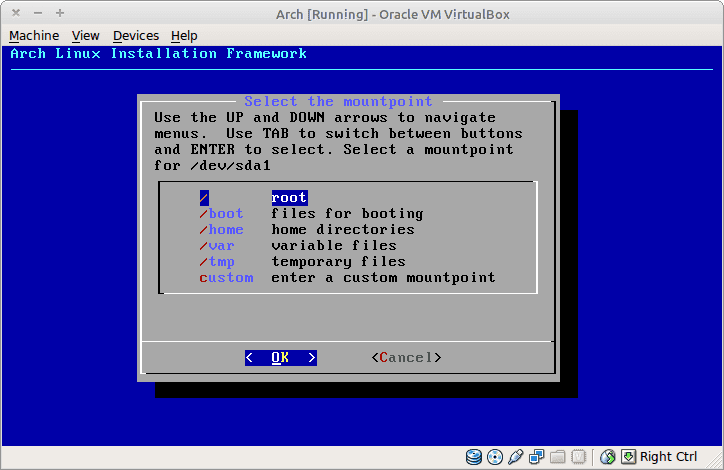
In our case we select /root. We give Enter and we go to the next screen:
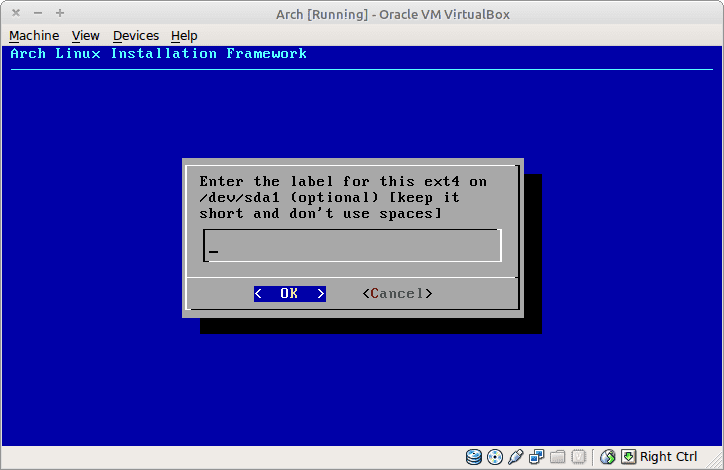
Here we can put a Label or Label to disk. This step is optional, so I leave it as it is by default. We give Enter and we go to the following screen:
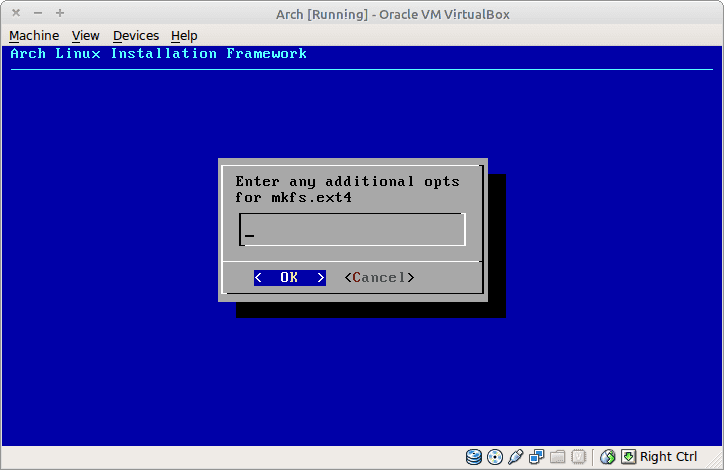
The same as the previous step, it is left by default unless we know how to pass specific parameters to mkfs.ext4.
We repeat this same step to sda2, always remembering that we should not give Yes to the image option #16 if we want to keep our / Home. In the case of sda5 the only thing that changes with sda1 is that instead of selecting Ext4, we choose the first option in the image #17, or Swap.
If we do everything correctly, the partitions should look like this:
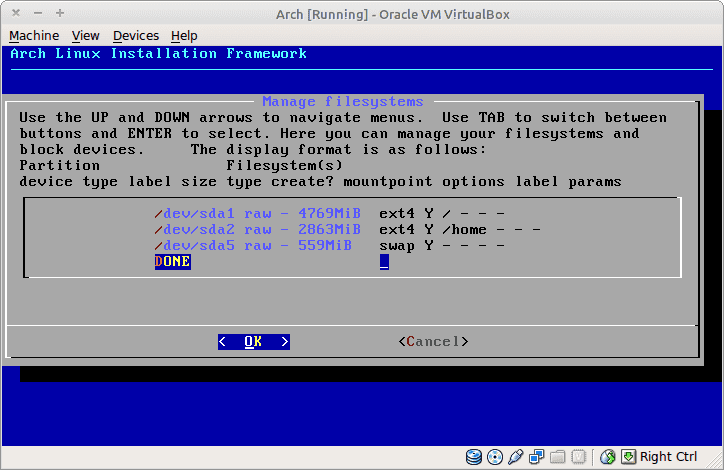
select DONE, we give Enter and we get the following message:
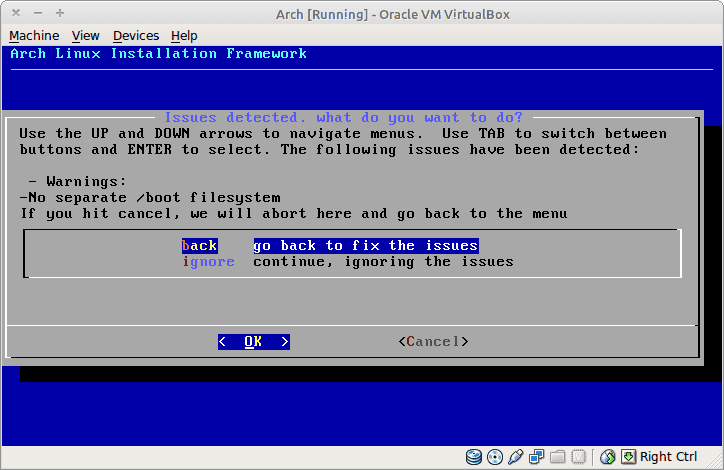
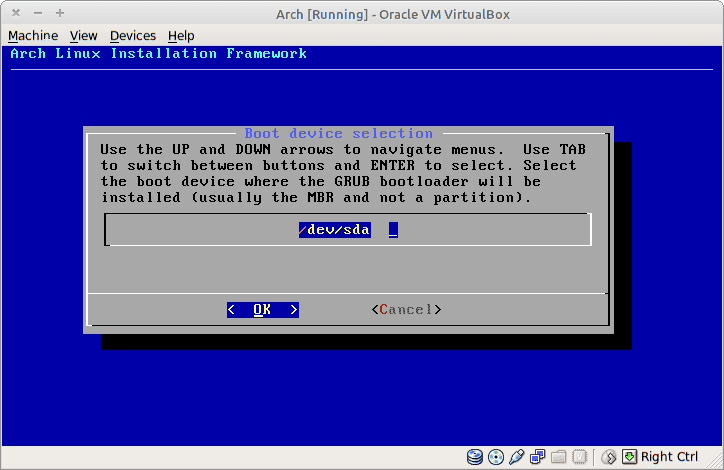
What this tells us is that we did not create a separate partition for the / Boot. By default it asks us to go back to correct this with the option: back, but we select the option: ignore. Once we give Ok we go back to the menu in image 5 and go to option 5: Select Packages.
This option among other things allows us to install the Grub:

And once finished we go to the next menu option: Install packages.
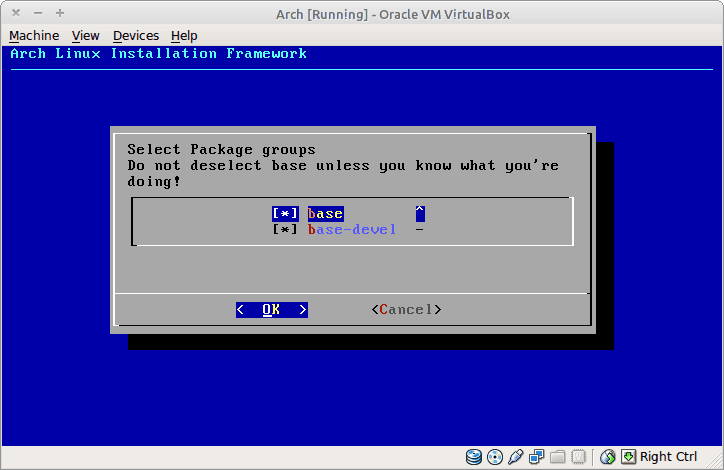
By default only the first option is selected. I mark both to install extra applications that I may need later to compile and so on. If we mark the second, the following screen will appear:

Where we will have to mark (with the space bar) which packages we want to install. When we finish we click OK and the system begins to install:
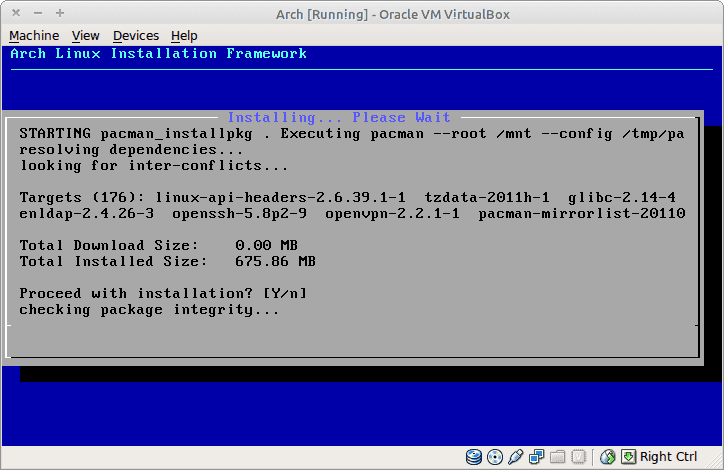
When finished, we give Enter and we get this:
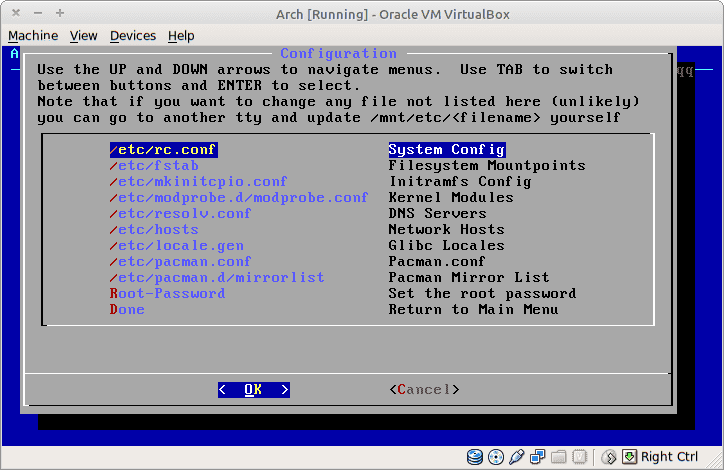
If we want we can skip this step, as long as we know later that we have to modify so that Arch work as it should. What are the files that I modify?
- /etc/rc.conf : A critical file since the daemons that start up with the system, the network, the modules and other options are configured in it.
- / Etc / resolv.conf : To set search DNS for the network.
- /etc/pacman.conf : Where I only modify the option to use proxy in Pacman.
- /etc/pacman.d/mirrorlist : Where Arch repositories are added or removed.
- root-password : If I recommend that you choose this option to set a password to Root for security, otherwise it will not ask for a password for this user.
# reboot
Next delivery.
In the next article we will see how to configure the files:
- /etc/rc.conf.
- / Etc / resolv.conf.
- /etc/pacman.conf.
- /etc/pacman.d/mirrorlist.
excellent post elav is greatly appreciated.
The step of additional opts for mkfs.ext4 we could add some quite interesting options like noatime nodiratetime in the arch wiki there is very good information about this.
It's true, but I did not everyone know what the noatime is for hahaha. So you better learn it out there by reading 😛
hehe I forgot to add the url https://wiki.archlinux.org/index.php/Fstab_(Espa%C3%B1ol)
Until I am encouraged to comment xD ... but they struck a chord ...
I have always been one of those who go through all the distros that are found, but Arch is a separate case in my history, I still want to try gentoo and I still try every so often x distro, but the one that has lasted the longest on my computer and more I have enjoyed Arch, both desktop and laptop ...
I got a bit distracted: P, but anyway I wanted to tell you 2 things:
1) Personally I prefer to skip the grub, and at the end of the installation, before restarting of course, do a pacman -S grub2 && update-grub 😉
I prefer it this way to avoid problems when updating grub to do things like install burg.
2) A recommendation ... in my humble opinion and considering that I also migrated from debian ... be careful not to get too excited with so much novelty in the parcel (of course when I did it it was there in the time of kde4.something), pacman is Addictive especially if you add AUR to it, and you may end up with an "over-inflated" distro of packages that you may never use after the first experiment.
hehehehe I think I extended more than necessary but good for the rest thank you very much for the post and congratulations: D.
Welcome Guso:
Thank you very much for the Grub tip, if KZKG ^ Gaara had known about it before, the system would not have loaded once hahaha. Unfortunately for us we cannot enjoy the full experience, because we do not have full access to the internet and therefore cannot use the AUR.
regards
Excellent article, I was thinking of installing Arch (its repositories fascinate me) and when I publish the next article I will make the jump 🙂
it really is an excellent post, I haven't tried arch yet, but I'll try later.
Cheers….
vlwfwi, Holmes
Thanks Holmes 😀
Thank you very good guide, if I can install I will tell you how it went.
greetings.
The last iso I don't know why something I did wrong gave me problems with pacman and the internet.
I'm going to save the post for that specific problem that with the album I have from last year it doesn't happen to me
By the way, resolv.conf? I think that file does not need to be touched
Courage, remember that we use static IPs and go out through a server at work. So we have to manually declare that data, DNS server and so on.
Yes, the domain of your LAN is specified there (desdelinux.net for example) and the DNS servers you should use.
Very good, it reminded me a lot of installing Vector Linux, I'm going to give it a try.
I followed the installation step by step and it does not work for me, the grub does not install, there is no error message, it just does not install.
2 images downloaded, md5 checked and nothing, 3 attempts with each image.
Everything in viirtualbox.
You tell it to install Grub on / dev / sda and it DOES NOT install it?
It doesn't install, and it doesn't give an error message, it just didn't install.
Someday…
hey mate, everything is very well explained in this blog, but it would be interesting for you to publish the other part, the configuration of the files!… ..
Exclenete post although it would be good if you did your own tutorial to install the new version
Uuuu, excellent, to favorites to later do it, I have been wanting to use Arch for a long time, even though I am somewhat horny when things do not work out, or I was stuck on something for a long time, THERE IS NOTHING better than the satisfaction obtained by solving the problem and learning from that experience haha, so then I'll install Arch to jump into the water and start using such a distro (I also have a complex that I like minimalism, and Arch developers think the same xD!)
Thank you!!