As promised is debt, here we are going to follow the necessary steps to create a project in Google Code.
1. We log into Google
The first thing we have to do is log into our account Google, we enter the site of Google Code and in the upper right corner we will find the access to the login. On the left we can change the language.

2. We create the Project

Once logged into the site with our account, we can verify this because in the upper right corner we will see our email address of Google, and we can click on the link that says Create a new project. This will redirect us to a page to complete the details of our project.

We complete the data of our project and once we finish we are simply going to press the button CreateProject.
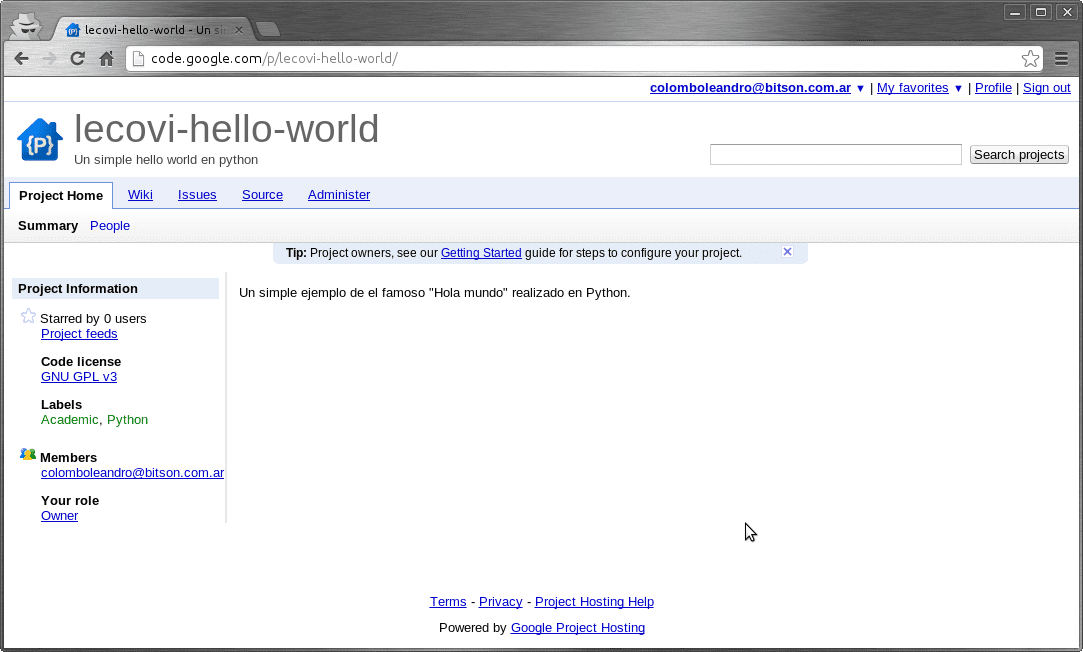
Now that we have created our project, it shows us its main page. For now we won't do much more with Google Code. It only remains for us to get the information to be able to connect later remotely and upload the files through Go.
3. Obtaining the repository data in Google Code
For that we have to go to the section Source (source code) and there it will give us 2 options to connect.
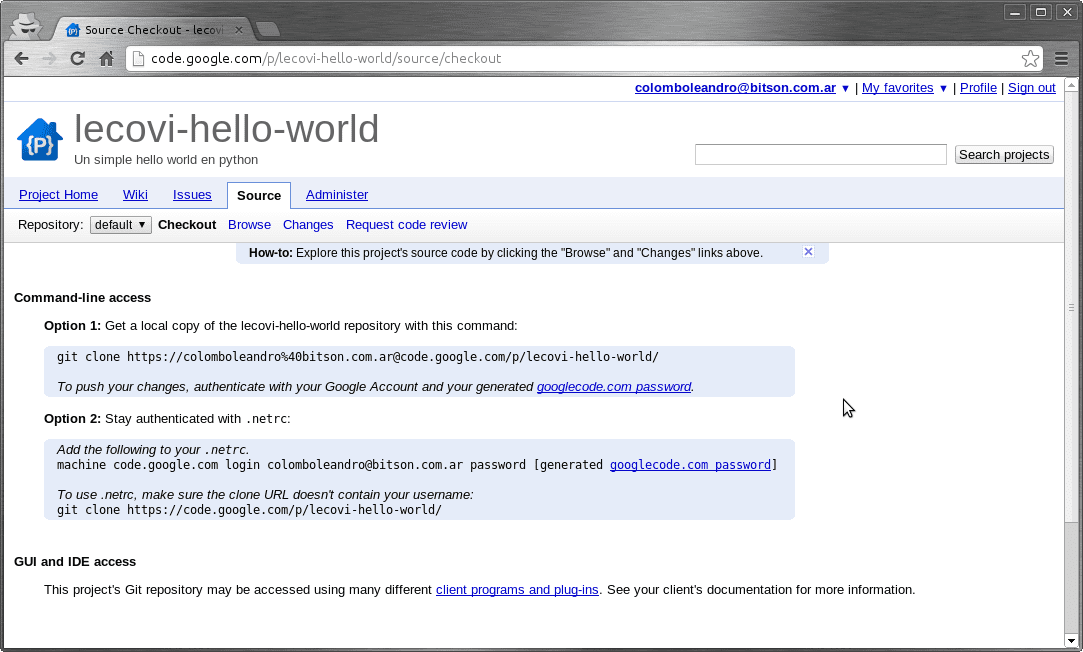
We will use Option 2, we click on the link that says googlecode.com password. This will show us a new page and from there we will copy the last line of the first section. The one we see highlighted in the following image.
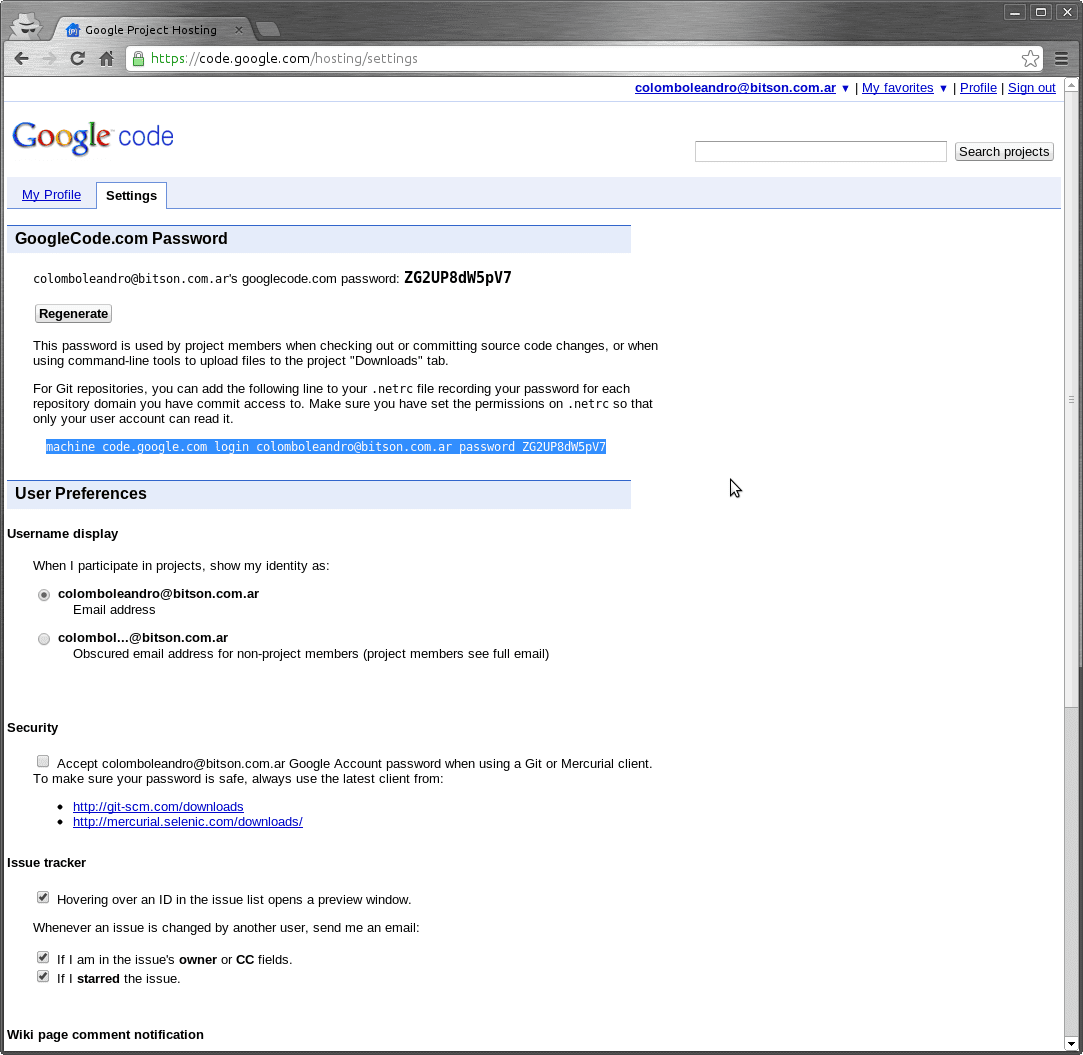
We create a file in the HOME of our user who is called .netrc and inside we place the content that we just copied from the page. In this case:
machine code.google.com login colomboleandro@bitson.com.ar password ZG2UP8dW5pV7
Soon…
So far we have created the project in Google Code and we have ready the file that we «will connect»With our remote repository once we set up our local repository of Go.
In the next part we will see how to create the project on our machine and configure Go for version control.
Regards!