Today's post I do it because I spent the whole afternoon looking for how to add of Operating Systems (aka SO) provided by raspberrypi.org a NOOBS (since as I mention in the post, the new versions of it only bring Raspbian as an option to install offline), to be able to carry out installations offline of the same or restore from NOOBS.
Without further ado, here is the Tutorial:
Requirements
- A machine with any operating system
- That the machine has an Internet connection
- A reader or adapter to usb, SD cards
- You want to read this post 😀
Step 1: Download the OS (s) you want to install offline
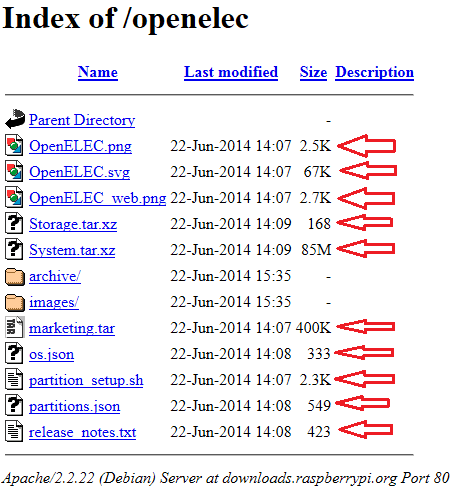
We're going to http://downloads.raspberrypi.org/ and we get into the folder of the distro (s) we want, and download All the files, who DO NOT be subdirectories
example for OpenELEC (we download the indicated ones)
Step 2: We transfer the files to the SD
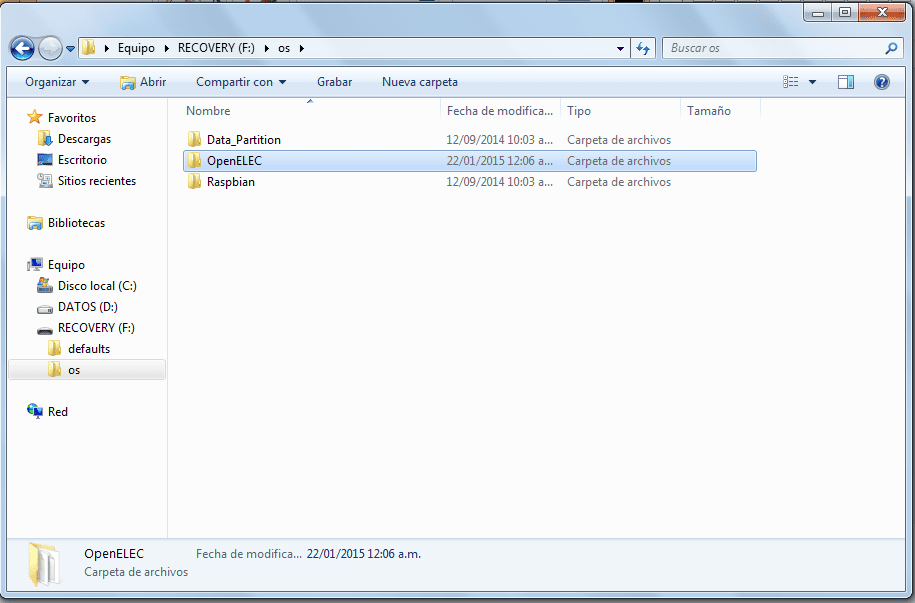
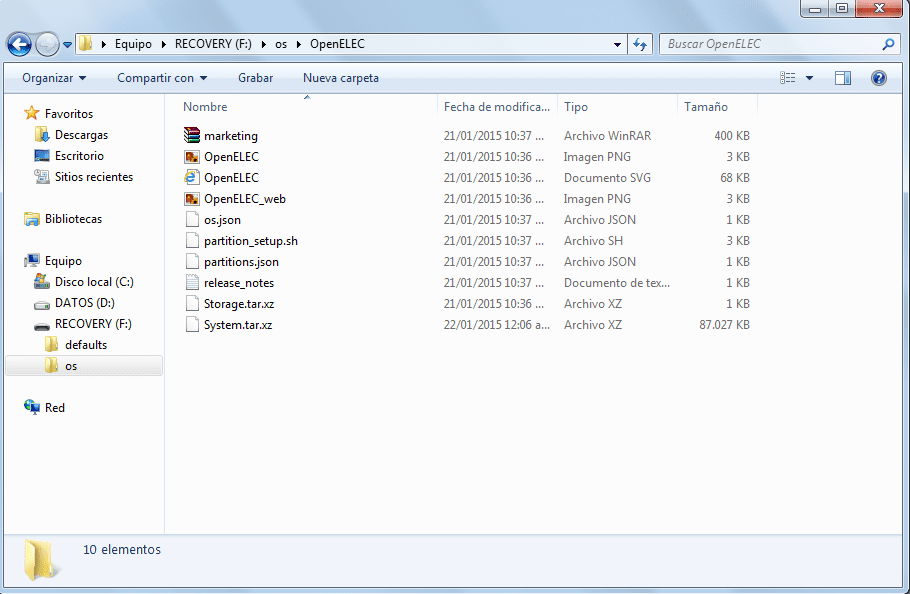
After having downloaded the files of the OS to be installed (each set of Files in its respective folder) we insert the SD and copy the files into / path / to / the / SD / os / and voila, that's it
example for OpenELEC:
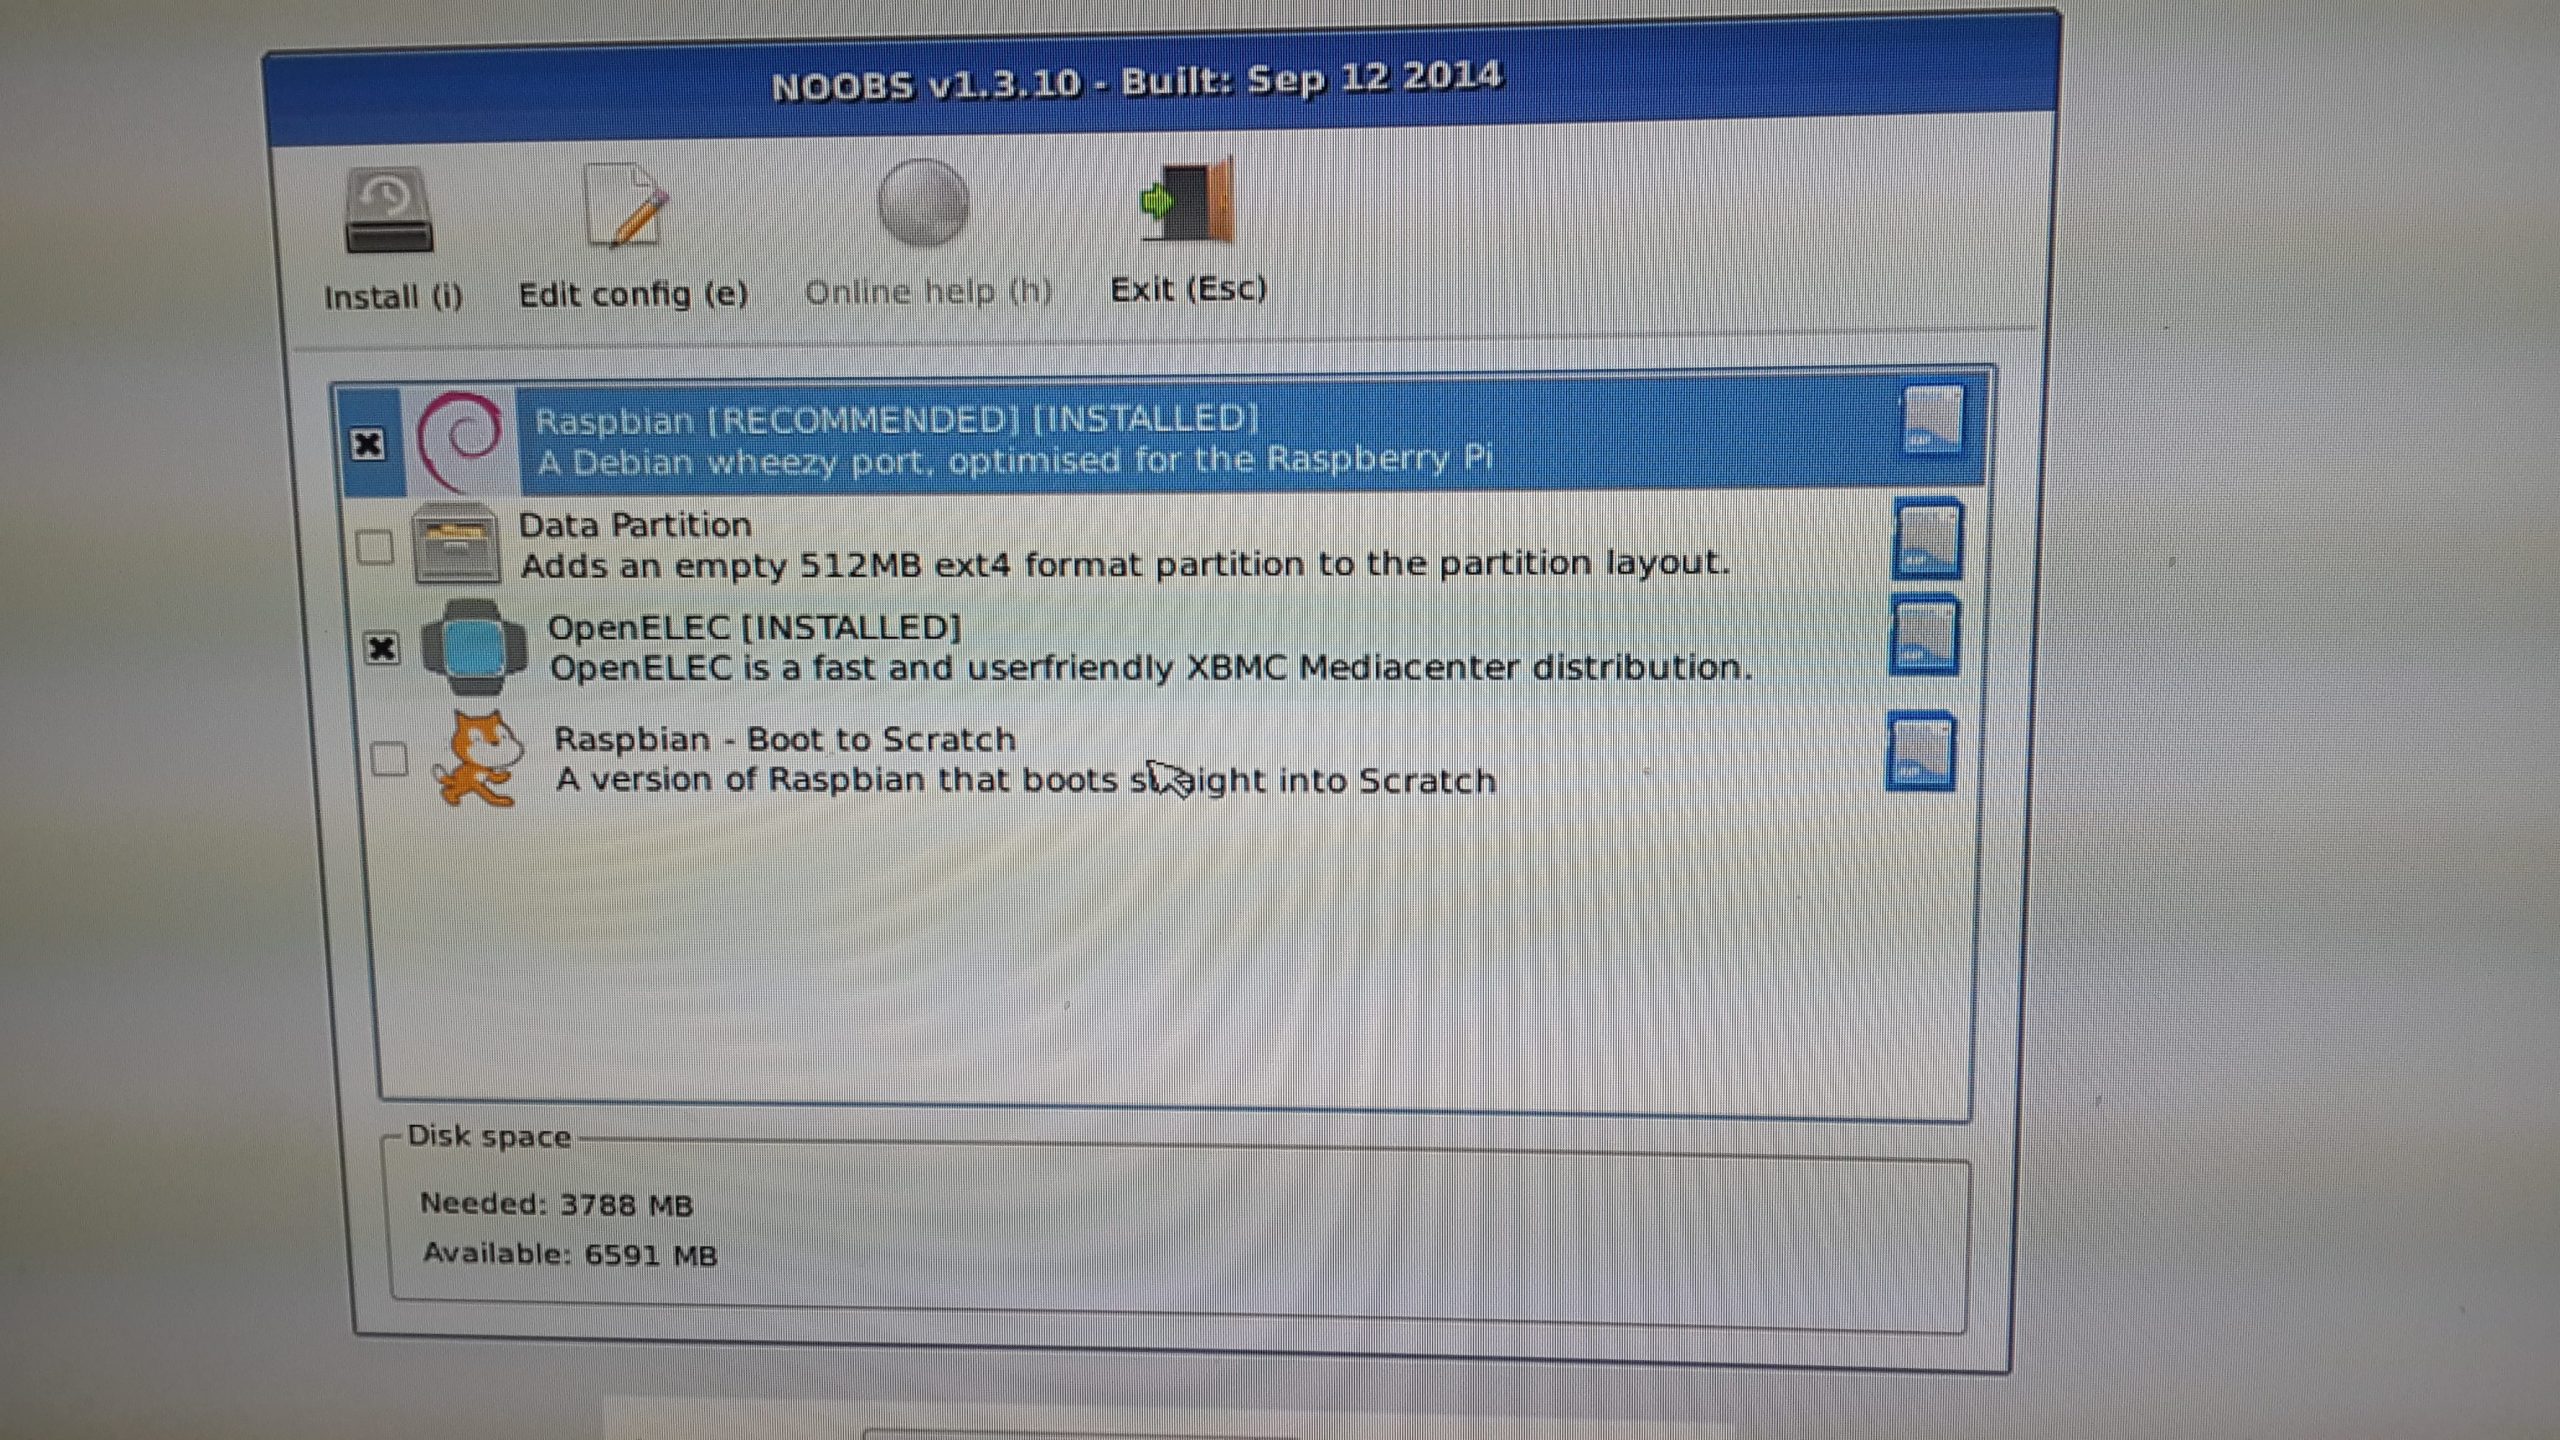
Step 3: Enjoy! 😀
Here you have an example of my SD in which I have Raspbian y OpenELEC 😀 (you can check that it works since it appears with the icon that those OS are in the SD: D)
I really want a B + model, which at least here in Chile can be obtained for USD $ 70 with the case and everything, I want to build something for torrenting and to manage a NAS, since for the movies I have an Xtreamer and a 3TB disk (uses risc processor).
It does not happen this summer I think, when I have it, I report it in the forum and if it gives for more, right here.
regards
Iván, I am also from Chile and although the raspberry is very expensive here, there is a store, with the name of the transantiago card (to avoid advertising: P), in which for 50.000 CLP (80 Dollars) they give you the Raspi B +, with case, charger, and wifi connector in a combo.
On the other hand, I have not been able to power the board to work with a USB hard disk, using a 5v and 2 amp charger, but it is part of experimenting.
regards
Ok for the data, I had not reviewed that store, in fact the price I find it quite consistent with what it brings.
Thanks and Regards.
What a good post I am thinking of doing a project with a raspberry and I did not know how to put other linux distros.
keep it up, good post
Good!! Very good tutorial .. but I have a question .. I have an image with a 32gb recalbox my idea is to install noobs on a 64 micro SD, install raspibian and kodi and in turn restore that image that I have customized from recalbox to have everything in a micro SD .. how can I do it?
Hi, I'm starting on this and I have a challenge, to incorporate an image as a wallpaper and the same image as a screen saver but I don't know how to do it, can you help me, I'm also from Chile