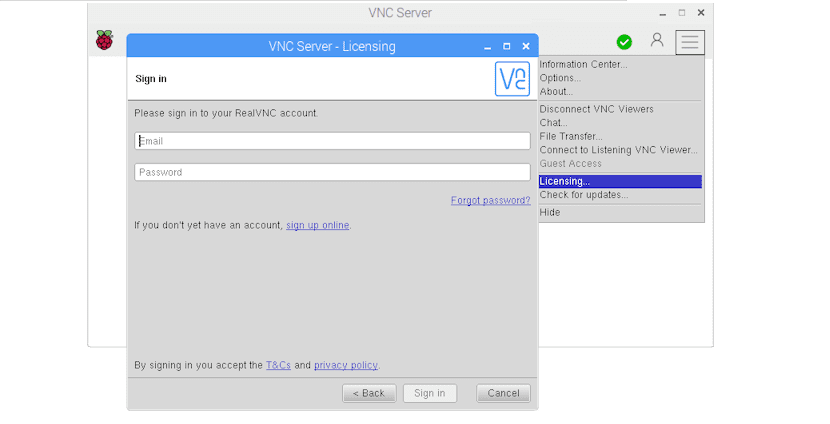
In some previous articles we talked about some of the best remote desktop tools that we can find for Linux, among them we find RealVNC which is an excellent cross-platform tool for remote desktops.
RealVNC is a free open source application distributed under the GPL license, although there is also a commercial version, In this article we will focus on the personal multiplatform version. This version offers us a client and server vnc4server and xvnc4viewer, respectively.
LRealVNC clients using vncviewer can run in full screen mode, they use the F8 function key as the default key to display an options menu (which includes option to, among other things, disable full screen mode or resend a Ctrl-Alt-Del key sequence).
The server component of RealVNC allows one computer to be remotely controlled by another.
RealVNC uses the RFB Protocol which uses TCP port 5900 by default to make the remote desktop connection.
Alternatively, you can tunnel VNC using SSH, avoiding opening additional ports and thus automatically traversing the NAT router (router). SSH also provides encryption of the connection between the VNC server and the viewer.
How to install RealVNC on Linux?
Due to the great popularity the software both the client and the server for this can be found in most repositories of the most popular Linux distributions.
For In the case of Debian, Ubuntu, Linux Mint or any derivative of these, just go to the official website of the application and obtain the most current deb package, which is currently version 6.3.1

You can open a terminal and execute any of the following commands, depending on the case you require.
In the case of 64-bit systems if you want to install the server you must type:
wget https://www.realvnc.com/download/file/vnc.files/VNC-Server-6.3.1-Linux-x64.deb

sudo dpkg -i VNC-Server-6.3.1-Linux-x64.deb
32-bit systems:
wget https://www.realvnc.com/download/file/vnc.files/VNC-Server-6.3.1-Linux-x86.deb

sudo dpkg -i VNC-Server-6.3.1-Linux-x86.deb
Now if you want to install the client on your 32-bit system:
wget https://www.realvnc.com/download/file/viewer.files/VNC-Viewer-6.18.625-Linux-x86.deb

sudo dpkg -i VNC-Viewer-6.18.625-Linux-x86.deb
For 64-bit systems that want to install the client:
wget https://www.realvnc.com/download/file/viewer.files/VNC-Viewer-6.18.625-Linux-x64.deb

sudo dpkg -i VNC-Viewer-6.18.625-Linux-x64.deb
Now in the case of those who are users of Arch Linux, Manjaro, Antergos or any system derived from Arch Linux, we can install both the client and the server from the AUR repositories with the following commands.
To install the RealVNC server we type:
aurman -S realvnc-vnc-server
If you want to install the RealVNC client you must type:
aurman -S realvnc-vnc-viewer
While in the case of those who are users of distributions with support for rpm packages, such as Fedora, CentOS, RHEL, openSUSE or any other, we can download the package from the official website.
You can open a terminal and execute any of the following commands in it, depending on the case you require.
In the case of 64-bit systems if you want to install the server you must type:
wget https://www.realvnc.com/download/file/vnc.files/VNC-Server-6.3.1-Linux-x64. rpm

sudo rpm -U VNC-Server-6.3.1-Linux-x64. rpm
32-bit systems:
wget https://www.realvnc.com/download/file/vnc.files/VNC-Server-6.3.1-Linux-x86. rpm

sudo rpm -U VNC-Server-6.3.1-Linux-x86.rpm
Now if you want to install the client on your 32-bit system:
wget https://www.realvnc.com/download/file/viewer.files/VNC-Viewer-6.18.625-Linux-x86. rpm

sudo rpm -U VNC-Viewer-6.18.625-Linux-x86.rpm
For 64-bit systems that want to install the client:
wget https://www.realvnc.com/download/file/viewer.files/VNC-Viewer-6.18.625-Linux-x64. rpm
sudo rpm -U VNC-Viewer-6.18.625-Linux-x64.rpm
How to run RealVNC?
Having performed the installation of the client, server or both, We only have to execute any of these, depending on the caseIf we are going to connect to another computer, just run the client, while on the other hand it would be the server.
On most distributions that make use of systemd, just launch the service and enable it.
We do this by typing the following commands in the terminal:
sudo systemctl start vncserver-x11-serviced

sudo systemctl enable vncserver-x11-serviced
And with this we can already make the connection.
On the server side, it will provide you with an IP address with which you can connect with the client and even assign an ID to identify the equipment in a simpler and more comfortable way.