For no one is a secret current situation of Venezuela, which is governed by a violent and cruel dictatorship that is committing crimes against humanity. One way to help the disarmed and attacked people of Venezuela is to provide mechanisms to record and monitor the crimes of their rulers, as these will serve as evidence for the trials that will come when this fateful moment in history is over.
One of the many open source tools that allow the documentation of crimes and events that happen in a certain place is ushahidi, which we already talked about previously here on the blog from different perspectives such as for real-time disaster monitoring and as a tool that helps in times of crisis.
This time we want to teach set up a Ushahidi server to record and monitor the crimes of the Venezuelan governmentIn the same way, we will teach how to parameterize the tool so that it adapts to current needs and we will delve a little deeper into its various sections.
Requirements to mount a Ushahidi server
Ushahidi does not consume many resources, so it can run on any computer, but you must then take into account the amount of data that will be stored, the number of queries that it will handle but above all the number of users that will use the tool.
We must have installed VirtualBox on that computer and have the appropriate permissions to configure the firewall and open or close ports. Although for this specific case, it is best to have it in a vps like amazon, since it would be easier to bypass the restrictions that the government makes to this type of website, in addition to being able to scale the resources according to the use that is given to it.
It is important to note that in this guide we will focus on doing it from a virtual machine using a Ushahidi OVA made by the team of TurnKey Linux, which has a very advanced integration with amazon aws.
How to install Ushahidi using a TurkeyLinux OVA?
If you have been following the tutorials that we have done in recent days, many of these steps will be familiar to you, I will try to be as explicit as possible so that the installation is quite simple.
- Download the Ushahidi Ova developed by TurkeyLinux from here..
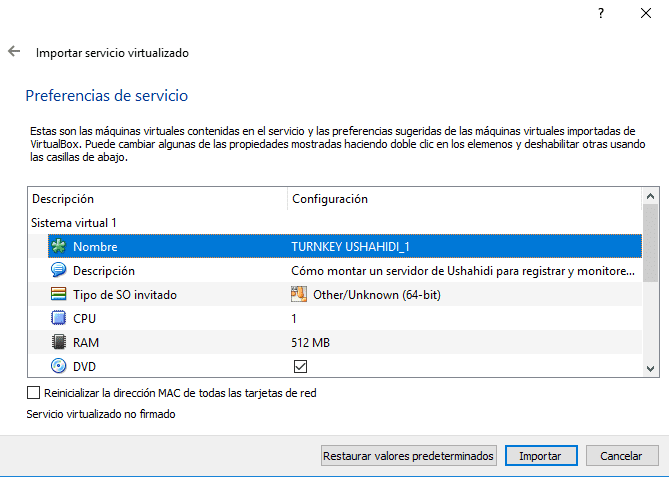
- Import the previously downloaded ova from VirtualBox, for this go to File >> Import virtualized service, select the Ova, click on Next, check or modify the virtual machine preference (ram, cpu, name etc) and click on to import.


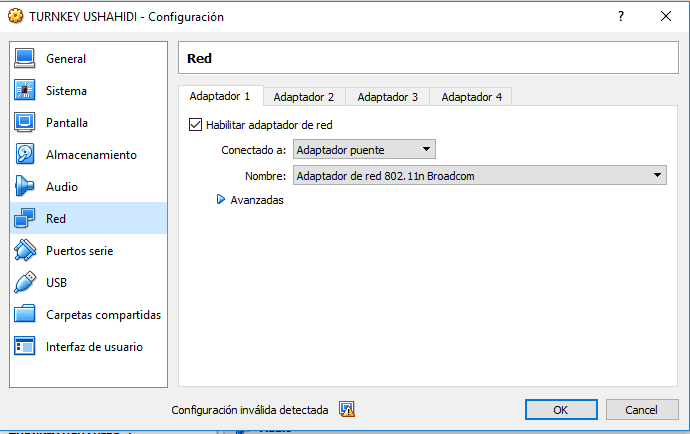
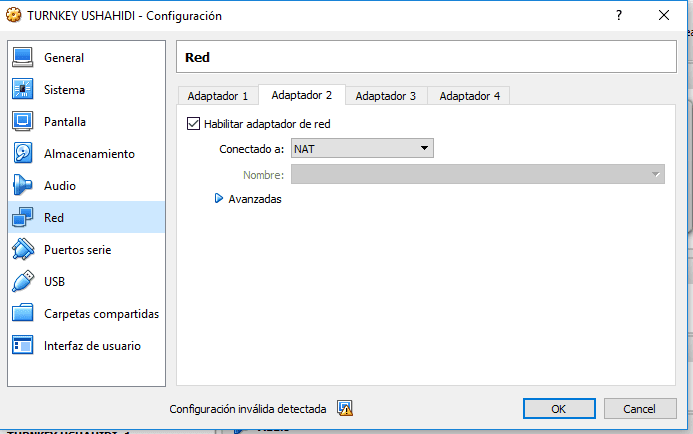
- Configure the network of our virtual machine so that it has access to the internet and can also be accessed from the host machine, for this we must right click on the virtual machine that we have imported >> select configuration >> Network >> Adapter 1 >> Enable Network adapter >> Connected to Bridge Adapter >> and we choose our Adapter >> Then accept. In some cases we must also enable Adapter 2 >> Choose Enable Network adapter >> Connected to NAT.


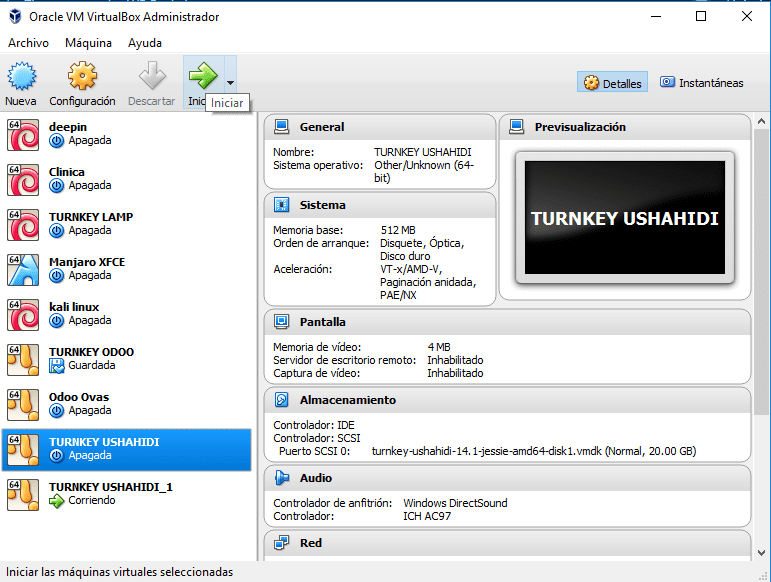
- We run the virtual machine and begin the initial parameterization process of our Ushahidi deployment.


Ushahidi initial parameterization
When the virtual machine is run for the first time, it starts an operating system with Debian to which we must parameterize its root password and we are also asked to parameterize some services necessary for the control and proper functioning of Ushahidi. The detailed steps for this initial Ushahidi parameterization process are:
- Login and check Debian Root password.


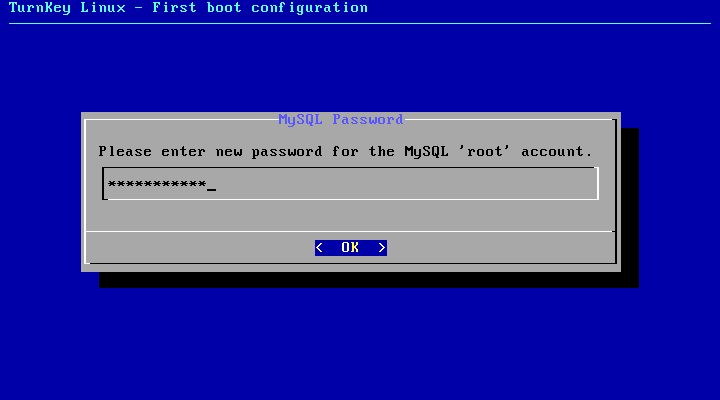
- Enter and verify the MySQL password that will function as the Ushahidi database.

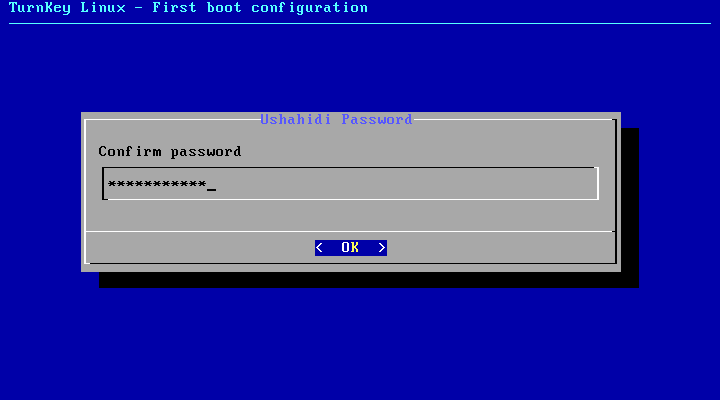
- Login and verify the Ushahidi administrator password.
- Enter an email address for the Ushahidi administrator (Needed to login later in the Ushahidi panel).
- If you want to use TurnkeyLinux services, enter your API Key or press Skip.

- Enter an email for system notifications.

- We install the necessary security updates.

- In case the security update is high level (like a kernel update) it will ask you to restart to configure the update, we reboot it and wait for the machine to start again.

- Once the virtual machine is started, we have all the services started and configured so that Ushahidi works properly, a screen will be shown with the services and the IP to access them. Personally I recommend that we reconfigure the IP that the virtual machine gives us by dhcp for a fixed IP of our network, for this we go to Advanced Menu >> Networking >> eth0 >> StaticIp and enter the corresponding data.


Ushahidi Deployment Configuration
With the steps described above we have installed and running a series of services that Ushahidi needs to function properly, in addition to having a full implementation of this great service. The following steps will allow us to parameterize Ushahidi so that we can properly record the crimes of the Venezuelan government.
It is important to note that the configuration is an example, so each of the steps must be adapted to the circumstances and the way in which the information is to be recorded, so that this is a practical example for a more appropriate configuration and that allows in the future someone will manage to host this service and be used by multiple users.
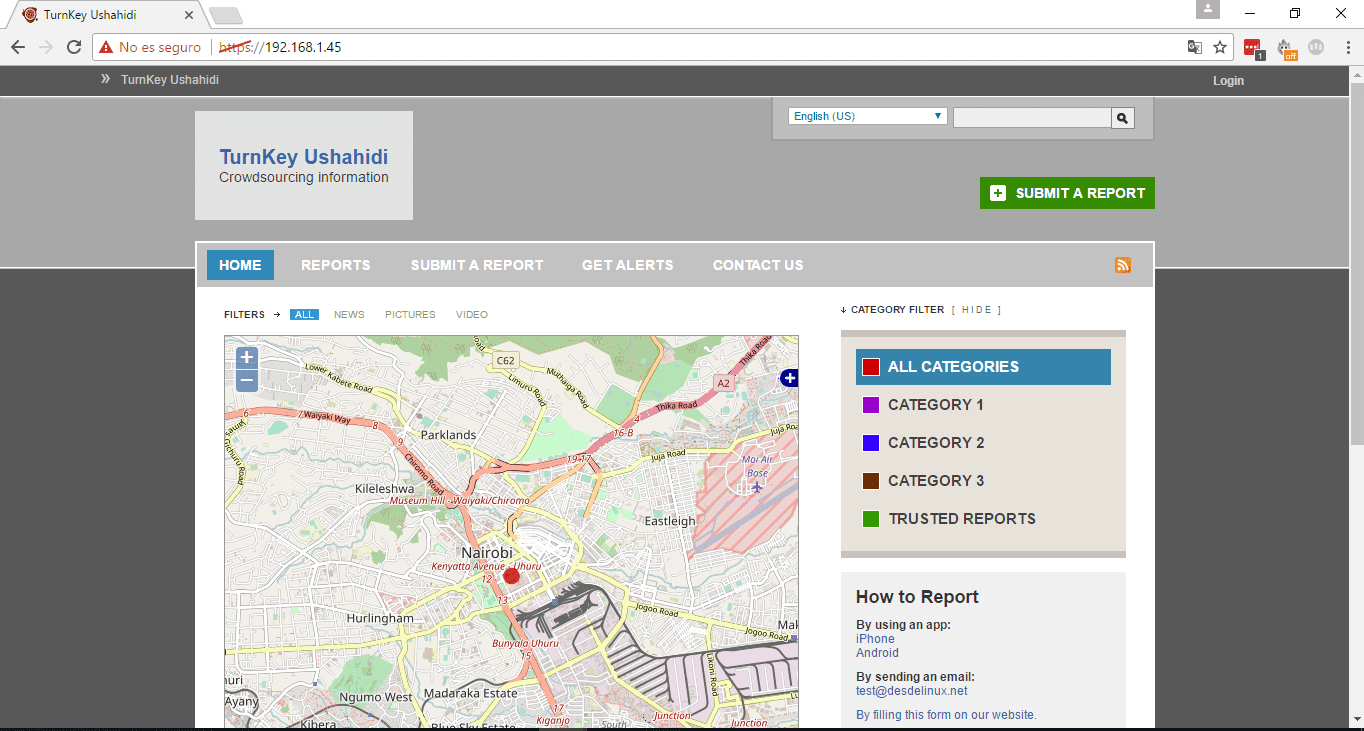
- From the host computer (or from any computer with network access) enter the Ushahidi IP that was shown in the initial step, in our case https://192.168.1.45 a website like the following will open:

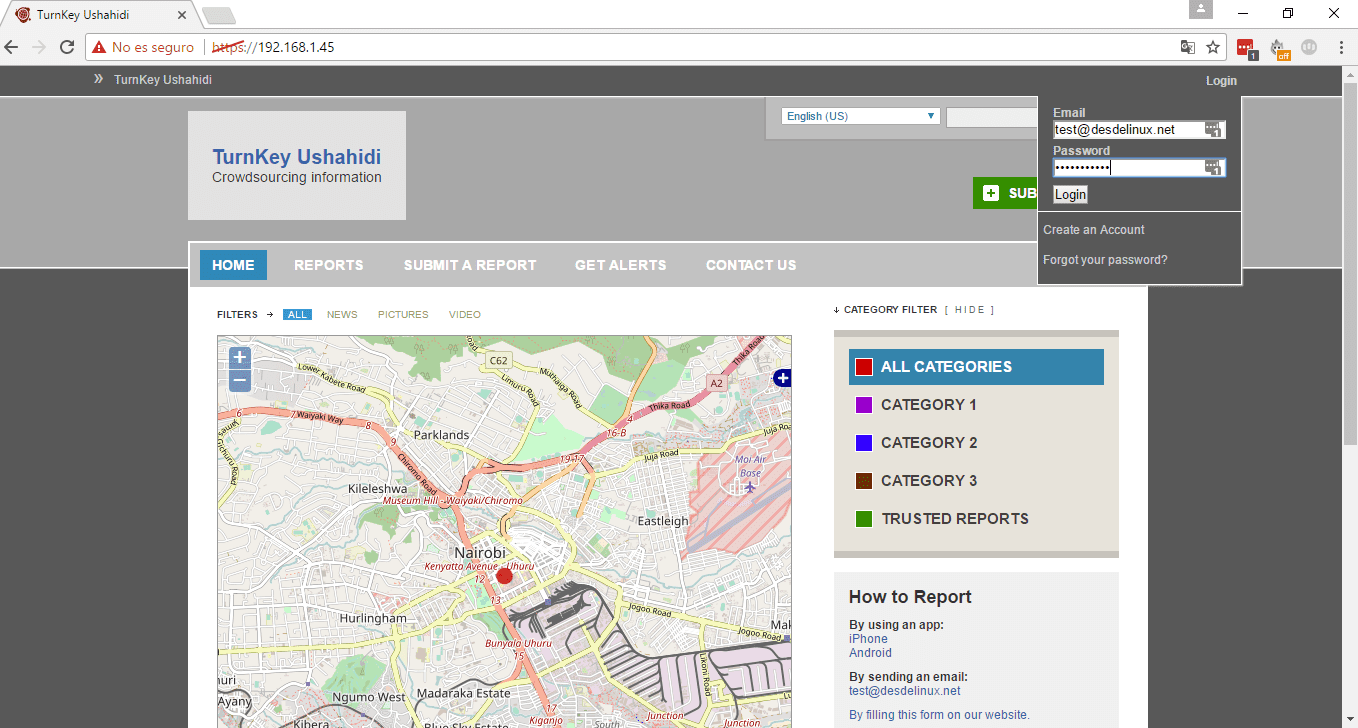
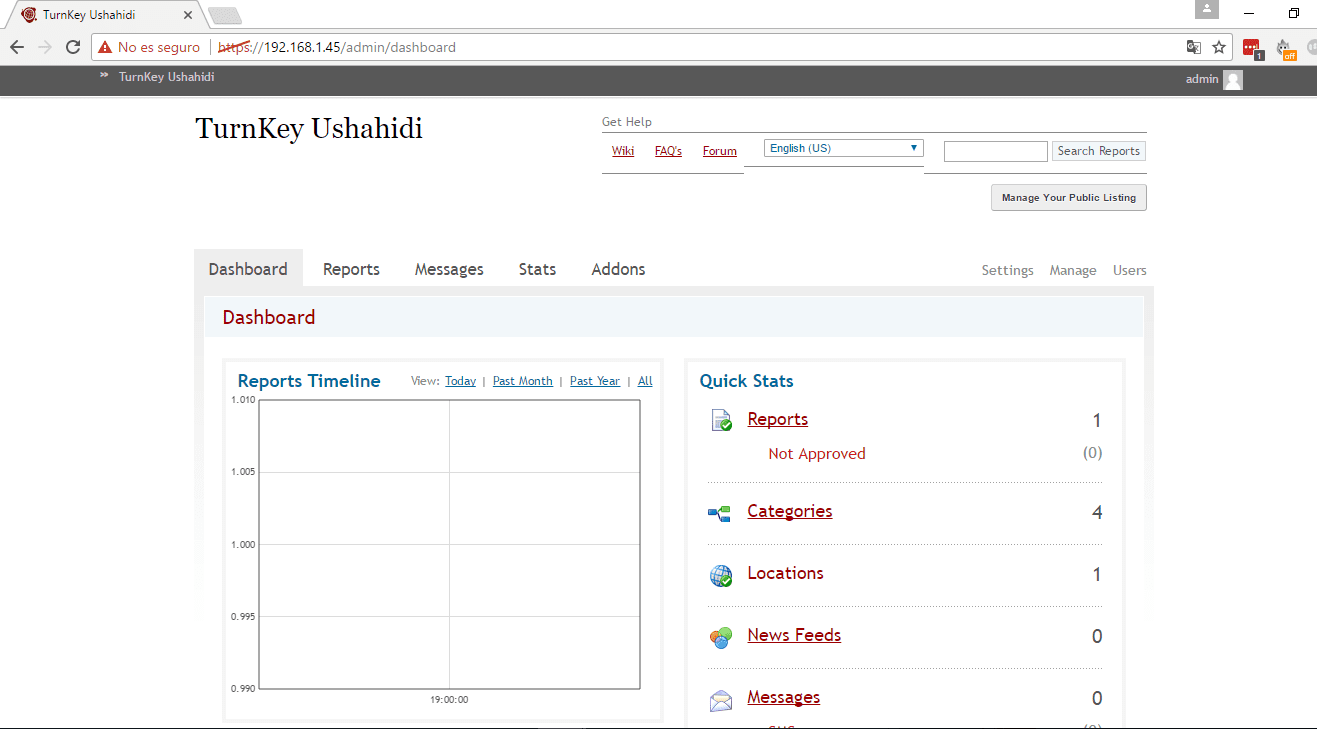
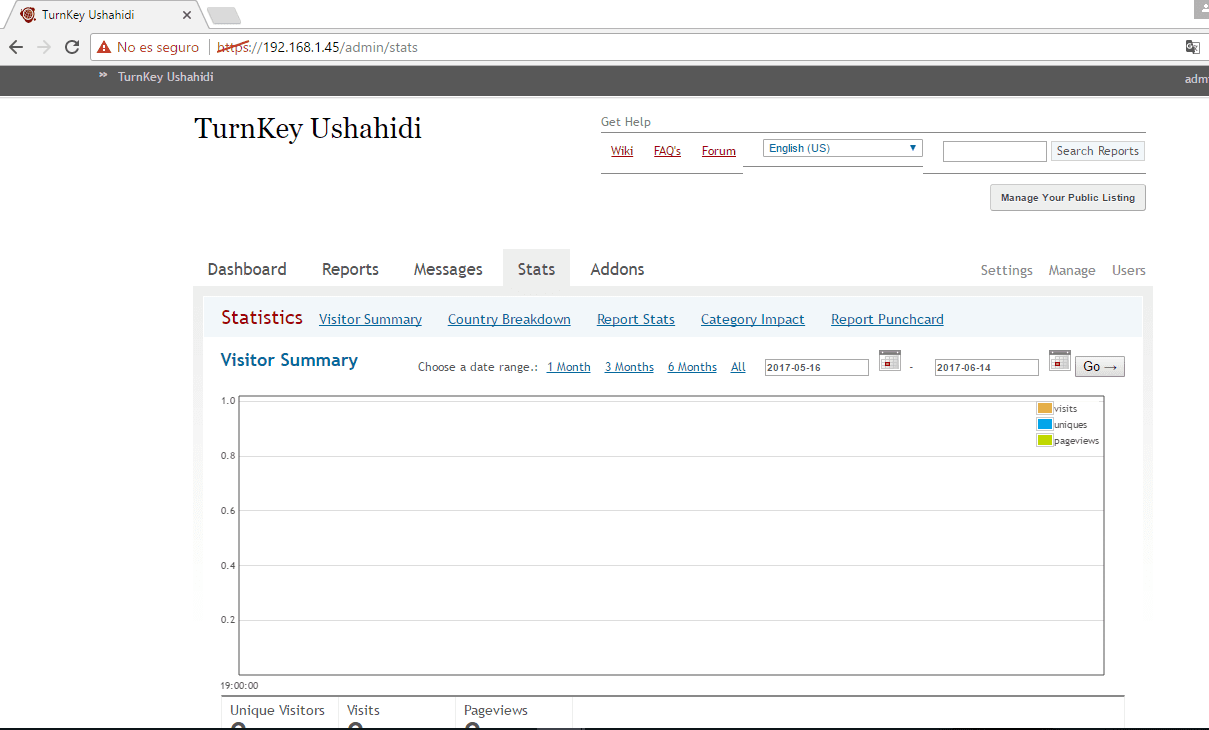
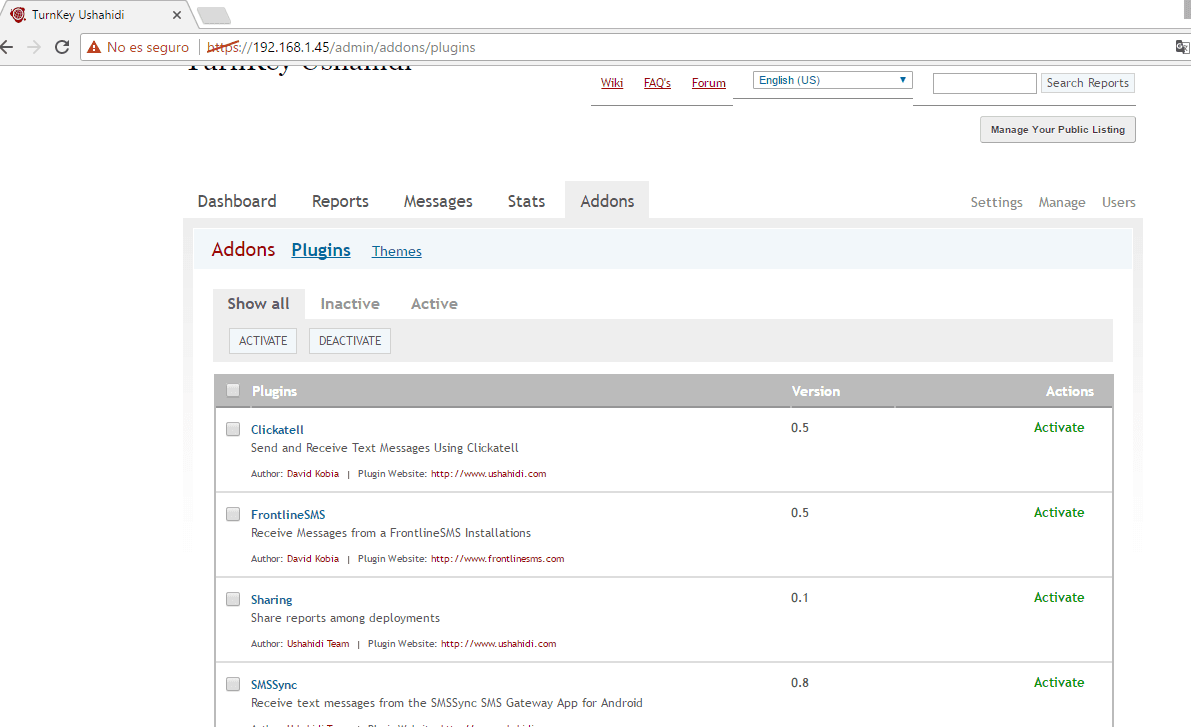
- We go to the upper right part of the page and click on login, we enter the email and password of the Ushahidi administrator that we previously registered, it will open the administration panel where we can view the dashboard, reports, messages, statistics and select extensions for increase the benefits of Ushahidi, in the same way we can access the configuration command, the block manager (categories, forms, pages ...) from ushahidi and to the user list.


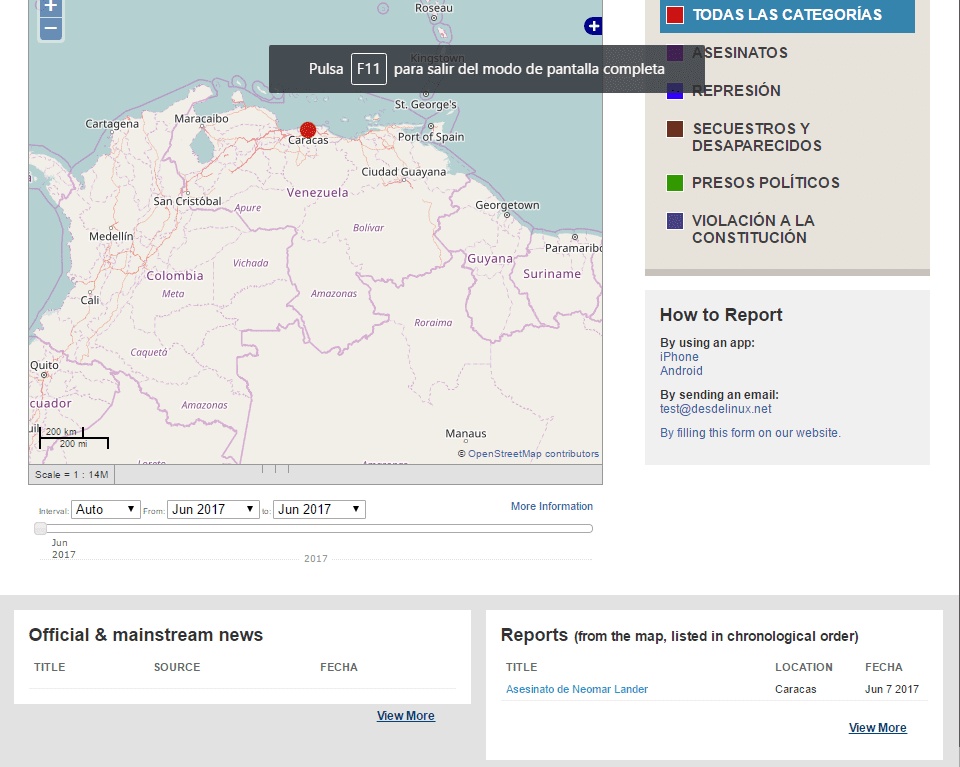
Adapting Ushahidi to record and monitor crimes of the Venezuelan government
Once we have seen the characteristics of the Ushahidi panel, let's get down to work and start to parameterize at a very high level what is necessary for the tool to adapt to the problem we have chosen.
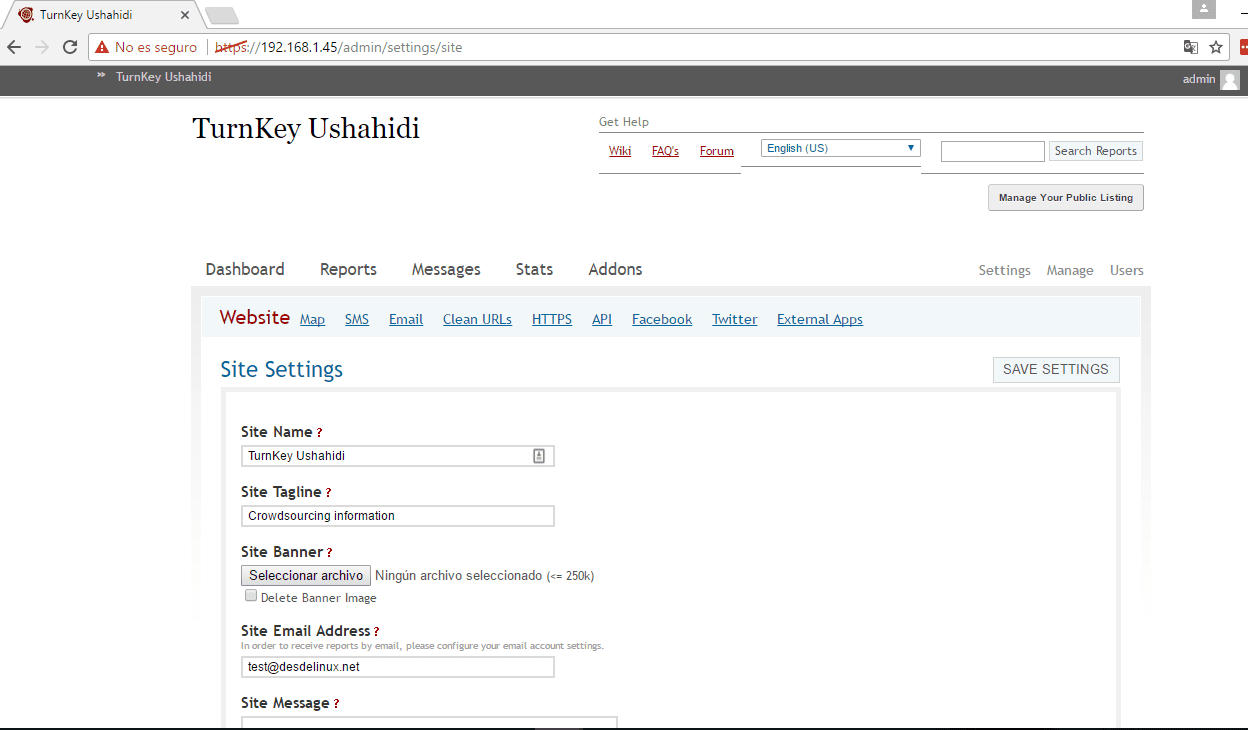
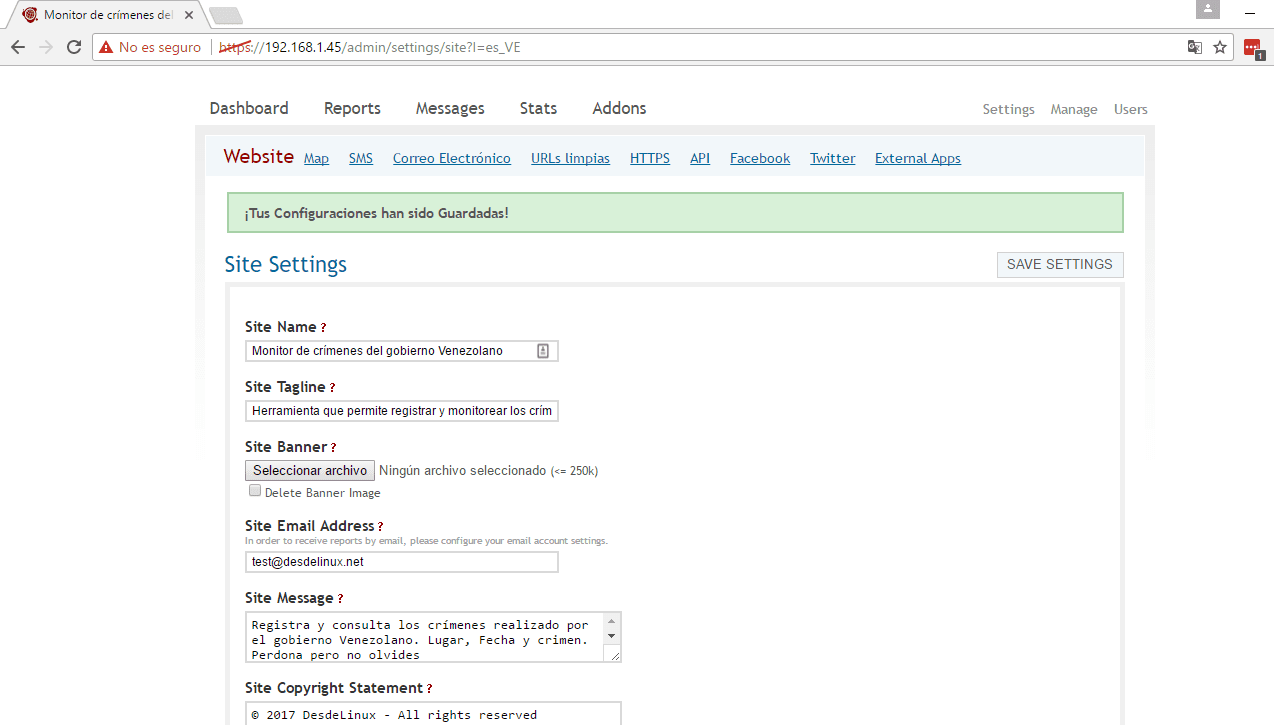
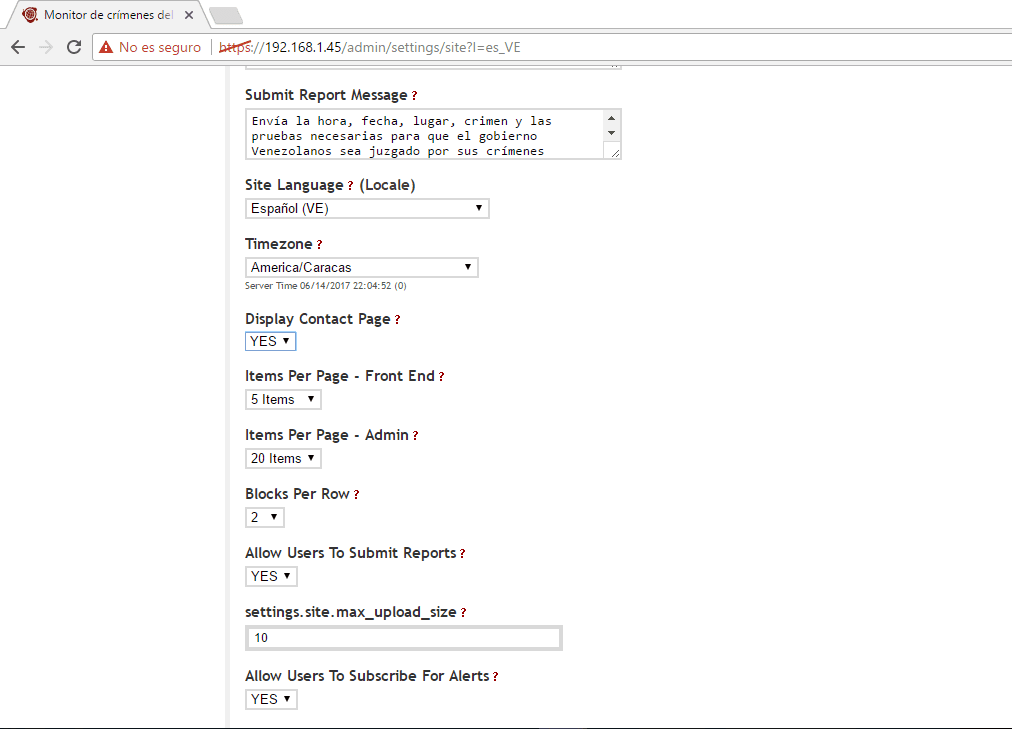
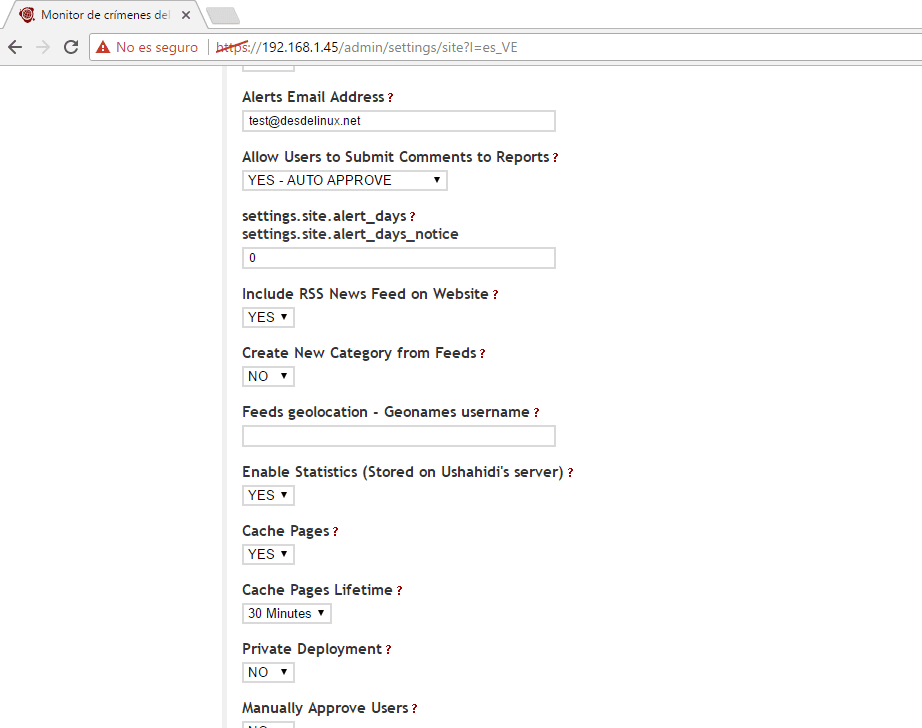
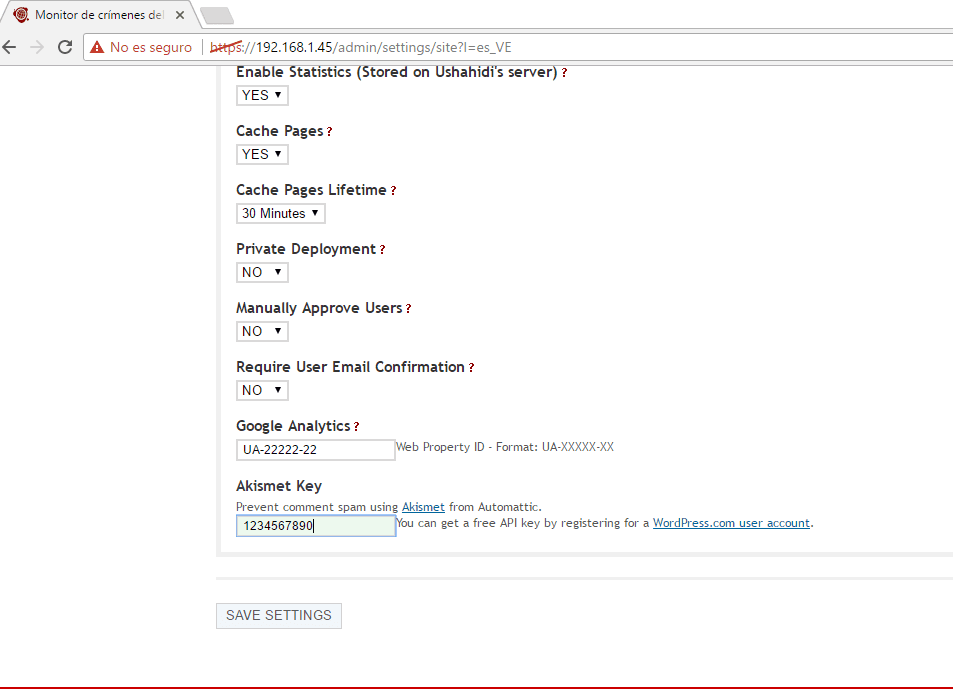
- From the Ushahidi panel we choose the option of Settings and we will modify some data, the Site Name, Site Tagline, we choose a banner (in case we don't want a title), we choose the email for contact, informative message of the header, Copyright message, information message for sending reports, site language, zone time, choose if you want to view the contact page, items by pages, items by pages for the administrator, email alerts, activate rss, activate statistics, activate cache of the pages, your google analytics key to monitor the statistics, Akismet to manage spam, among other features. As the options are quite wide, I leave you a series of images as I have configured it, do not forget to give save at the end of the parameterization.


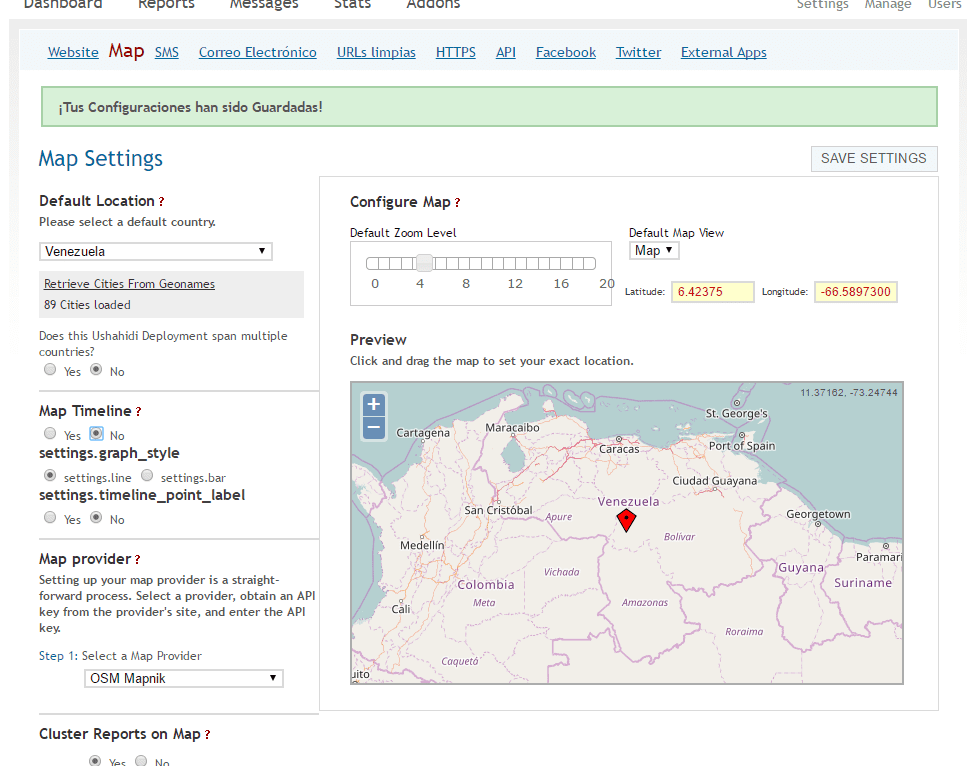
- From settings let's locate the Map tab and choose the default location of the tool, in this case Venezuela, I recommend that the map provider be OSM Mapnik and that the zoom level be 5, they are free to make any other adjustment and click on SAVE SETTINGS.

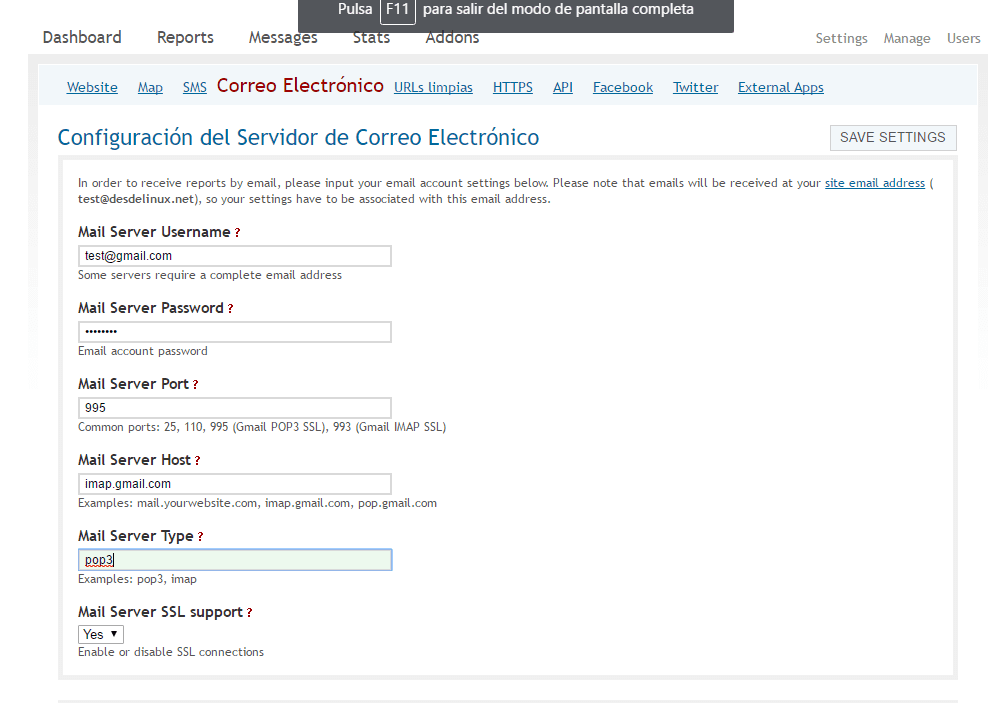
- We can parameterize Ushahidi so that it receives the reports by email, for this go to the Email tab and add your email configuration. An example can be seen in the following image.

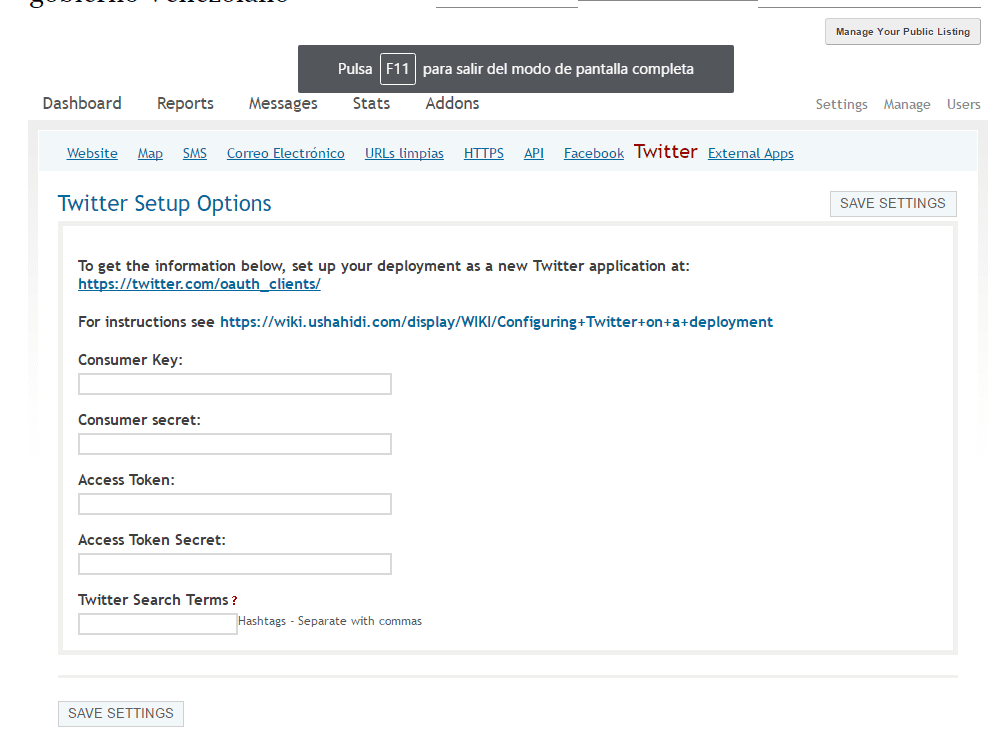
- In the same way we can integrate the Facebook and Twitter applications with Ushahidi in the corresponding tabs


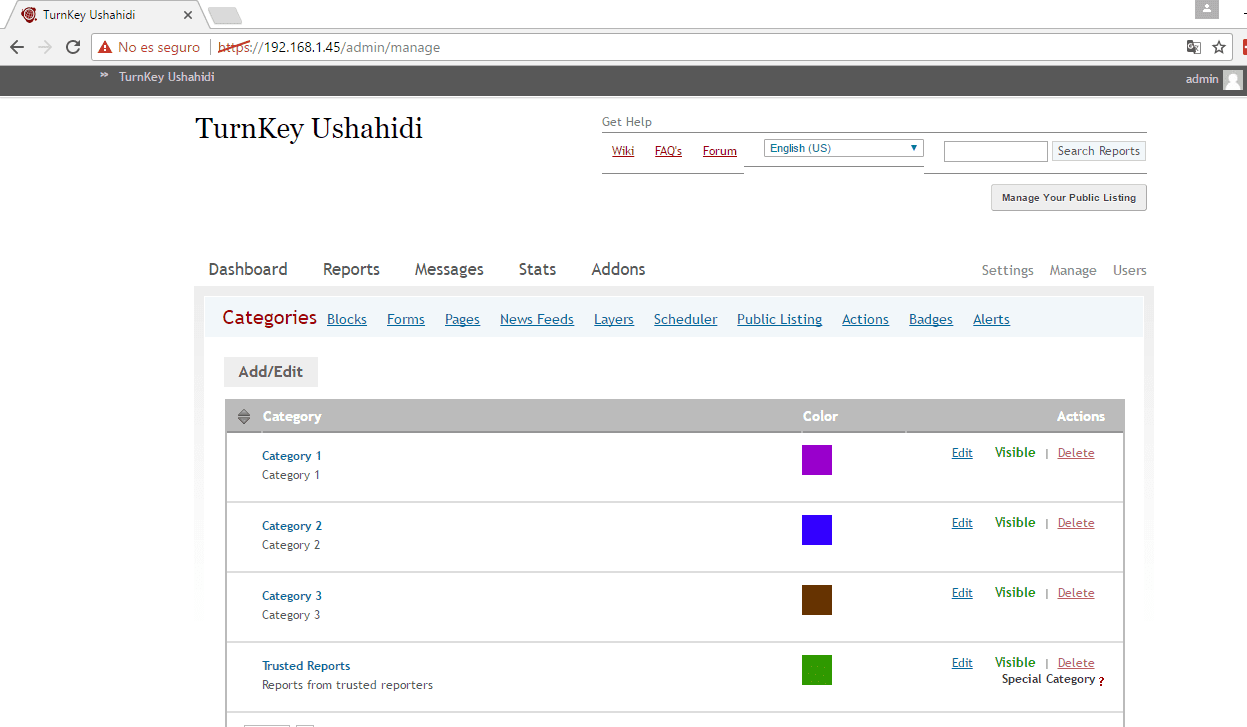
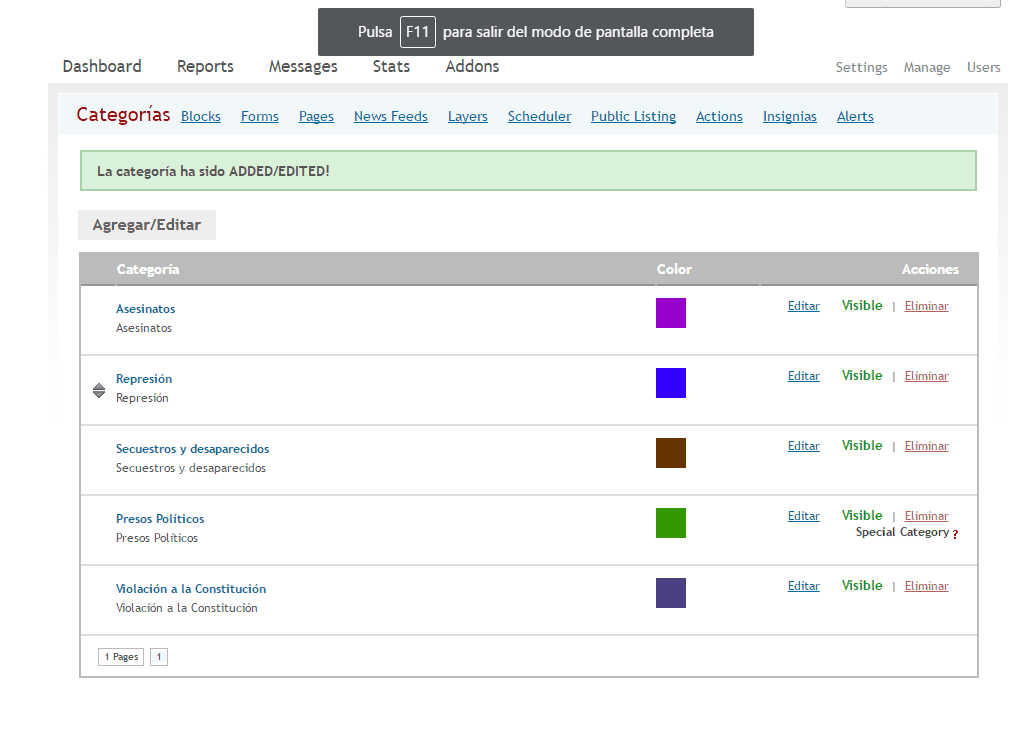
- Next we go to the Manage tab where we will create and edit the blocks that Ushahidi offers us, mainly the categories of the reports that we want to register.

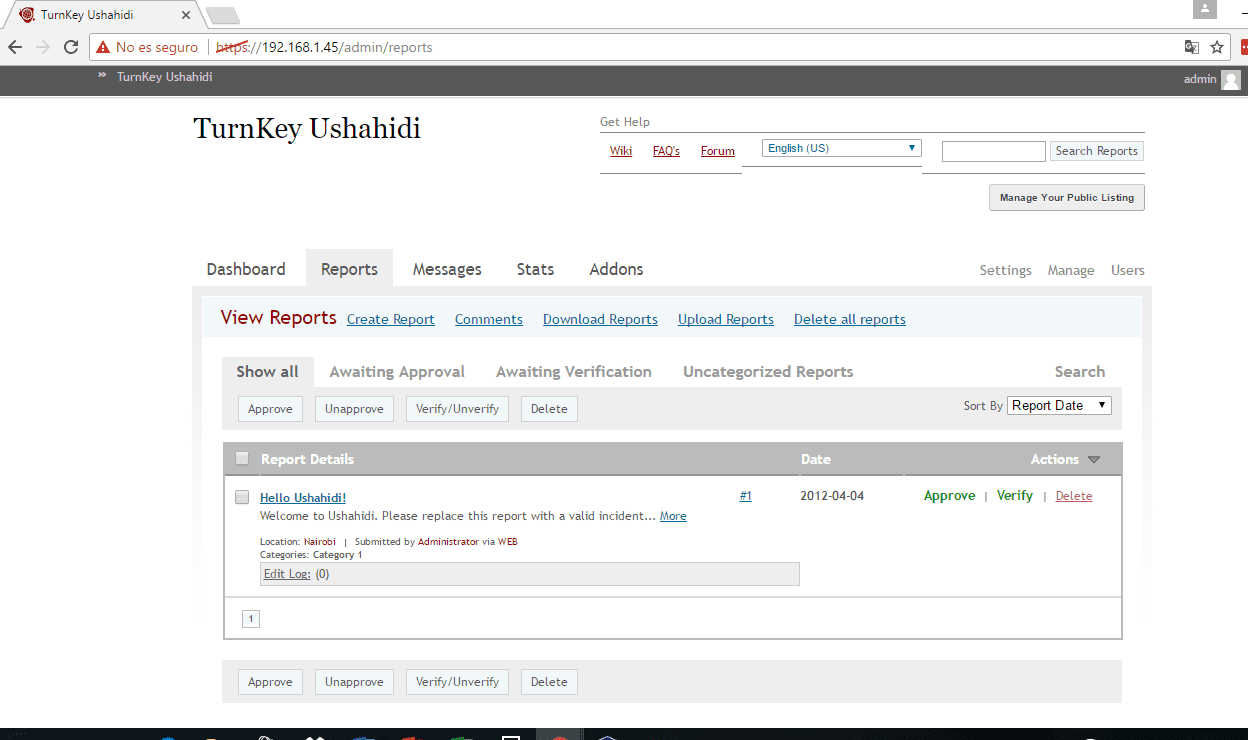
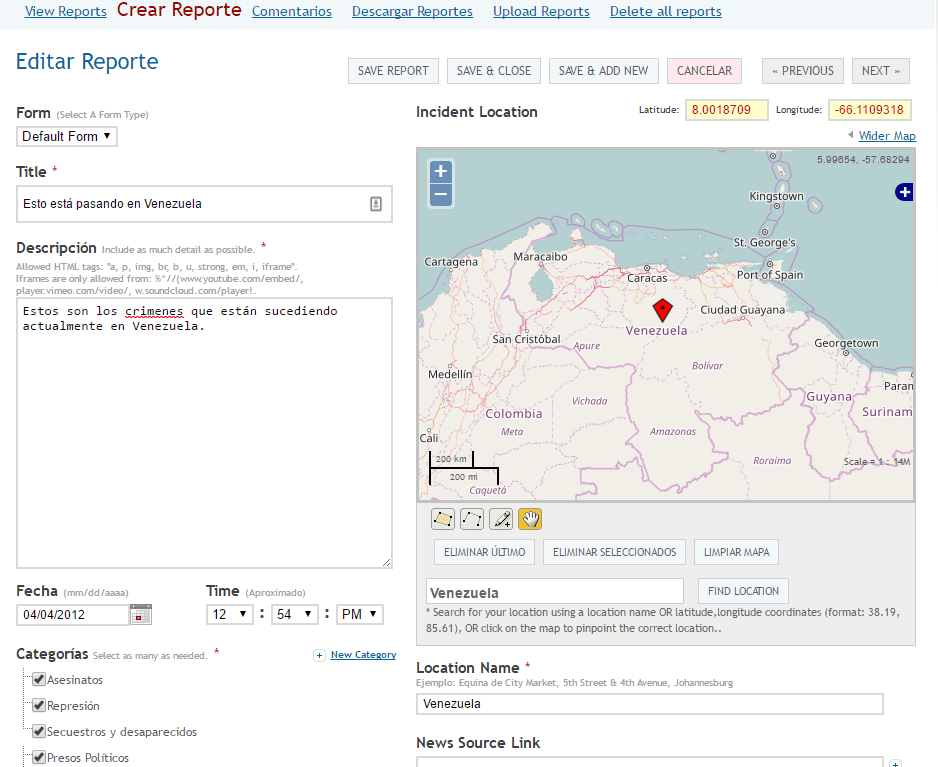
- Likewise, from the Reports tab we can make one or more at our convenience.

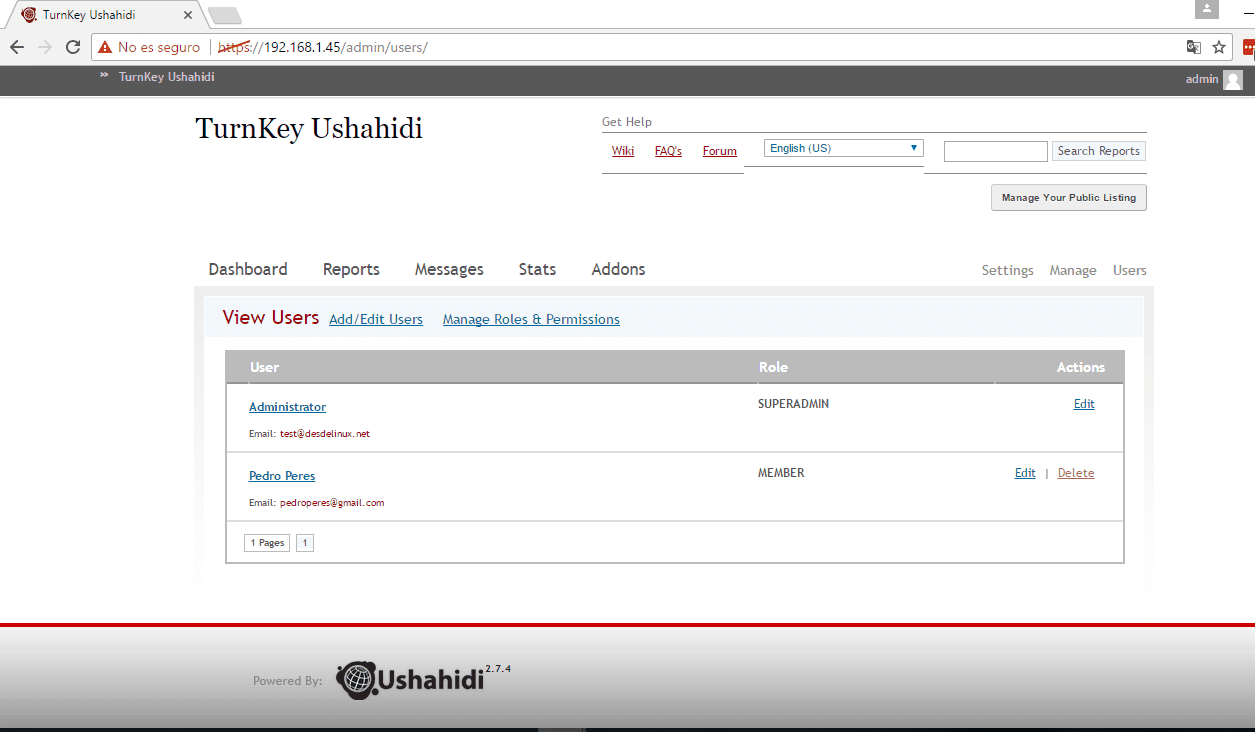
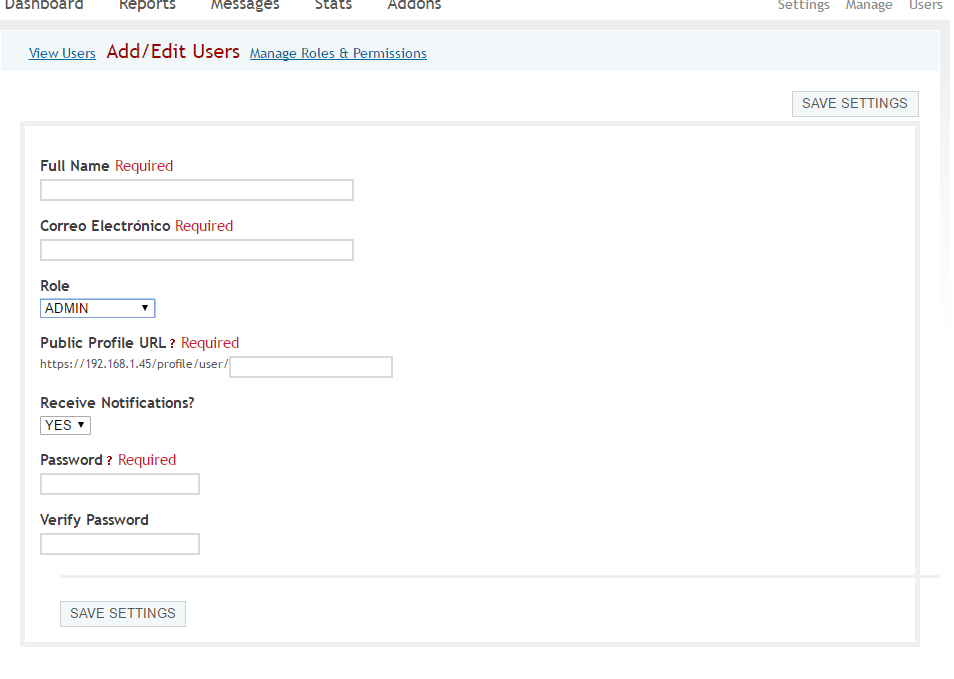
- In the case of wanting to register new users to the platform, let's go to the users tab >> Add or Edit users, let's enter the name, an email, a role (Admin, Member, SuperAdmin or user), let's choose a url and enter the access password.


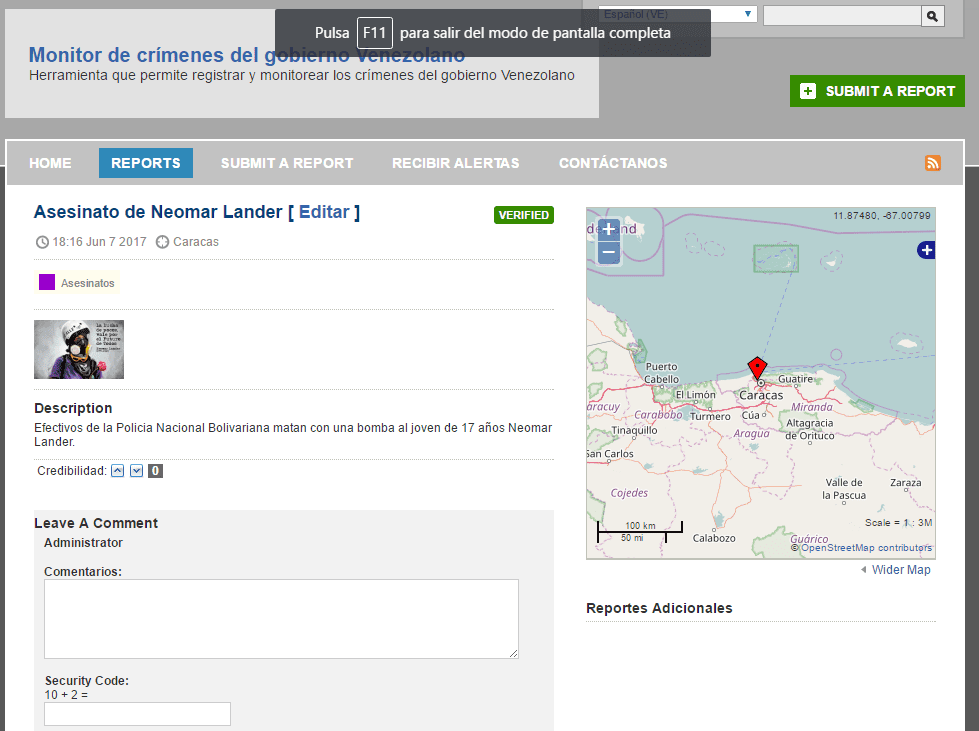
All these steps result in a somewhat generic Ushahidi implementation that will allow us to record and monitor the crimes of the Venezuelan government. Obviously, you must go a little deeper into the settings and the necessary adaptations, but I have made an example that covers many of the features that the tool offers us.
The final result can be seen in the following screenshots: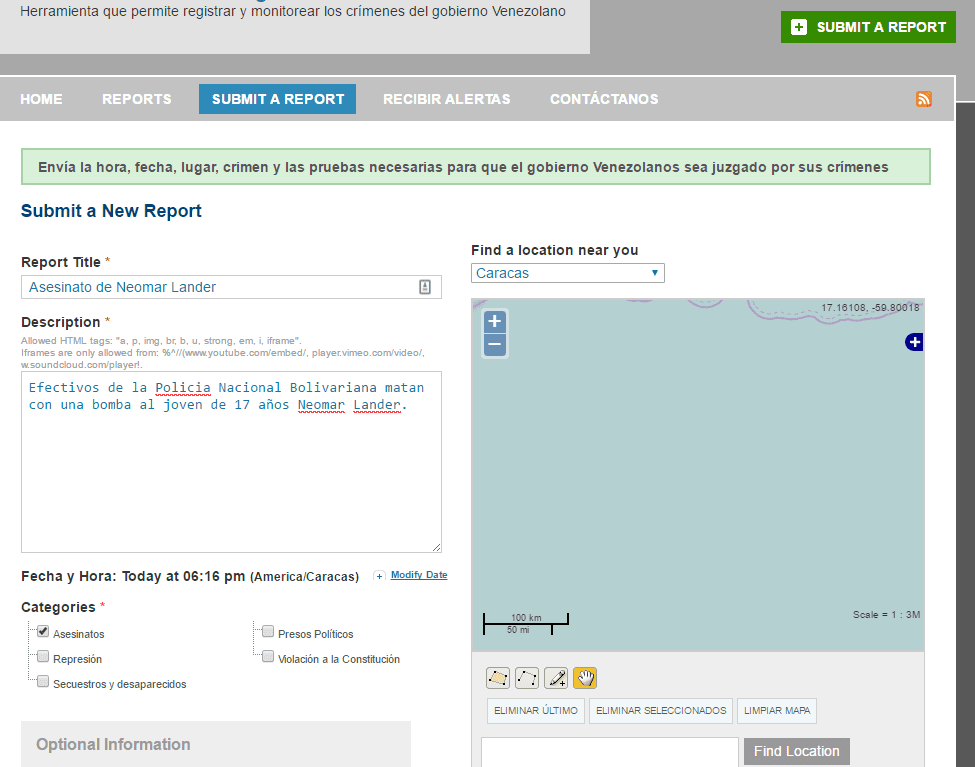

I hope that this tutorial will allow us to have a new mechanism for registering the large number of crimes against humanity that the dictatorship is carrying out in Venezuela, and that someone will be encouraged to put it into practice, from this rostrum my support for the people in the streets and remind them that «sooner rather than later, freedom and democracy will shine in Venezuela«.