
MX-Linux 19 - Beta 1: Distrowatch Distro # 1 is updated
Today, we will talk about «MX-Linux», a great «Distro GNU/Linux» that not only this of first in the ranking of the Distrowatch website to be light, beautiful and innovative, but why has he given much to speak of for his non-conservative approach, and his particular style and fantastic own packaging.
How in others previous articles within the Blog, we have already talked in depth about What is it «MX-Linux» y what allows us to do «MX-Linux», today we will talk directly about the news included in this first beta of the future «versión 19»Called «Patito Feo», and its installation method.
However, it is always worth highlighting from «MX-Linux», that between his own packaging and innate characteristics provide the possibility that the Users of the same, can create your own customized and optimized versions in ISO format as far as possible, with new features and capabilities, in order to have a kind of «Distro personalizada» that they can then share with communities or groups.
What's New in MX-Linux 19 - Beta 1 (MX-19b1)
According to his official blog «MX-Linux 19» at their «versión Beta 1» has the following new arrivals:
Updated parcel
- New base package from the recently released version of DEBIAN 10 (Buster), plus the updated and adapted base package of the Repositories of the antiX and MX Communities.
- Packets of Updated firmware to the latest versions available.
Programs Included
- XFCE - 4.14
- GIMP - 2.10.12
- Mesa - 18.3.6
- Kernel - 4.19.5
- Firefox - 68
- VLC - 3.0.8
- Clementine - 1.3.1
- Thunderbird - 60.8.0
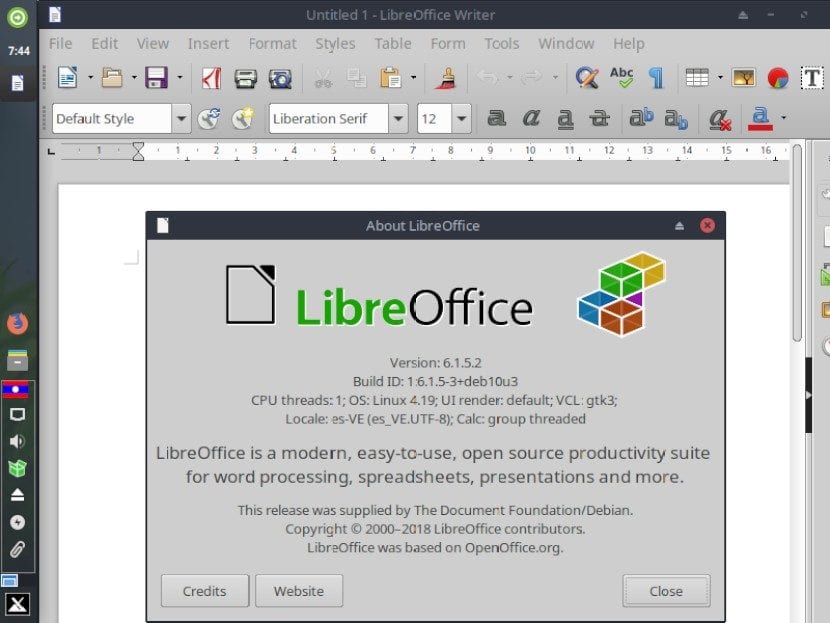
- LibreOffice - 6.1.5 (More security updates)
Among many others, already included and available in their embedded repositories.
Download
It is «versión Beta 1» de «MX-Linux» available from 25 August 2019, is available for direct download on the site of SourceForge, from the following link:
It is worth noting that its creators, They have released this beta for testing purposes only and not to be a definitive or final model for extended use.
MX-Linux installation
After downloading the «Imagen ISO», be copied to a «CD/DVD/USB» to be tested on physical equipment or in its digital form to be tested on a «Máquina Virtual (MV)» and started (booted) in any of the 2 cases exposed, it starts with the following screen:
Step 1:
MX-Linux initialization
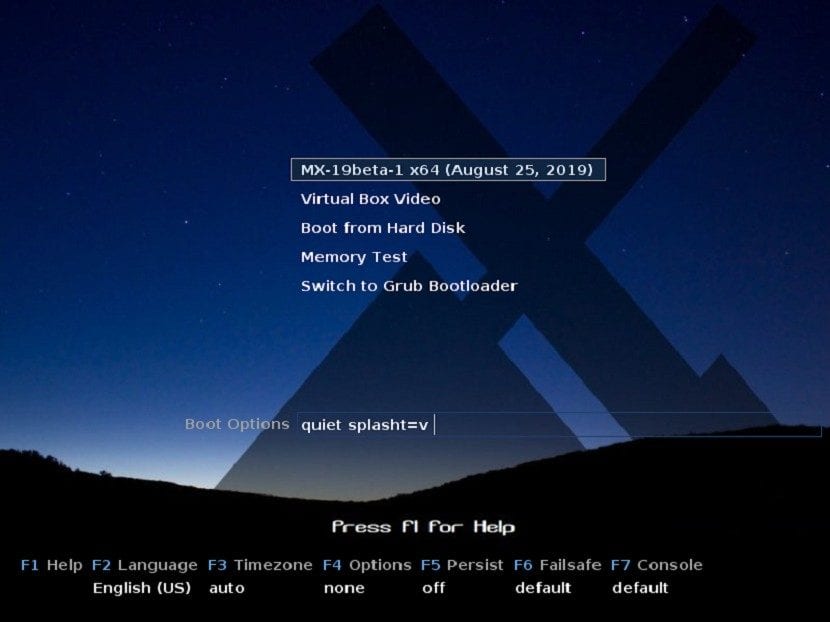
In this welcome screenIf necessary, and at the user's choice, the boot options must be configured using the function keys «"F2", F3", F4", "F5", "F6" y "F7"». Which are for the following configurations:
- F2 Language: For set language in which the Boot System and the distro should be displayed. This will be the same one that will automatically be transferred to the hard drive when it is installed unless otherwise indicated.
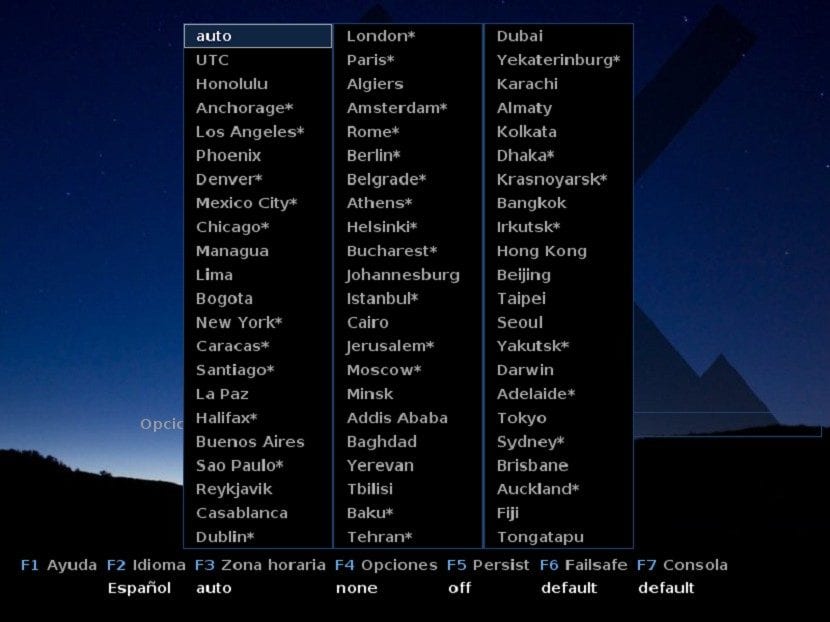
- F3 Time Zone: For set time zone that will govern for the distro in live format (live). This will be the same one that will automatically be transferred to the hard drive when it is installed unless otherwise indicated.
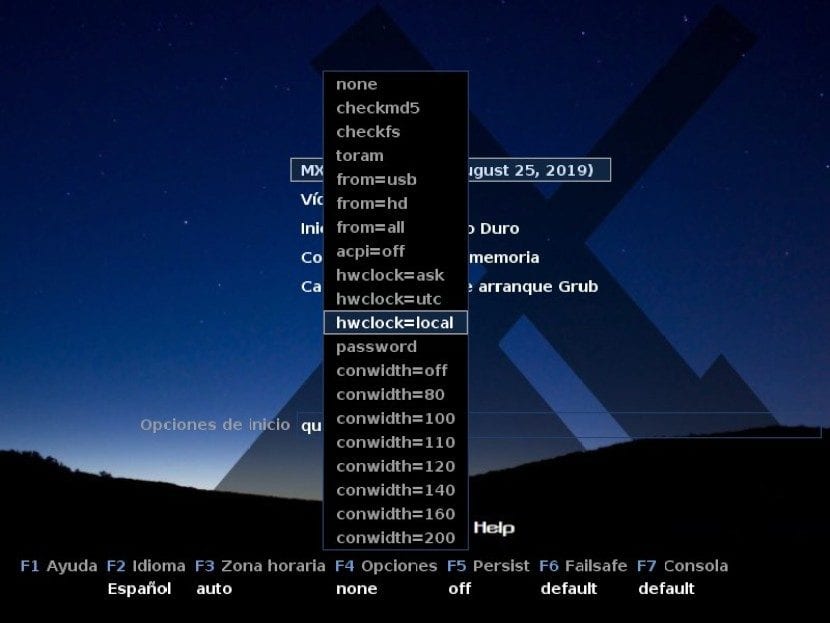
- F4 Options: For configure time and date parameters that will be used when starting the Live system. This will be the same one that will automatically be transferred to the hard drive when it is installed unless otherwise indicated.
- F5 Persistence: For enable persistence feature in case of using the image on a USB drive, that is, to retain the changes made in the Live USB when it is turned off (closed).
- F6 Safe mode: For perform graphical optimization loading the distro, especially at the video resolution level to minimize boot failures.
- F7 Console (terminal): For facilitate resolution change on virtual consoles. Useful for starting a command line installation or debugging the early start process. Use it with care, as these parameters can cause conflicts with the kernel mode settings. This option does carry over when the Distro is installed.

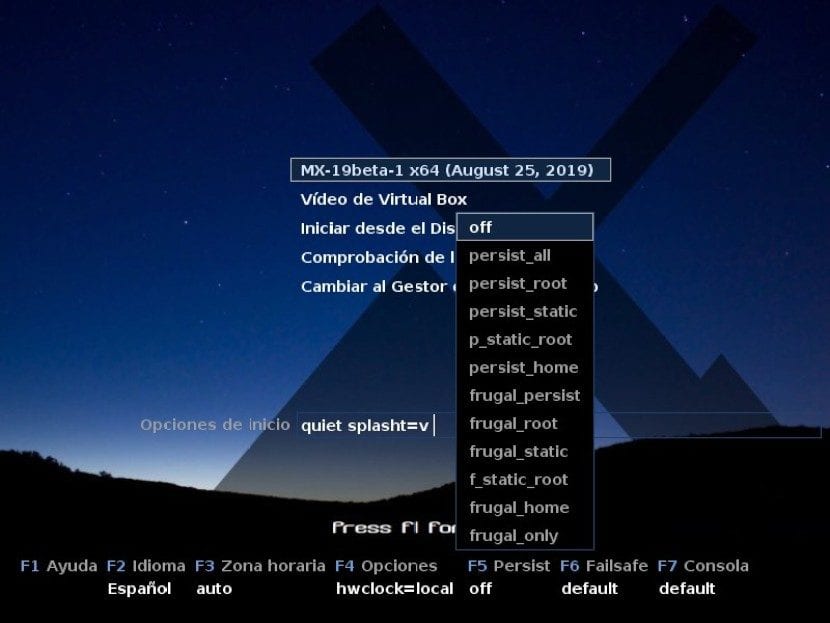
Once configured, all that remains is to press the key «Enter» about the first option called «MX-19beta-1 x64 (August 25, 2019)» and then follow the steps below to start the live Distro, install, reboot and test.
Step 2:
MX-Linux Booting


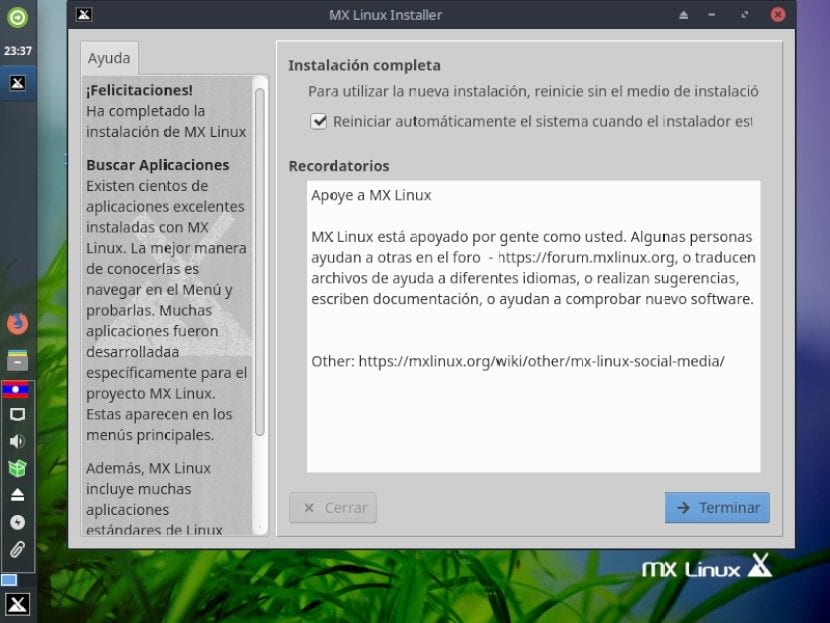
Step 3:
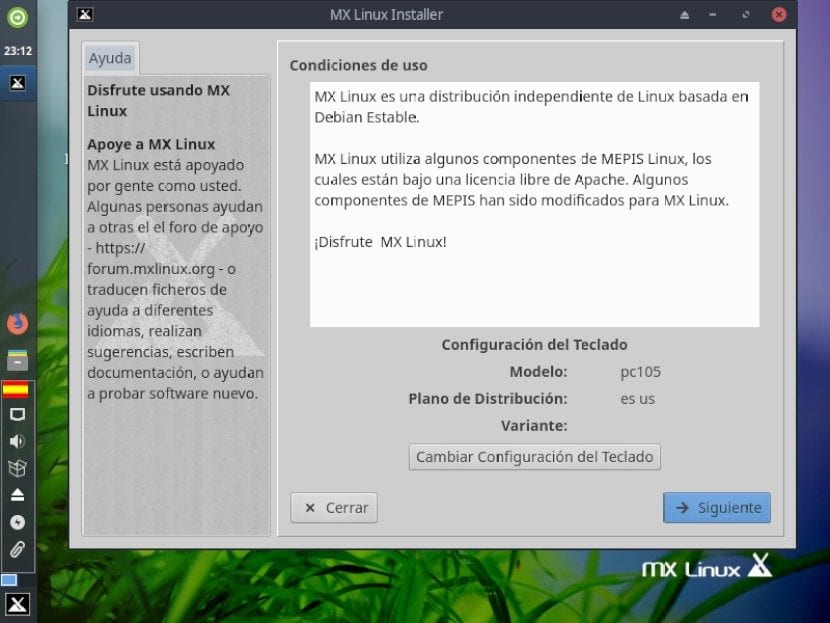
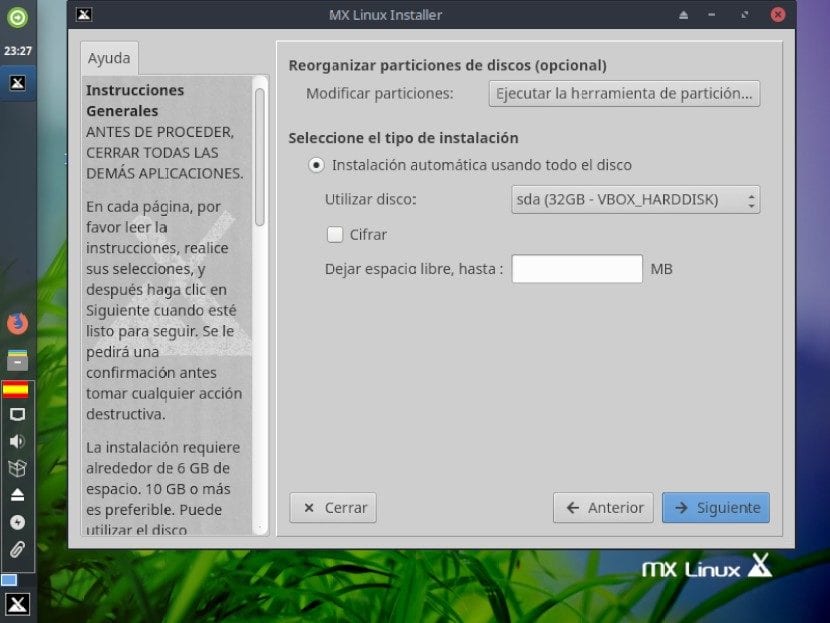
MX-Linux installation


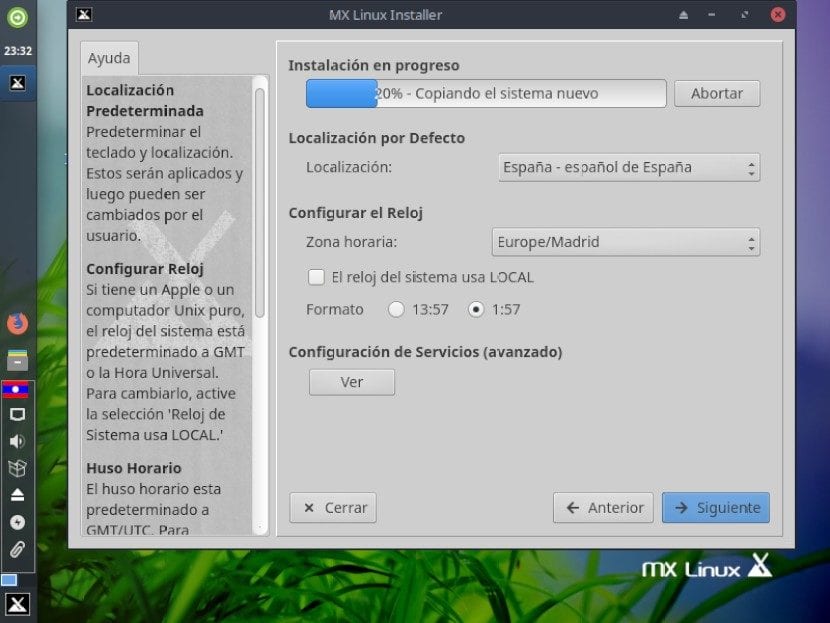


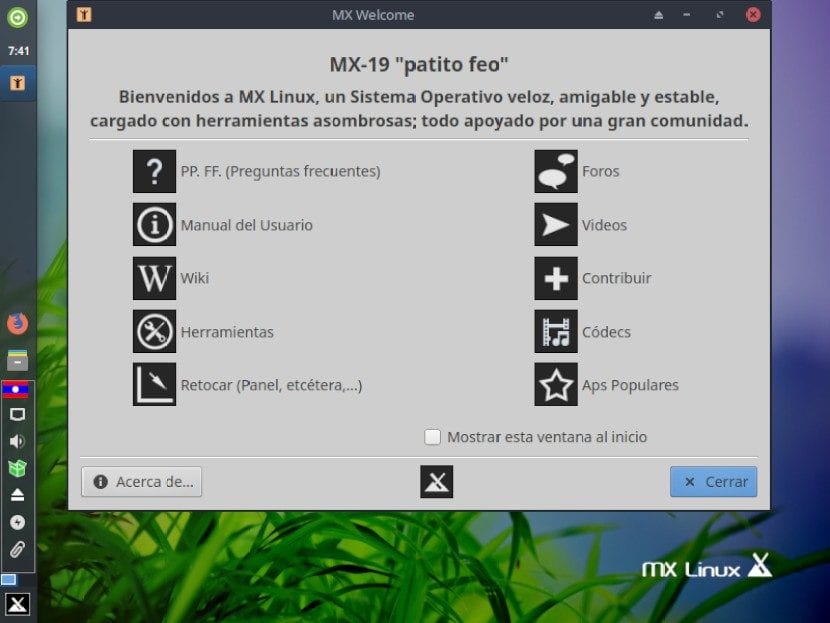
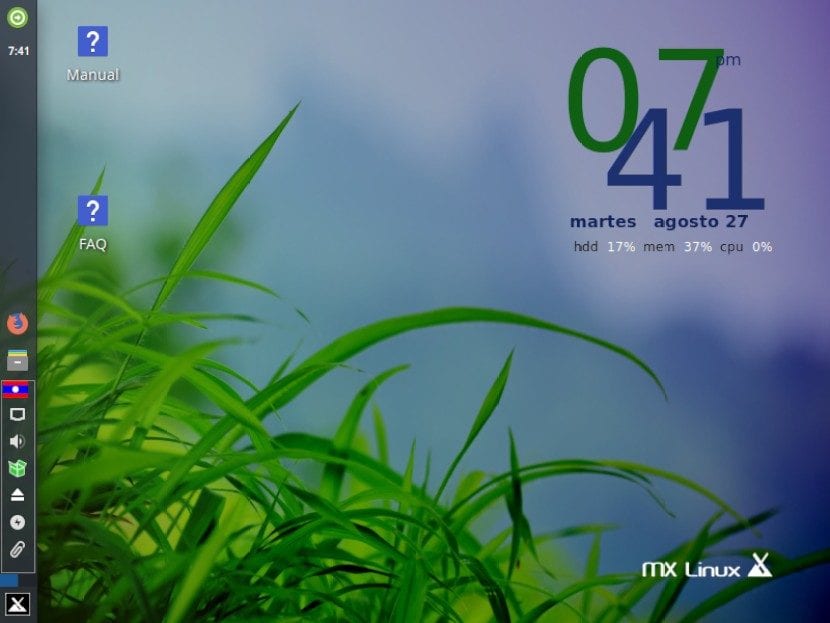
Step 4:
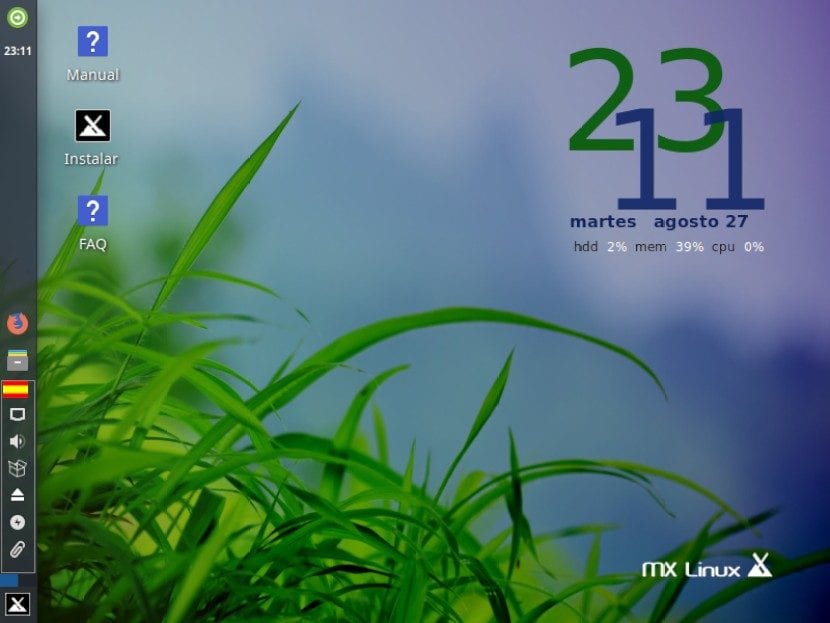
MX-Linux first boot


Step 5:
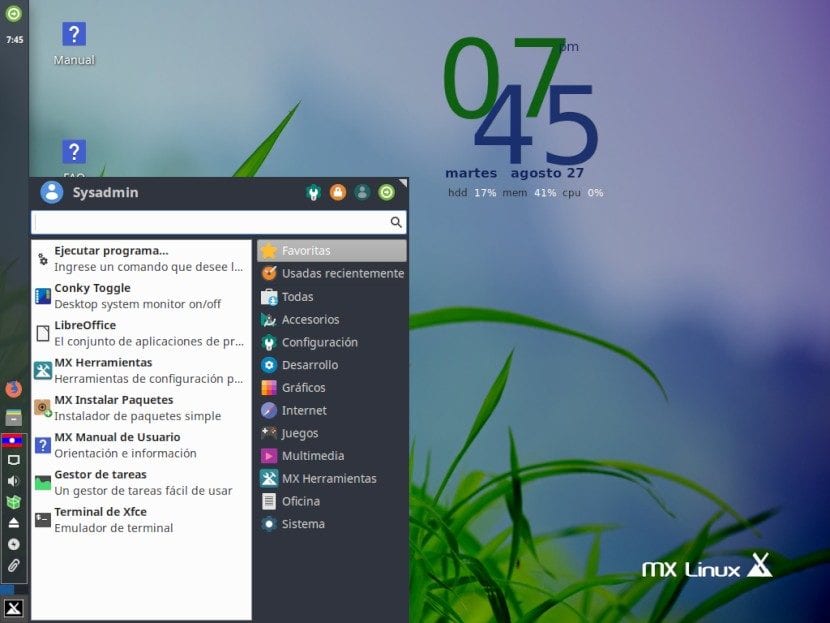
MX-Linux Application Review

Step 6:
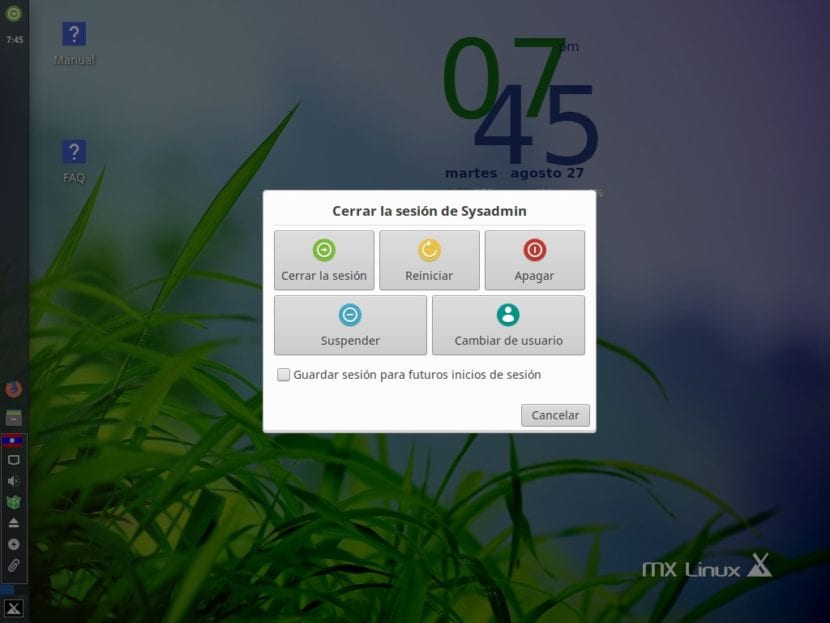
MX-Linux shutdown
Conclusion
As can be seen, «MX-Linux» In its first beta, it is what it promises. A simple, light, beautiful and functional Distro. In addition, as already mentioned before, its extraordinary own packaging includes programs such as «MX Snapshot», which is an application that allows you to generate a «Imagen ISO» customized and optimized of the current «Sistema Operativo», as it is to this day. Very similar to «Remastersys y Systemback».
And finally, it includes with 2 applications called «MX Live USB Maker (Creador de USB Vivo MX)» y «dd Live USB» ready to use to record the «Imagen ISO» of the new customized and optimized distro of the current one «Sistema Operativo» on a «Unidad USB».
Anyway, it is a Distro that is worth checking out.
Well, it must be said that among its main features is that it uses SysVinit as the default startup system even though it has systemd installed but not activated. Use systemd-shim to emulate the systemd functions that some programs need. Perhaps this is why it is first in the ranking and has more and more followers.
Well, it has to be because of that because it won't be because of beauty because it's uglier than hitting a father