General index of the series: Computer Networks for SMEs: Introduction
Hello friends!
The main purpose of this post is to show how we can achieve a Desktop - desktop base with a minimum initial configuration, since we already have a DNS - DHCP on the network, and we don't need to manually configure the network interface.
We decided to make the desktop with the version openSUSE 13.2 Harlequin, and not wait any longer for the achievement of the installation DVD and version repositories 42.2 Leap. According to what my friend and colleague have told me, Engineer Eduardo Noel Núñez, the installation process does not vary much between the versions despite the numerical jump that identifies them.
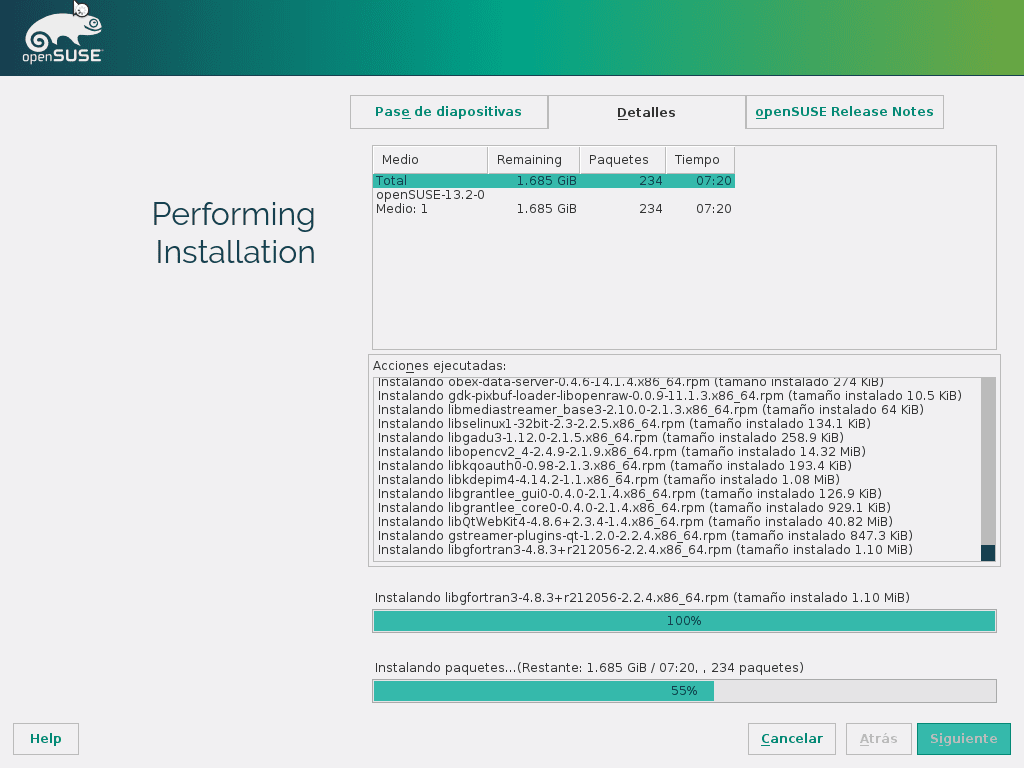
Step-by-step installation through images
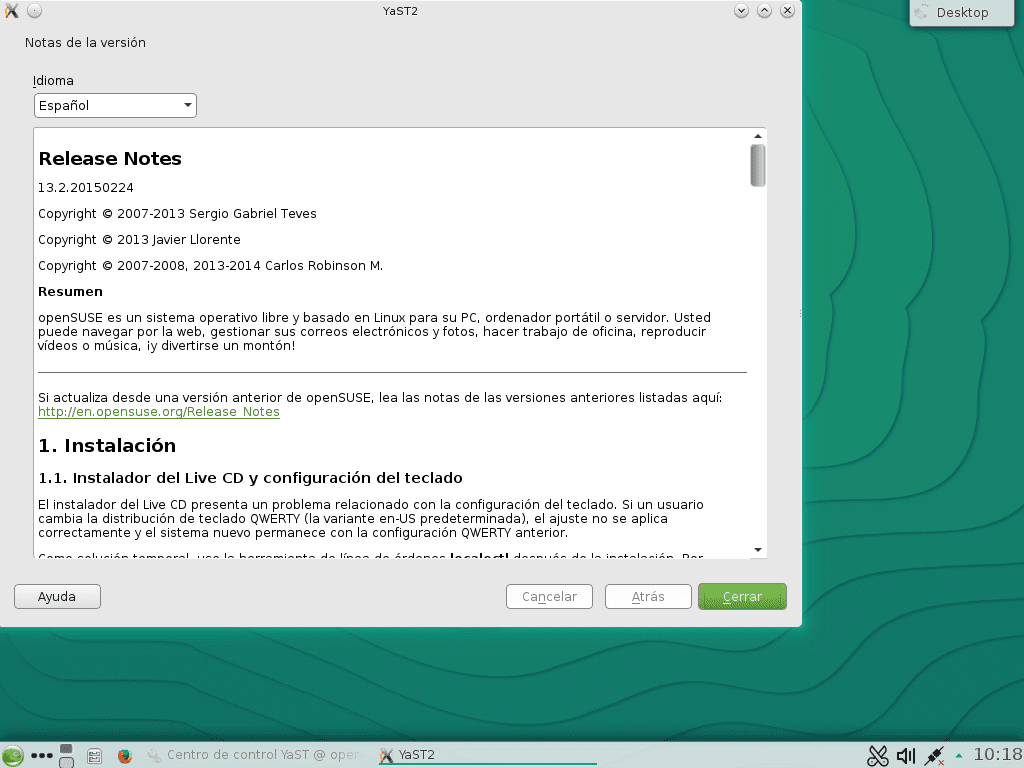
We captured a total of 51 screens to reflect a Step by Step as faithful as possible. In each of the installation screens, openSUSE It makes our work easier with the existence of a Help button - Help usually located in the lower left.
We will not give a description of each screenshot as it is considered redundant. As the saying goes, «A picture is worth a thousand words«.
You will see many images similar to those captured in the previous post, but it is worth showing them in their entirety in this one, so that it is not necessary to go from one web page to another. This is how we make reading easier.


Installation support
As installation medium we use the DVD image openSUSE-13.2-DVD-x86_64.iso. If the equipment does not have a DVD player, or if it is more convenient for us to use a memory - pen drive, we can do it as indicated in the article Auto-start memory for installing Debian, CentOS, or openSUSE. After installing the operating system, to prepare a memory you can install and use the program Imagewriter by SUSE Studio.
However we suggest test initially on a virtual machine.
Installation, declaration of repositories and system update
- We suggest for virtual machine opensuse-desktop.desdelinux.fan about 768 megabytes of RAM and a 20 - 80 GiB hard drive, depending on how it will be used and in case you want to try playing multimedia files on it.
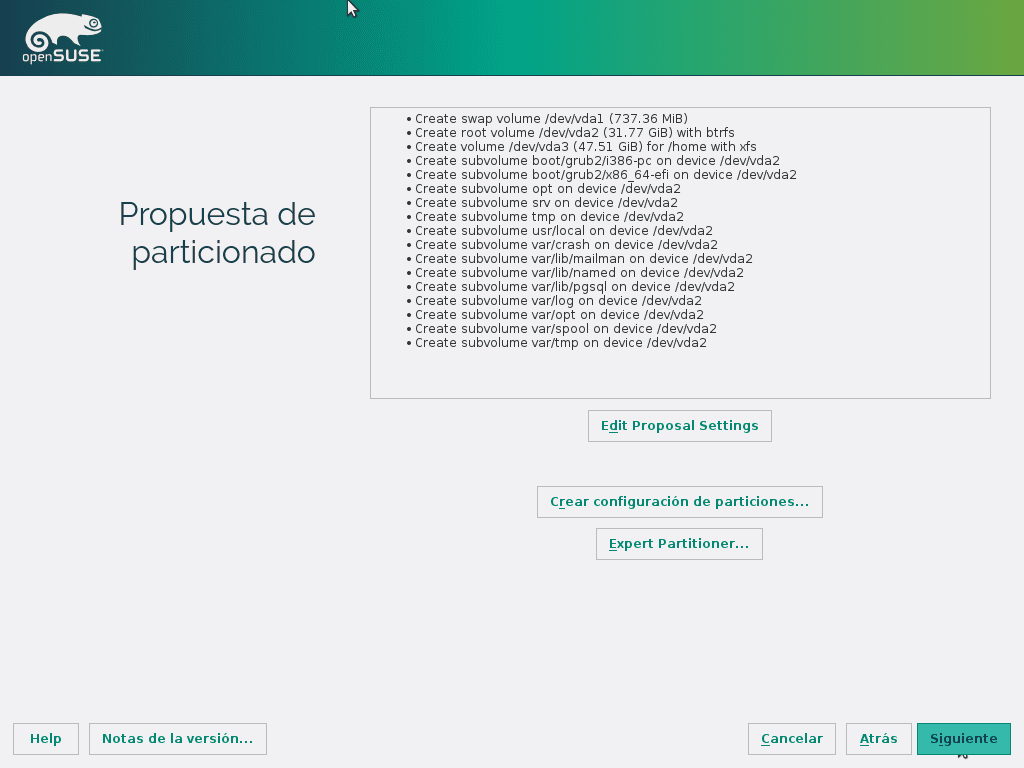
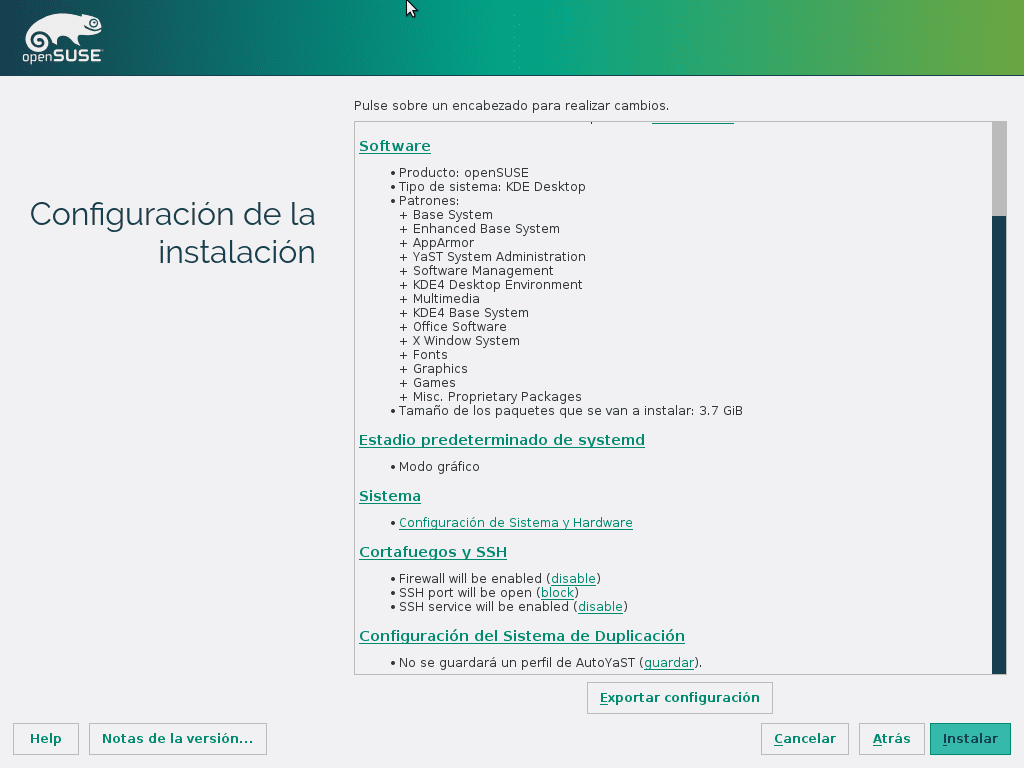
- We accept by default the Partitioning Proposal offered by the installation program, as a sign of confidence in the experience of openSUSE in these aspects.
- If you are not going to test first in a virtual machine and decide to do it directly on your Desktop, Great care not to lose existing data on your hard drives. Great care with the File System - File System selected. Great care with not changing the File System of a partition with data, and not formatting it.
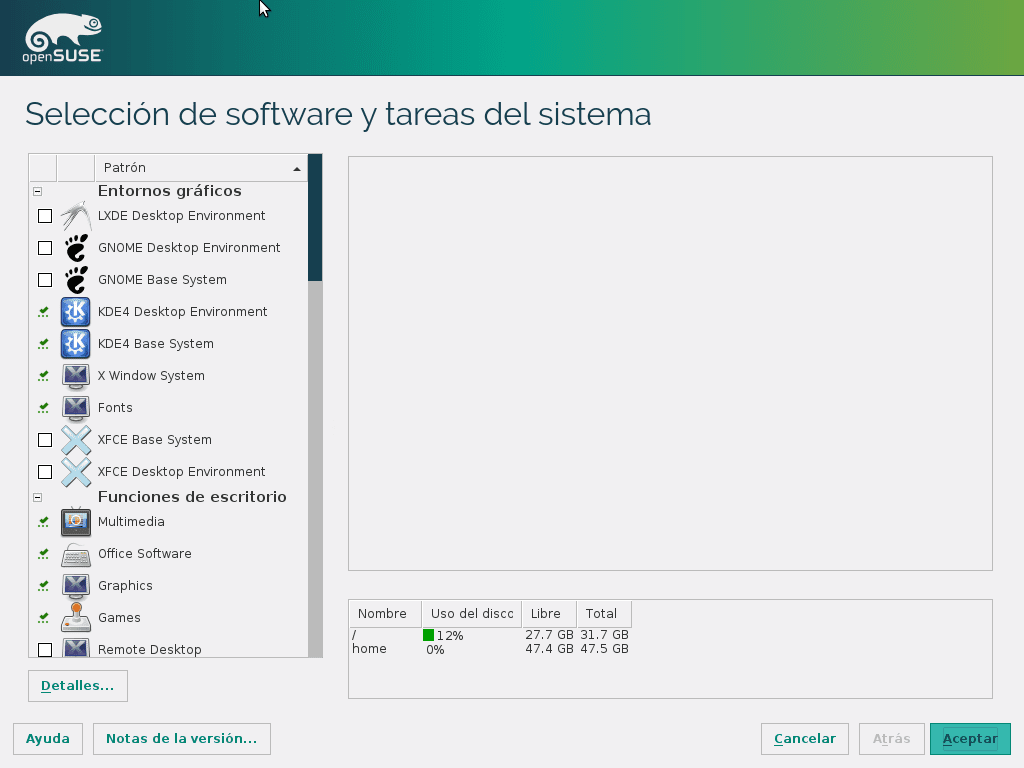
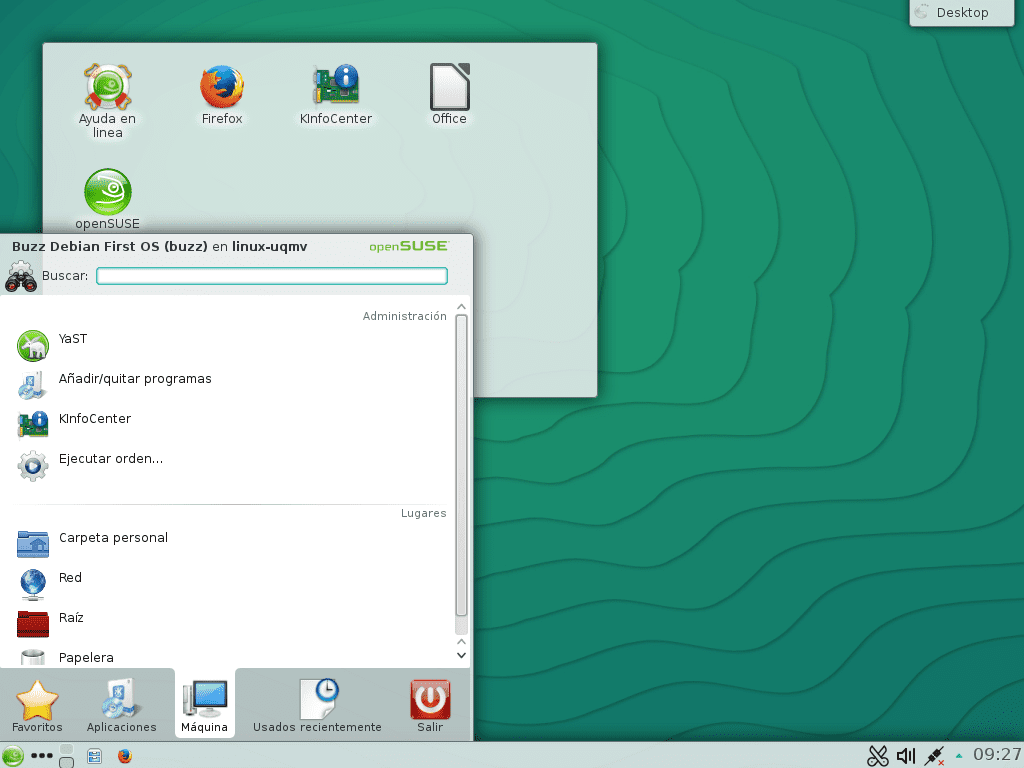
- Although we show the possible desktops to select, finally we choose the KDE. We believe that using a desktop other than KDE in a openSUSE Desktop, it is all a lack of respect to OpenSUSE Team. 😉 However, feel free to choose the one you prefer and give it a try.
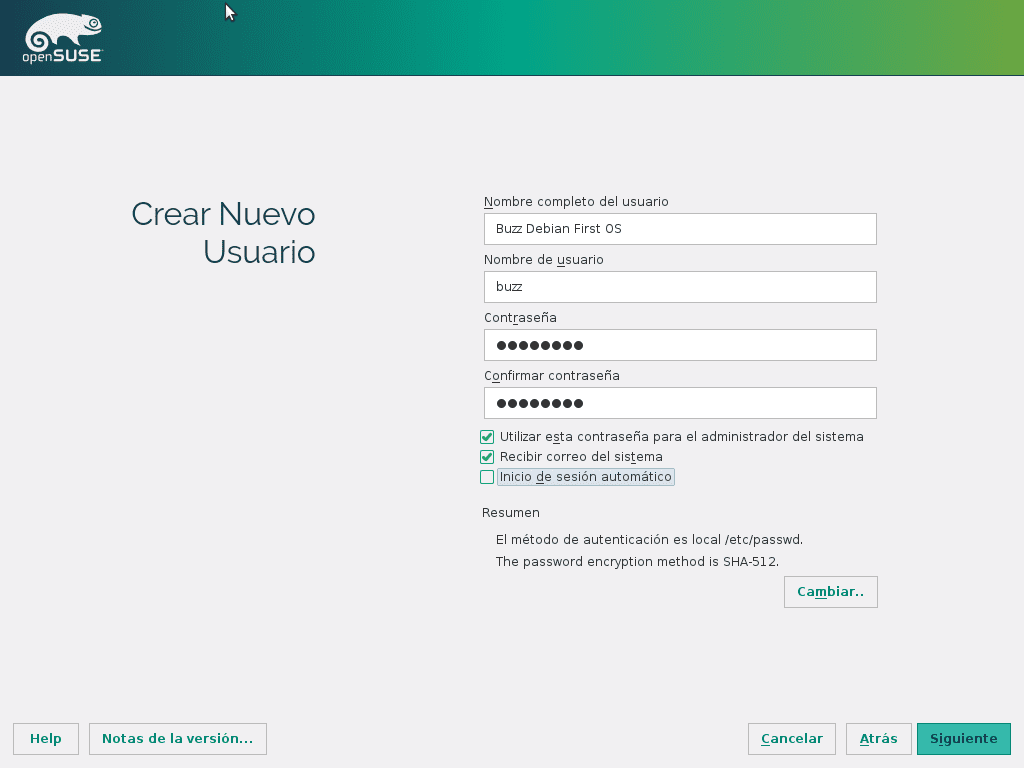
- The name of the chosen user «buzz»Is to honor Debian, our favorite distribution. But nothing. 😉
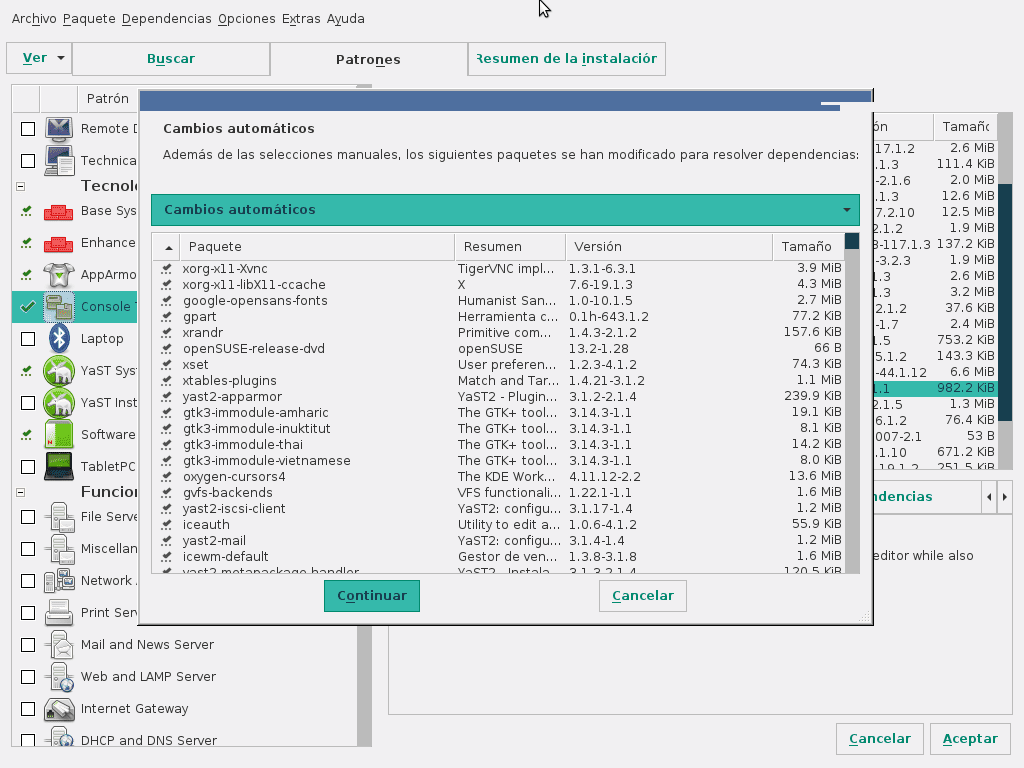
- Take your time choosing the software to install. The magnificent Package Manager is worth navigating, as shown in the images 13, 14, 15 and 16.
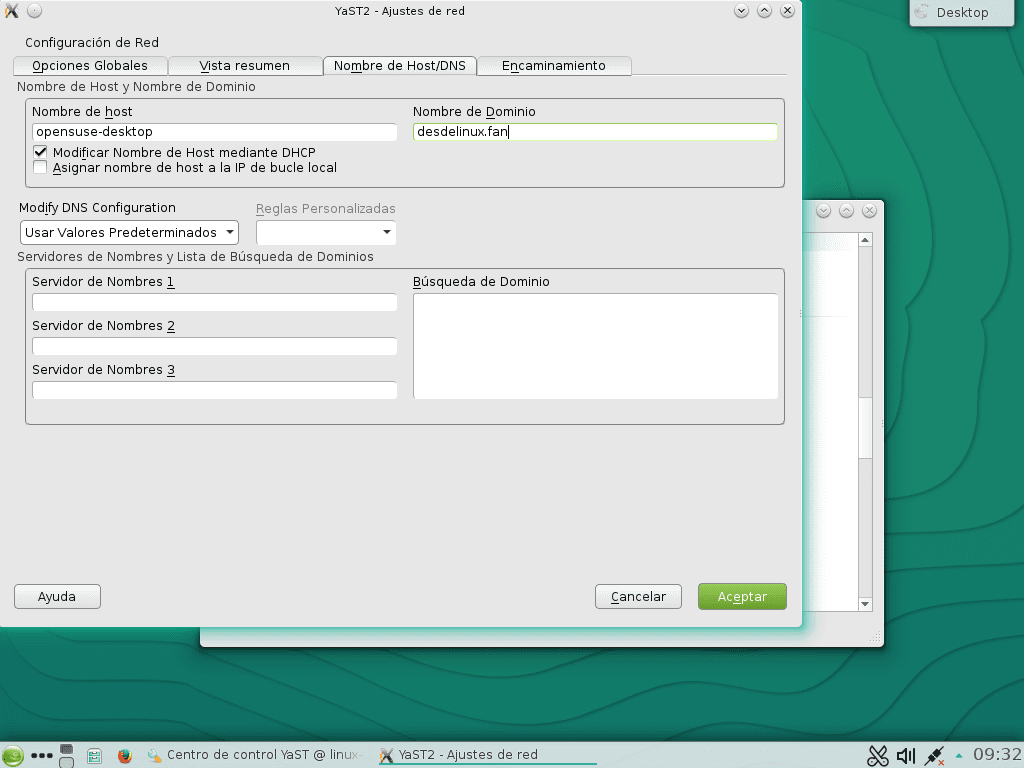
- Images 24, 25 and 26: After installing the operating system from the DVD or other media, the first thing to do is change the name of the computer and the domain as needed. The domain name is not so necessary as it is set through the LAN's DHCP server. We do this explicitly to avoid mistakes.
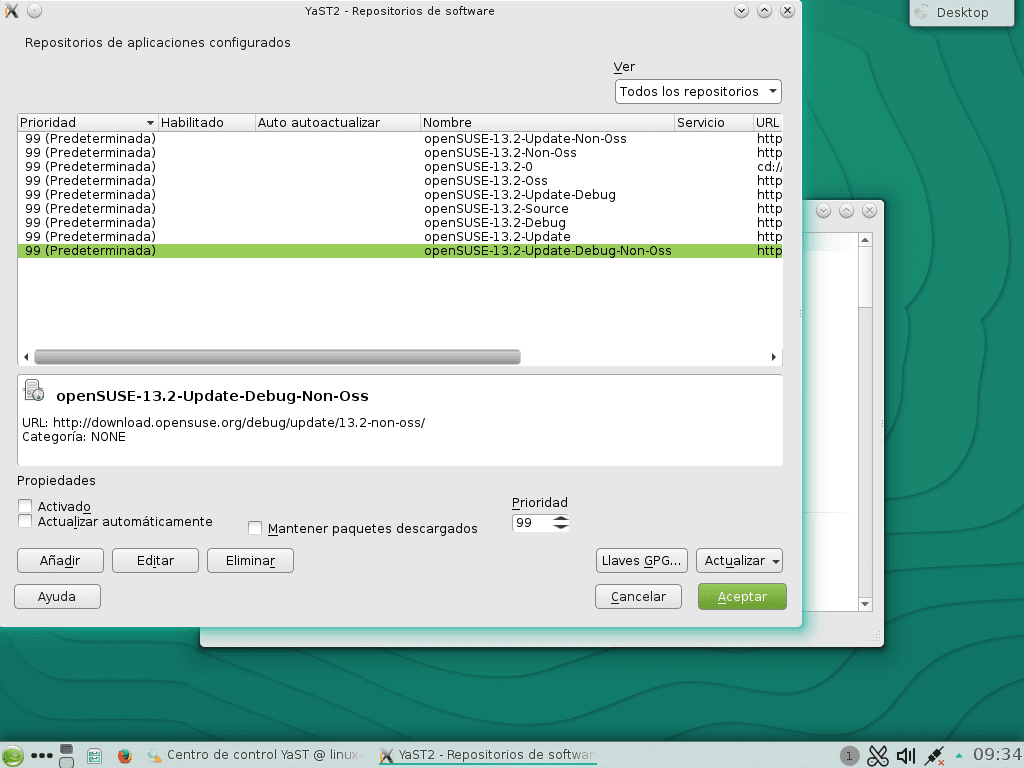
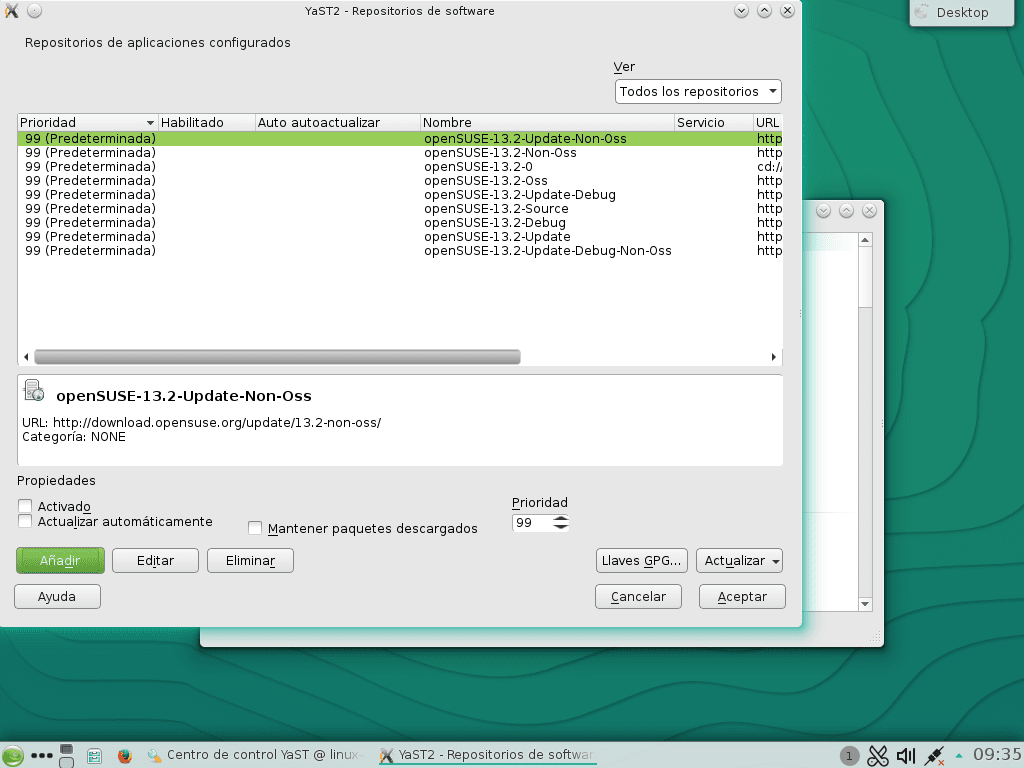
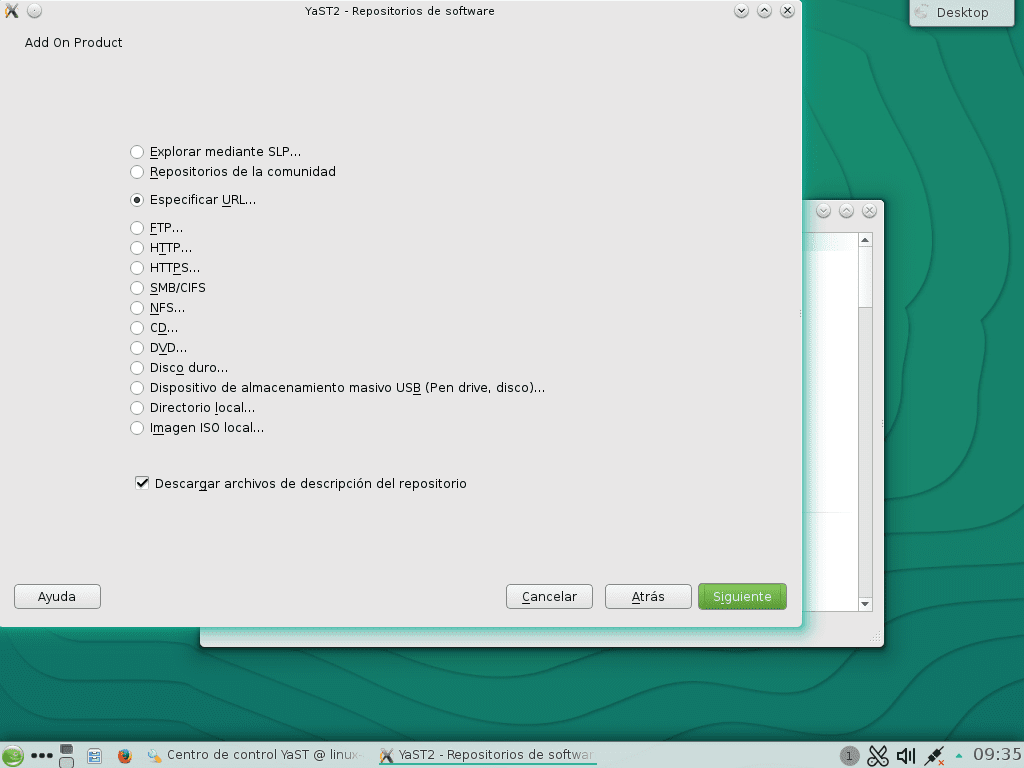
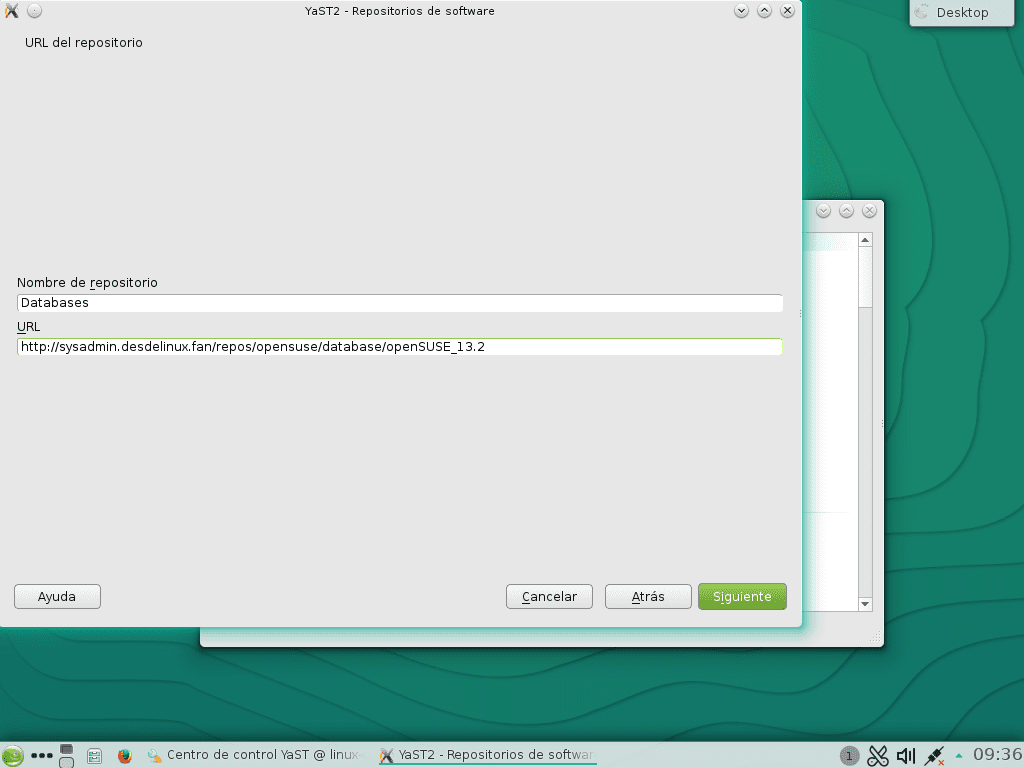
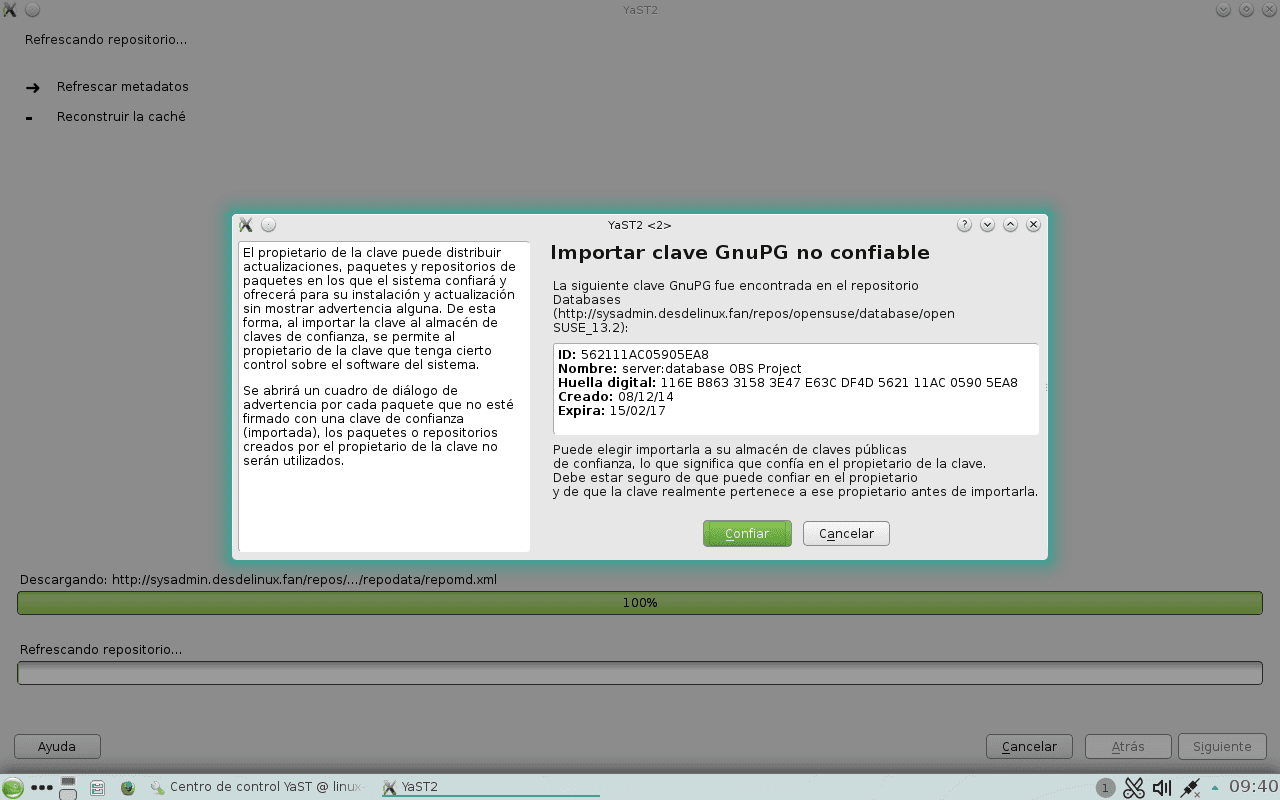
- Images 27, 28, 29, 30, 31 and 33: Declaration of the repositories to update our system, whether local or on the Internet. As we did in the article previous We disable the different repositories that openSUSE offers on its servers on the Internet, and we add ours that are Local. Namely, we continue with the same repositories: Database, Packman, Updates, Oss y non-oss, to make us a desk with all of the law. They forgive us if a minor package is missing that must be searched and found on the Internet. 😉
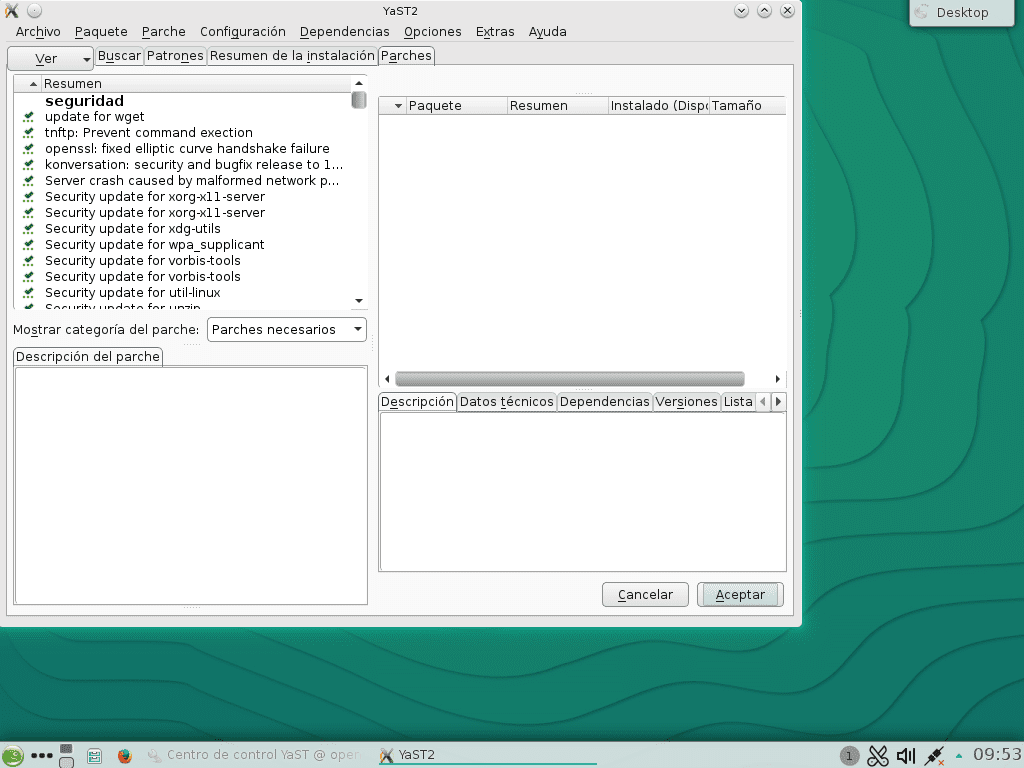
- Images 35, 36 and 37: Starts and ends the update of the Package Manager of the YaST. On the first screen we leave the default selections. We just clicked the button Apply.
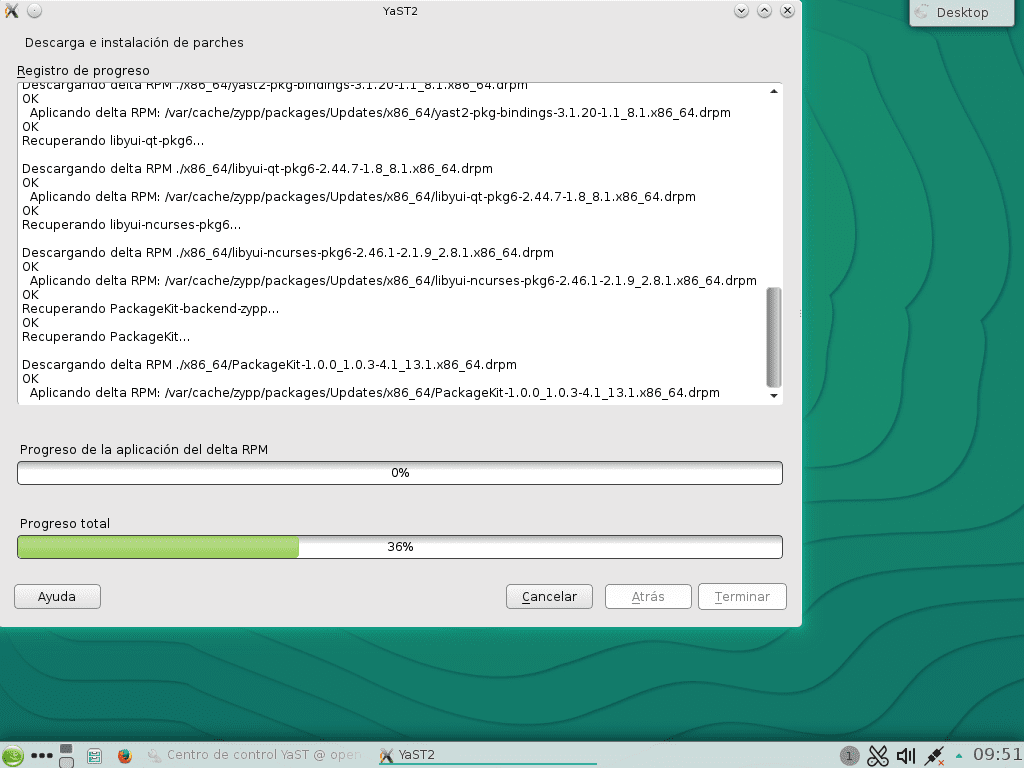
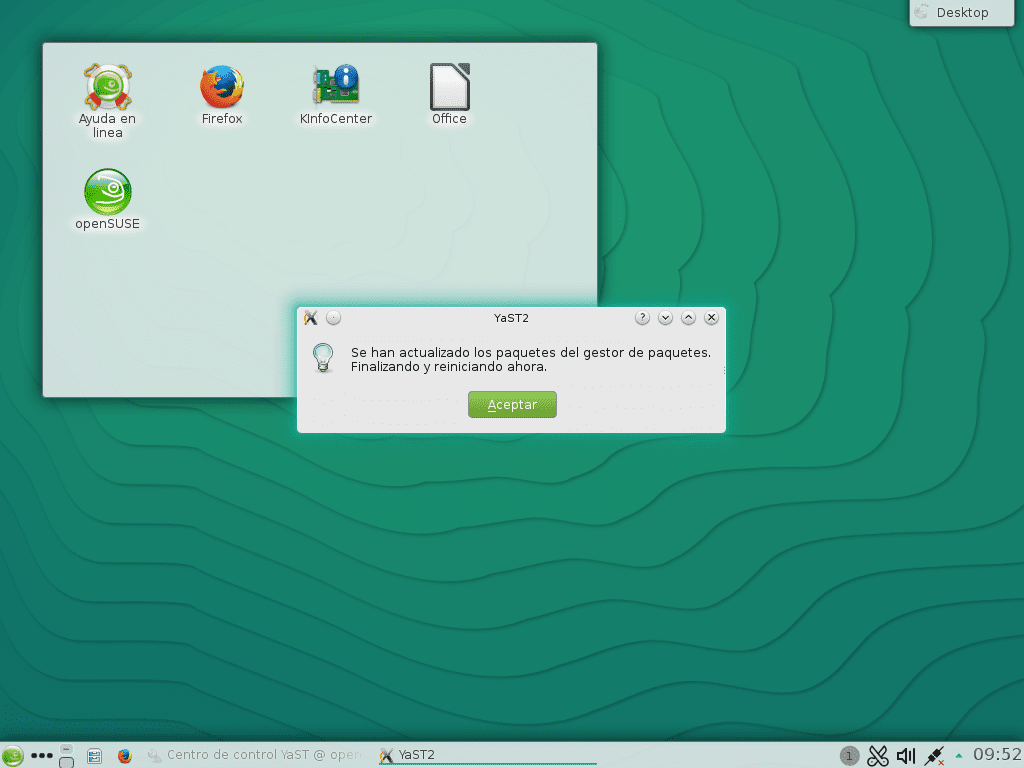
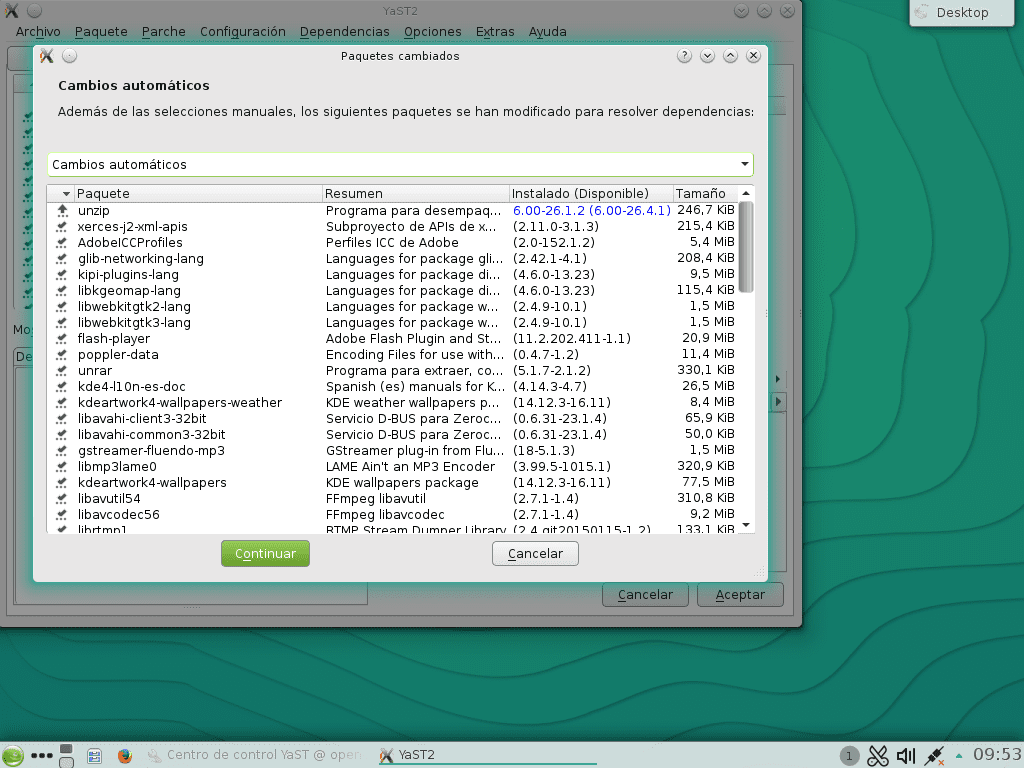
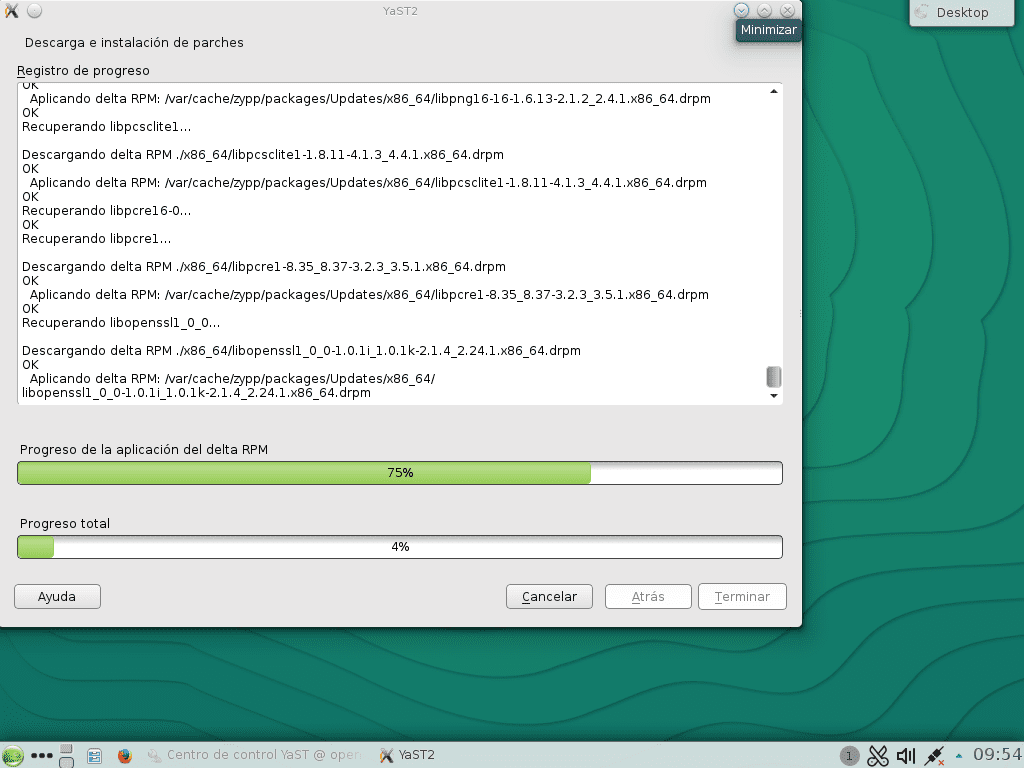
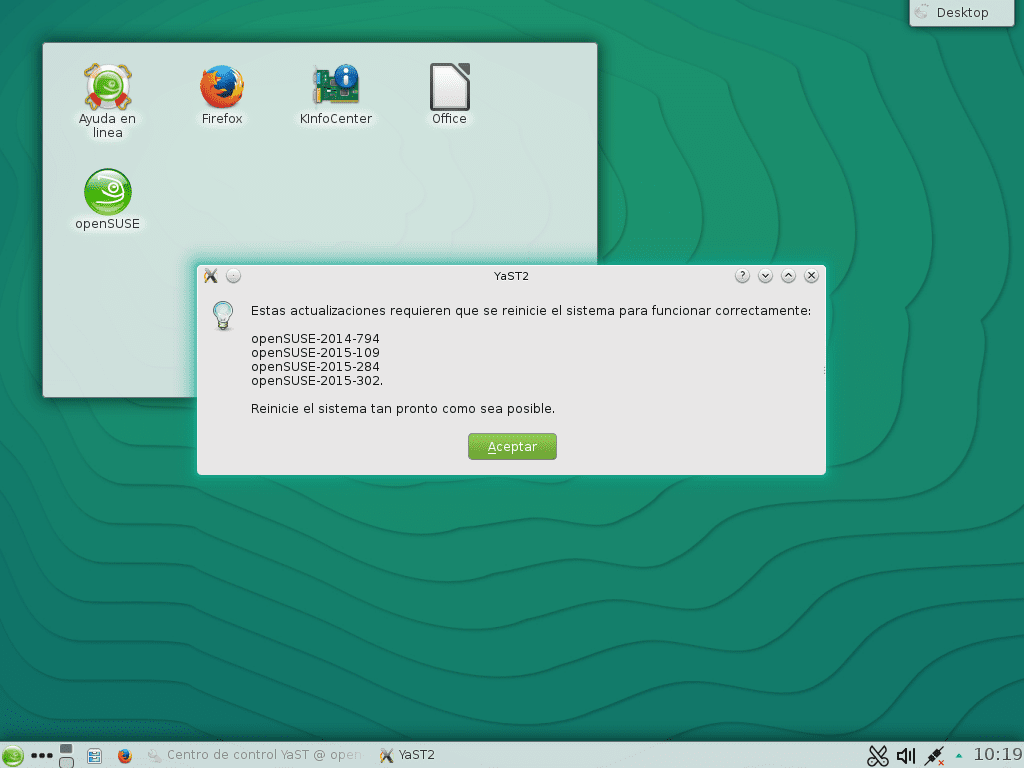
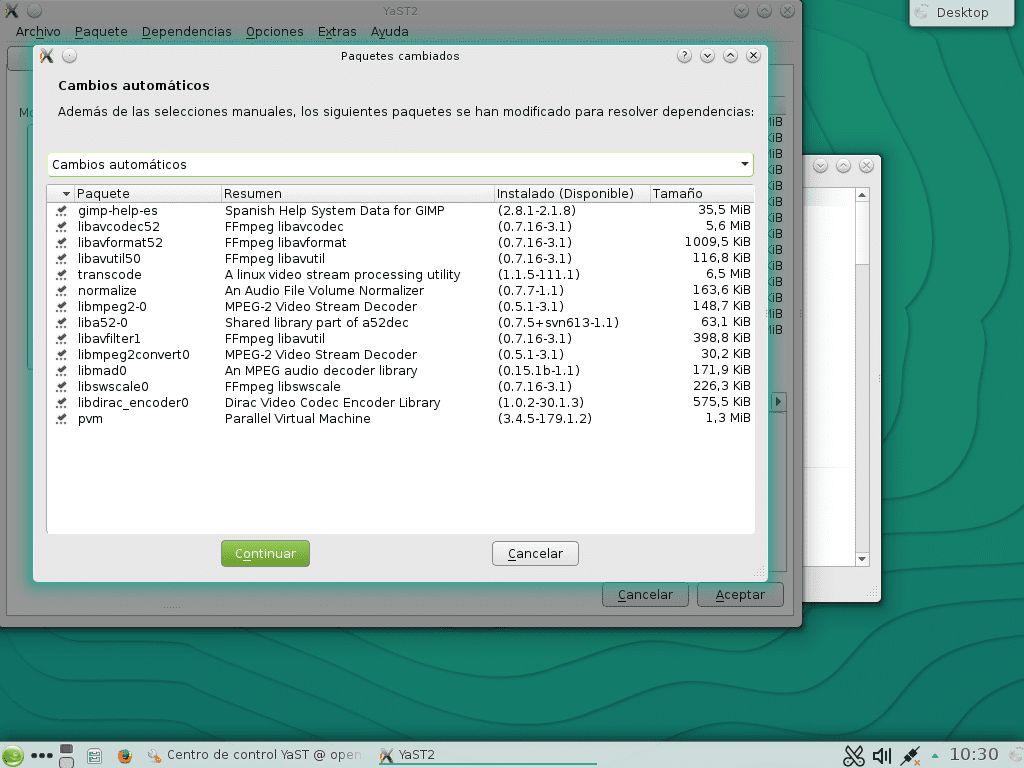
- Images 38, 39, 40, 41, 42 and 43: After the Package Manager updates itself, it launches the screen with the packages from the rest of the system to be updated. In it, we also accept the default selections.
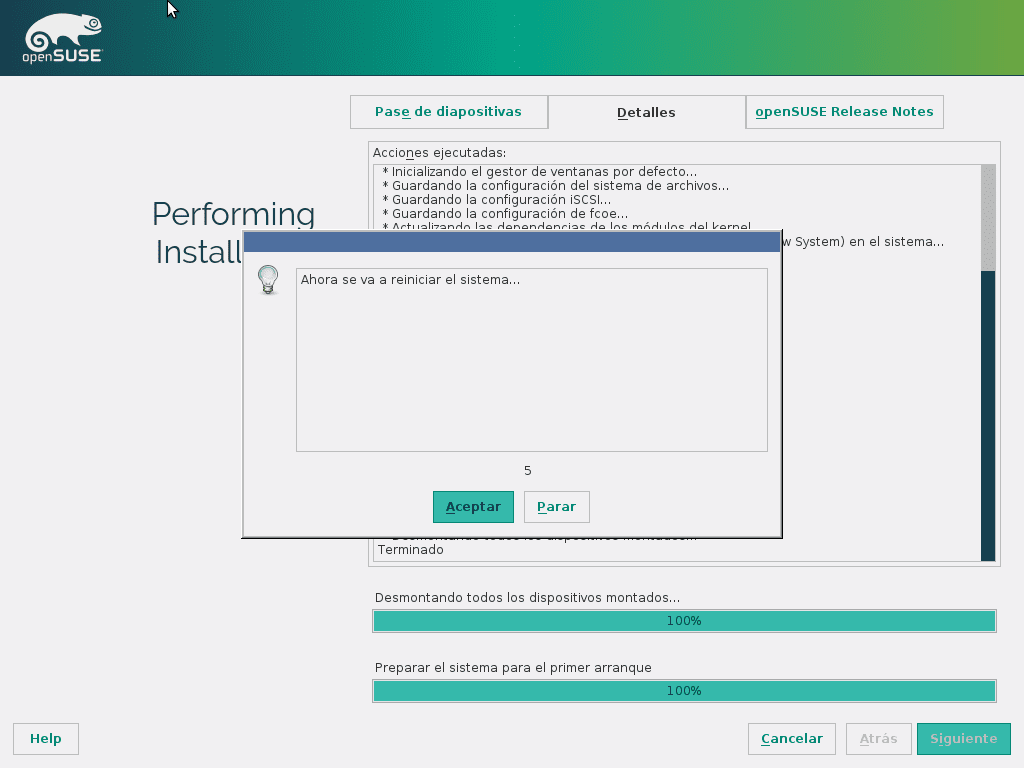
- Without image: We did not capture screens of the process of restarting the system that should be done next, and the login process, considering them well known to KDE lovers. However, if you want to see the login image, please enjoy the 21 image,
Other initial settings
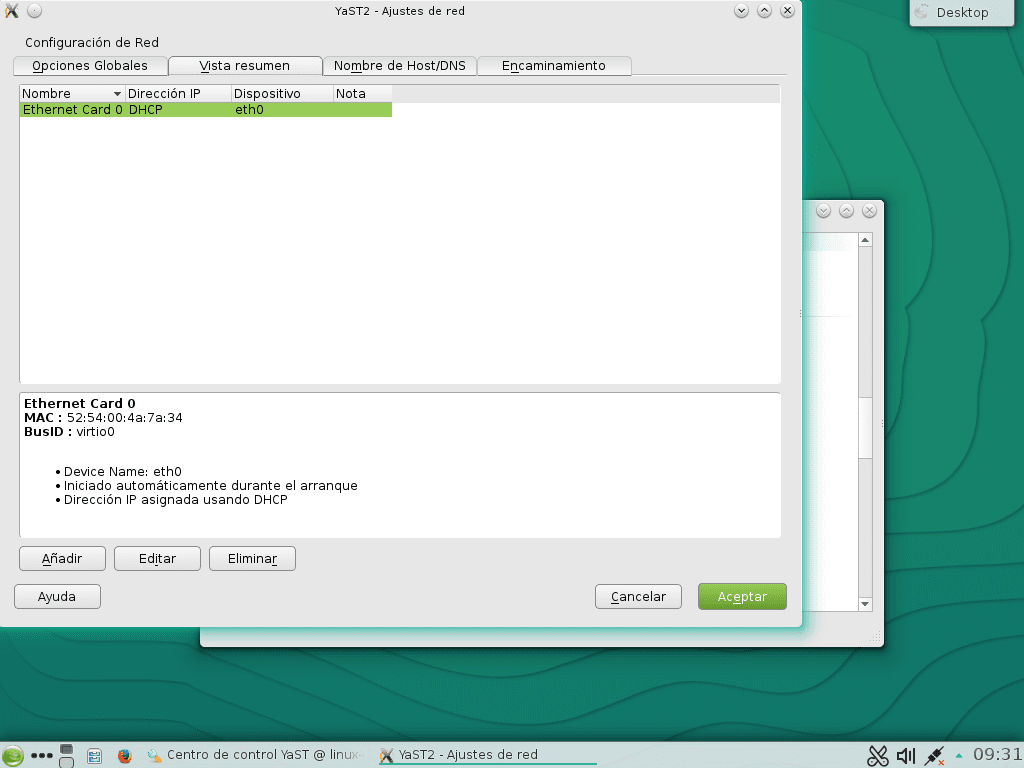
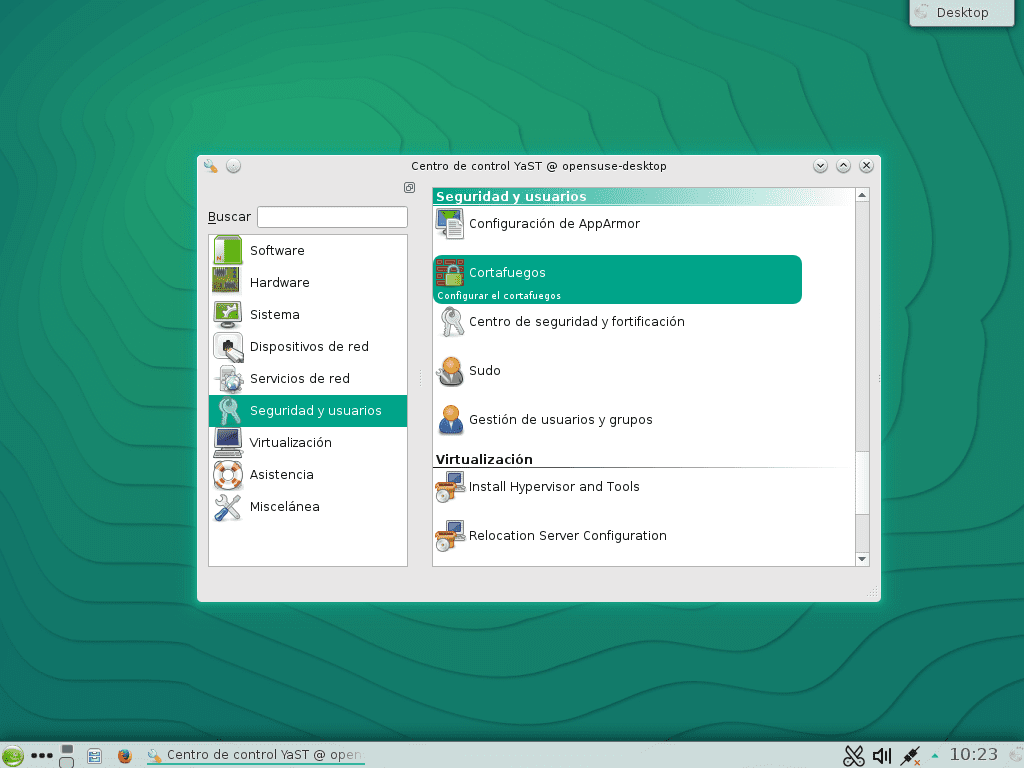
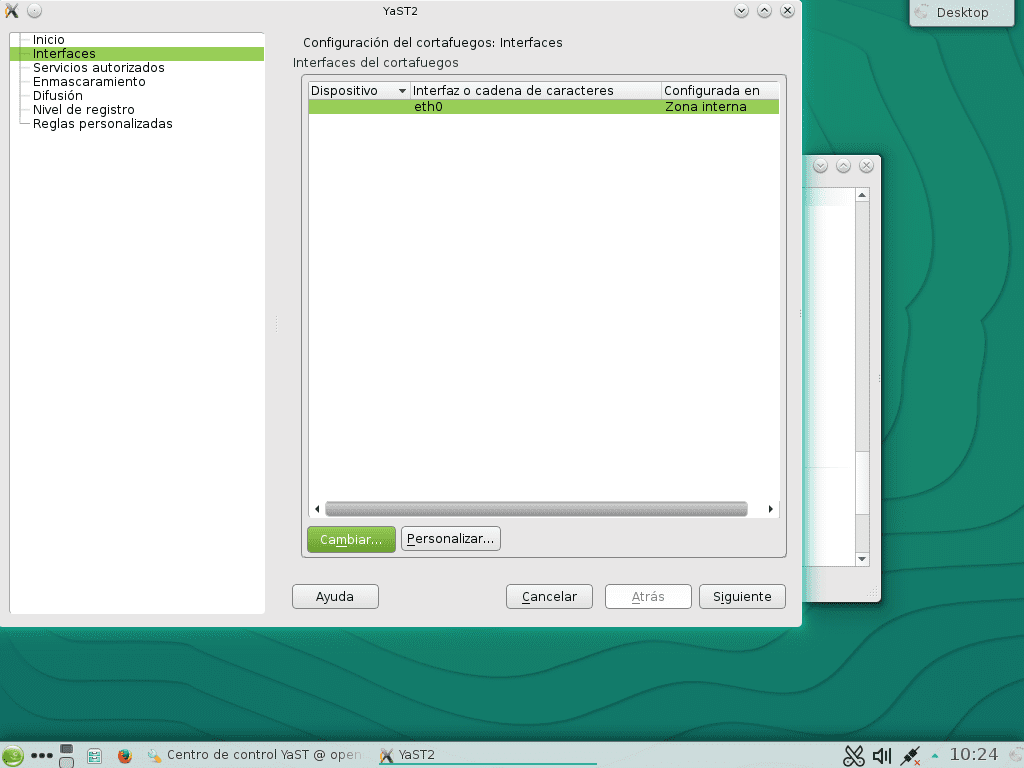
- Images 44, 45 and 46: We declare in the Firewall - Firewall that the network interface eth0 you belong to the Internal Zone or to the LAN of our SME.
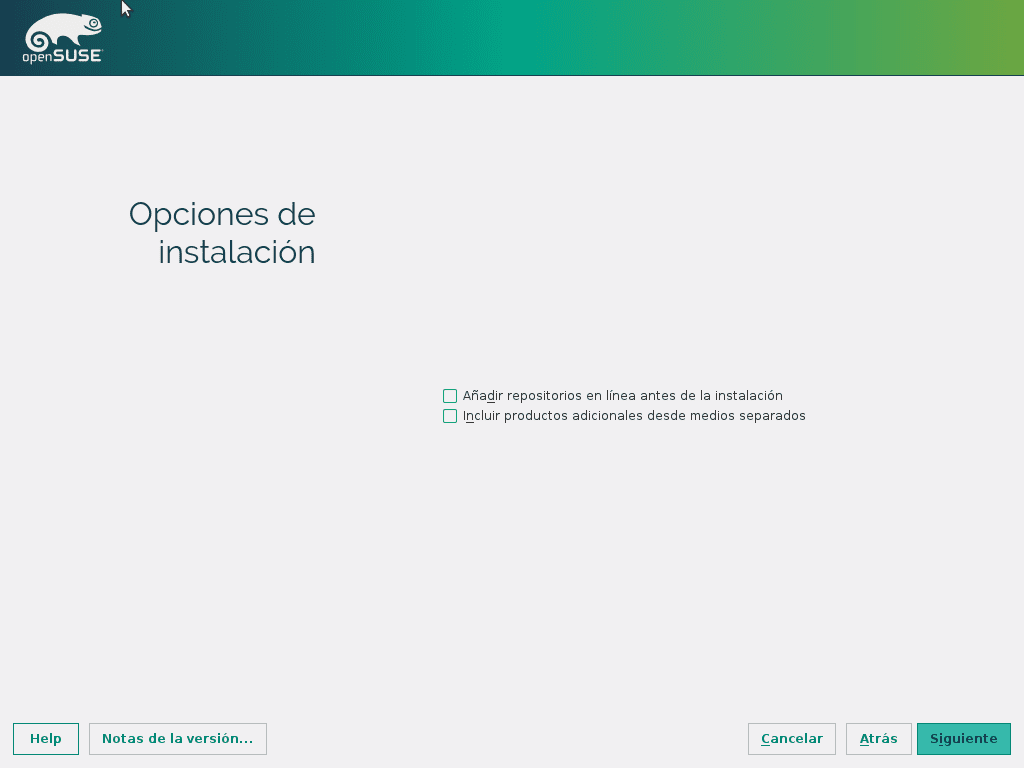
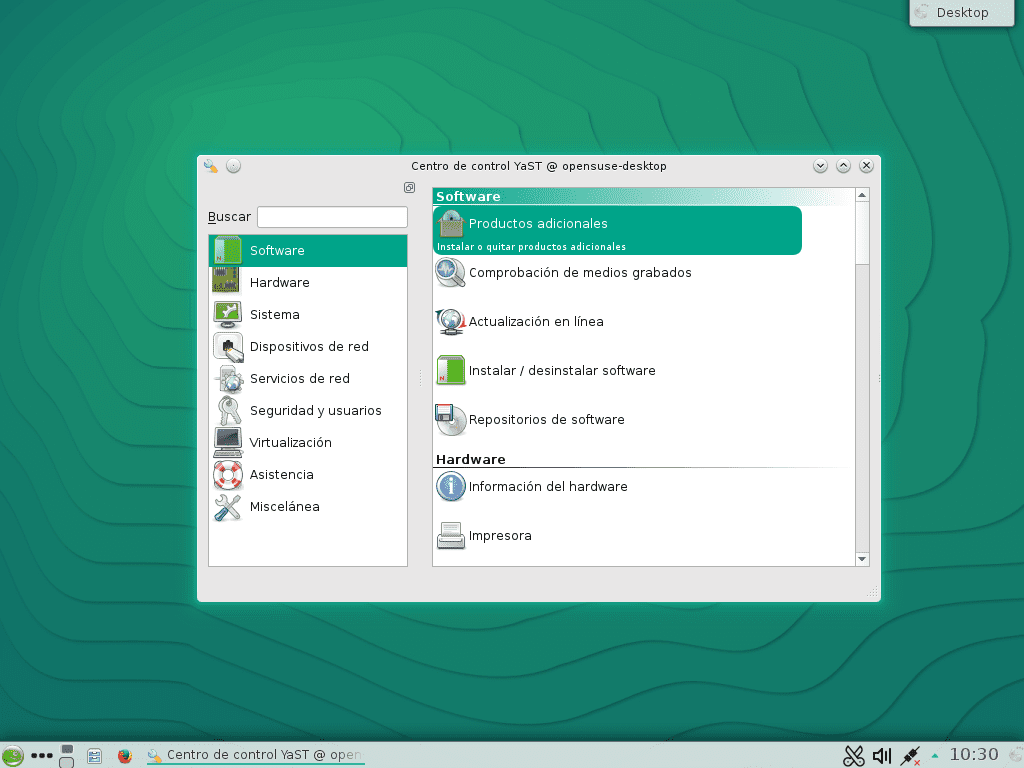
- Images 47 and 48: We reviewed and installed additional products that openSUSE recommends. It is not a mandatory step, but it is recommended.
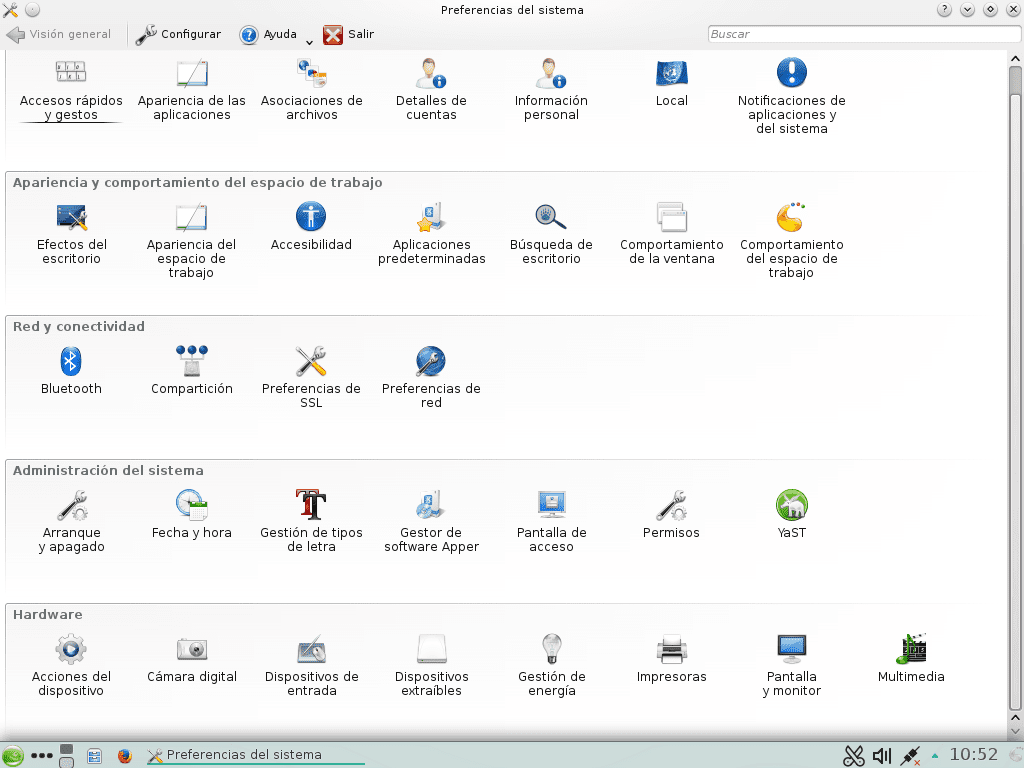
- Images 49 and 50: Minimal tour of the well-known KDE desktop environment System Preferences.
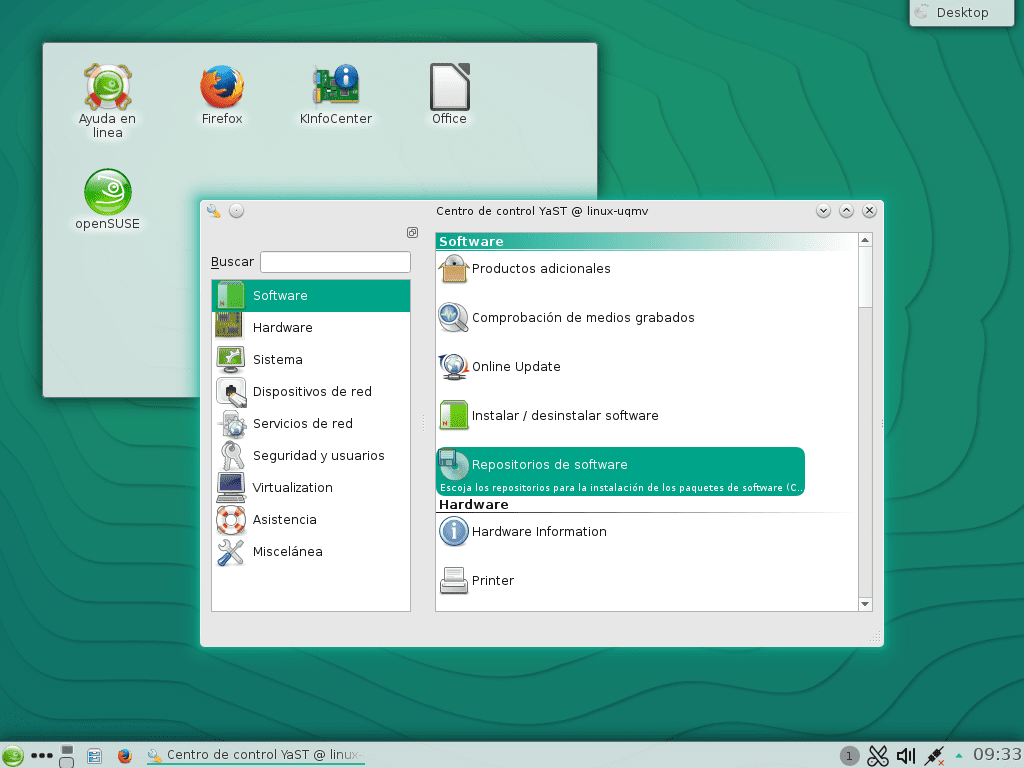
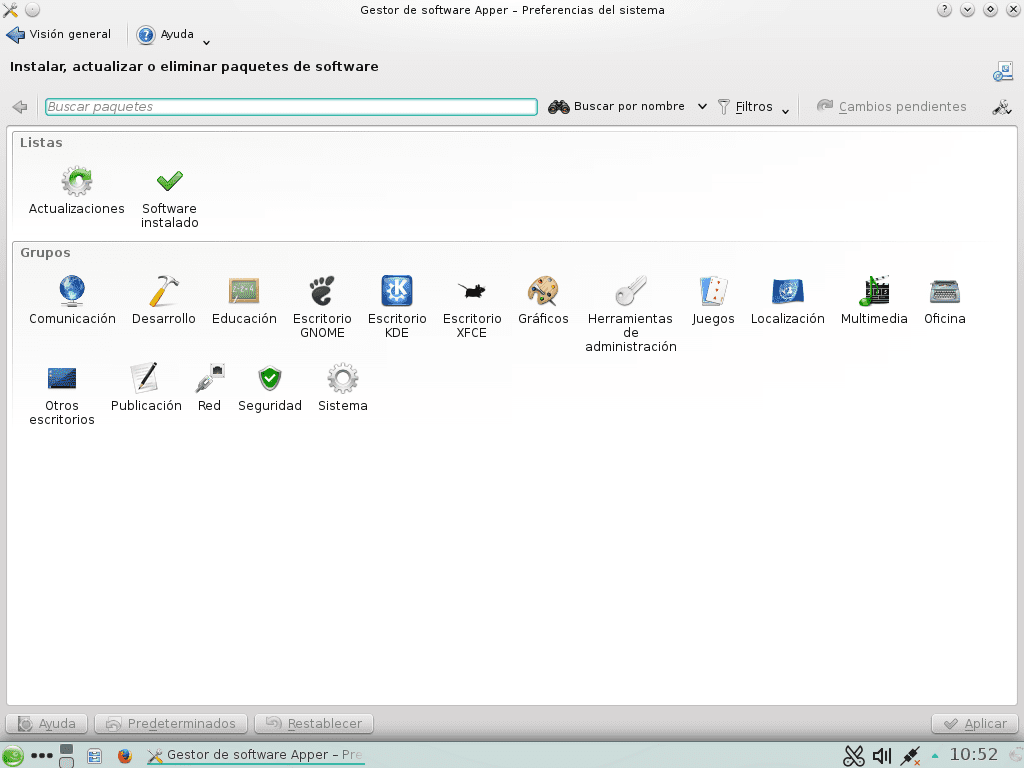
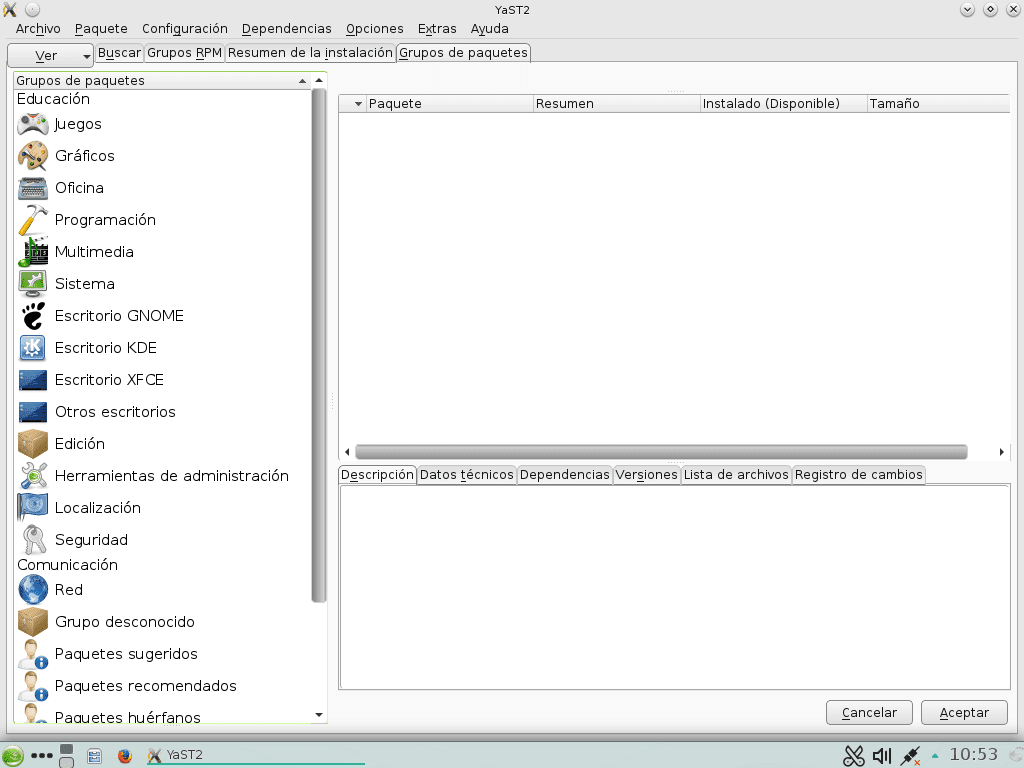
- Imagen 51: Add or remove programs using the YaST module.
We are waiting for you in the next adventure!
Excellent Post…. Congratulations
I removed opensuse from the desktop computer, because over time it ended up with the system partition full and I couldn't clean it, in the end I ended up putting kde neon and great because with kde neon it only occupies 9G with everything installed. In the laptop I have manjaro kde, it is also great and you can clean the system like kde neon.
I applaud articles that are not about Debian, Arch, or Ubuntu.
What's more, I have written free software articles for Uruguayan forums or blogs, and I always referred that they were "For Linux", not for Fedora, which is the distribution I always use before using Mac. I think I close everything to some distributions It brings out potential freedom in the "so free" software that many proclaim, since for people who do not have much idea it implies that this software will work only in Ubuntu for example, and if the one with OpenSUSE does not have much idea you are in a dead end.
Alejandro TorMar: Thank you very much for commenting and for your assessment of the article. I invite you to continue with us the PYMES series.
Carlidov: I installed BleachBit both on the dns.desdelinux.fan, as in opensuse-desktop.desdelinux.fan, and in both cases it cleaned the partition(s) where the operating system is installed by more than 180 megabytes. The option I chose was “BleachBit as Administrator”. The host dns.desdelinux.fan was the one I installed in:
https://blog.desdelinux.net/dns-y-dhcp-en-opensuse-13-2-harlequin/
Gonzalo Martínez: Thank you very much for your honest comment. In the article:
https://blog.desdelinux.net/distribucion-tiempo-las-distros-linux/
We explain why we chose the Debian, CentOS, and openSUSE distros for the SMB article series. Debian is Universal, while CentOS - Red Hat, and openSUSE - SUSE are very business-oriented distros in the opinion of many bloggers, and their own maintainers and powerful sponsors. We wrote articles about the last two distros, by way of presentation, and I invite you to read them, if you haven't already. These are:
https://blog.desdelinux.net/centos-redes-computadoras-las-pymes/
https://blog.desdelinux.net/opensuse-presentacion-redes-pymes/
When we write about Debian, we write about the father of a great family and about .deb packages. When we do it on CentOS - Red Hat, the same thing happens, but with .rpm packages.
The selection of the distros was not at all festive. It was based on common sense. Personally I cannot cover more distributions to write about networking services in SMB networks, because I think I would go crazy. 😉
For my part, I invite you to write, for this same blog DesdeLinux, about the distros that we did not address, since you show that you did so on previous occasions. I hope that Luigys Toro, our administrator, thinks the same way.
Greetings Gonzalo!
I would like to be able to contribute, although 2 years ago I switched to Mac and use OS X most of the time, I still use it for work (both my job and a couple of VPS with some personal projects).
DesdeLinux It is an open window for anyone who wants to contribute their knowledge to the learning of the community. The accumulated experience of the writers is what allows many novices and experts in various areas to perform more and better tasks related to Linux.